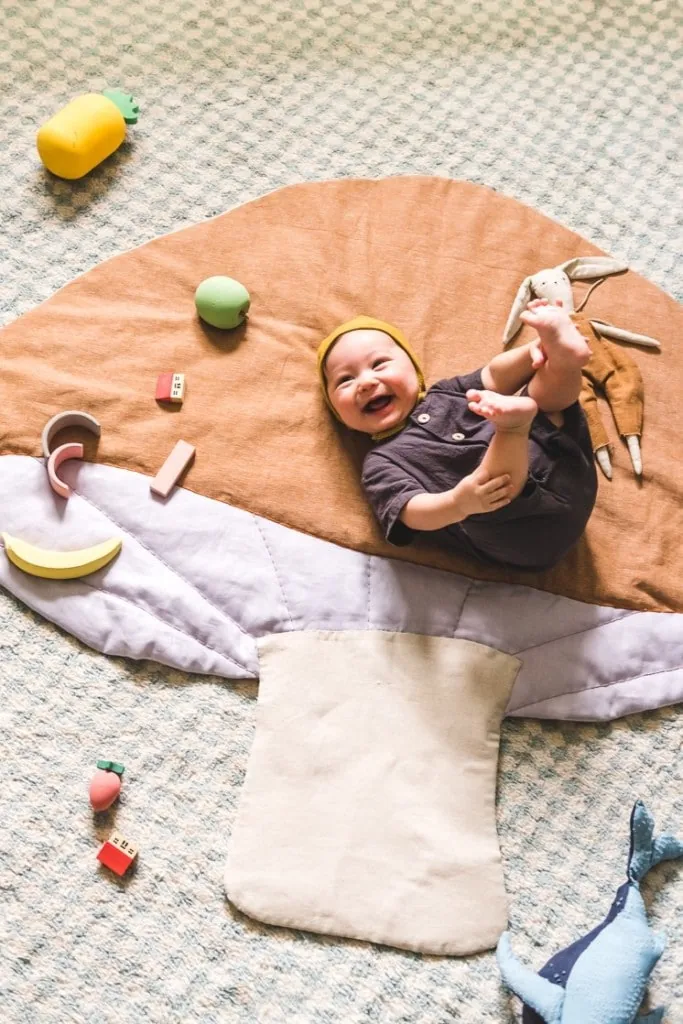
Have you seen the adorable stuffed playmats in the shape of leaves or plants? I’m so in love with them! I was wanting to make one for Jasper long ago, but that ship sailed. There’s no way he can be contained to a little space like that these days.
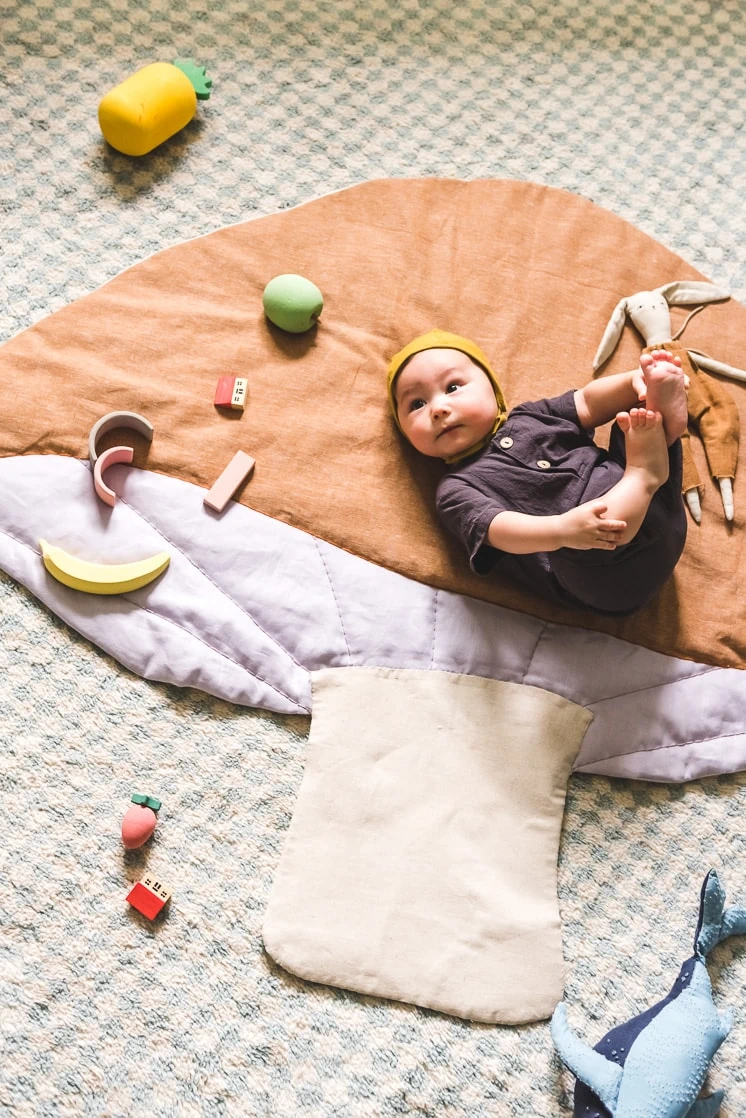
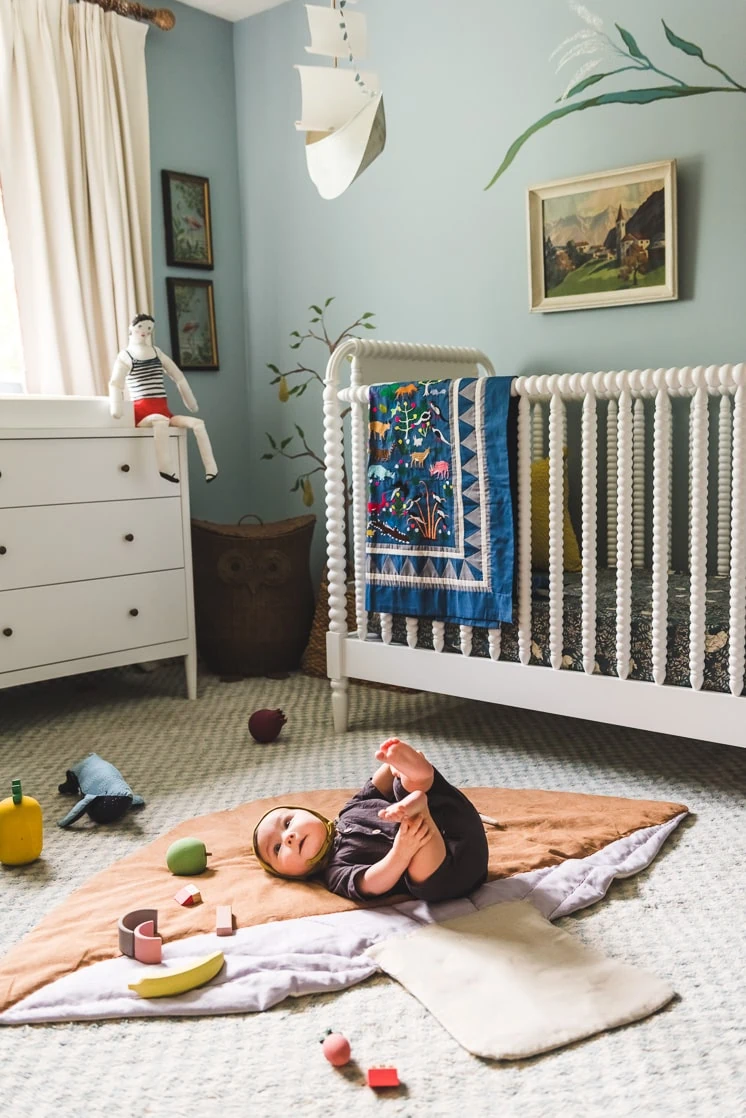
I couldn’t get it out of my mind, though, so we brainstormed and came up with a mushroom. Isn’t it so cute? It will be perfect for Next Baby (not an announcement!). Our photographer, Jane, had her adorable 4 month old cousin, Sam, come over to test drive it and I think it’s safe to say he approved.
Materials:
- Mushroom playmat pattern
- 1.5 yard of fabric in a dark color (we chose linen, you can also go for cotton or canvas)
- 1.5 yard of fabric in contrasting light color
- 1/2 yard of another light fabric
- 2 yard of flannel for the back
- thread
- 1 package of medium batting (we double lined ours)
- 2 embroidery thread colors to off-set the linen
- embroidery needles
- Regular hand-stitching needles
- sewing machine
- marking pencil
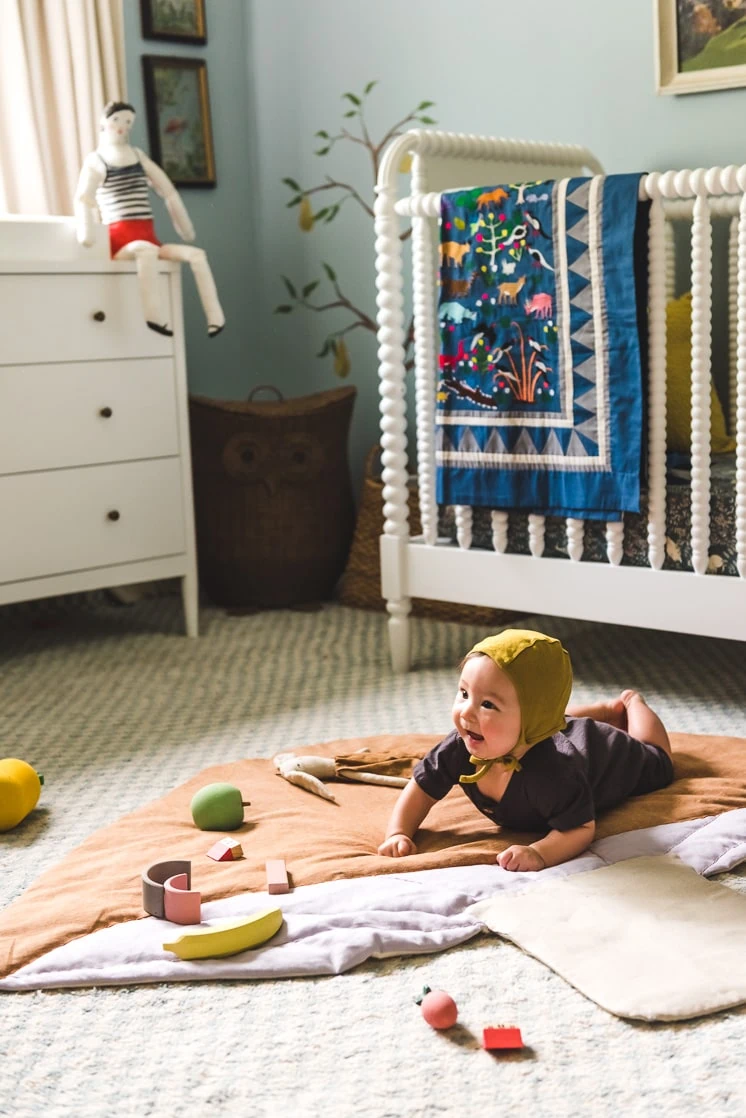
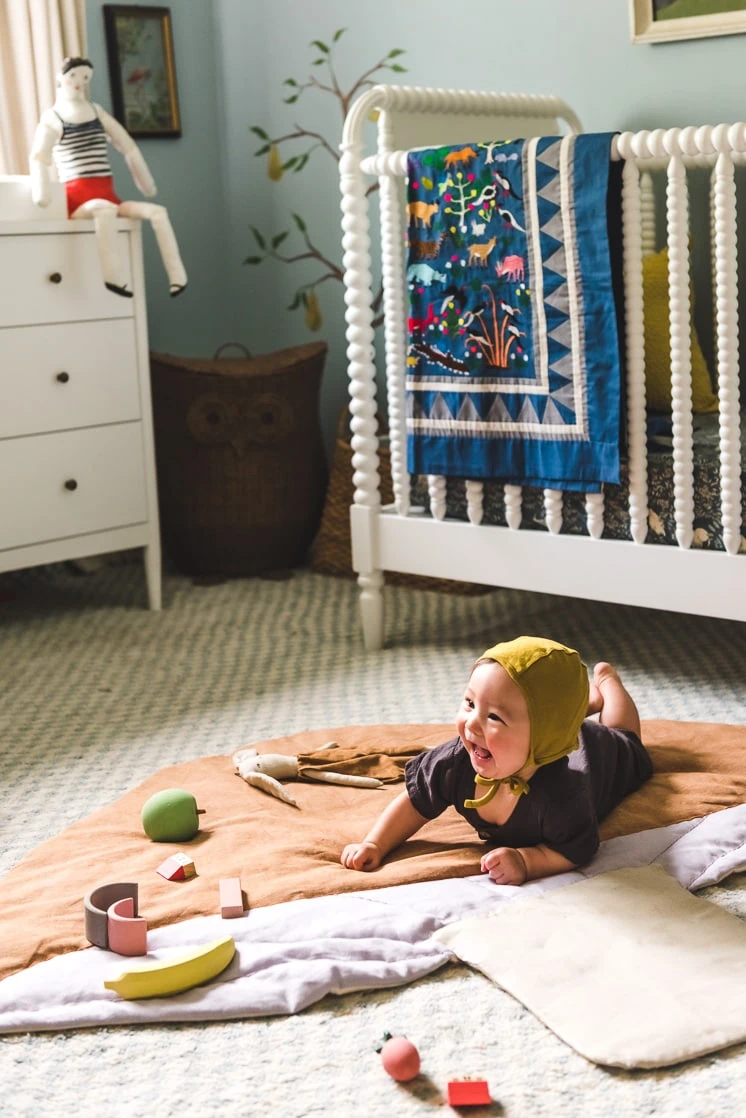
This mushroom playmat is perfect for the little baby needing an adorable place to rest its head. I love that it’s totally washable, too. Don’t worry about all that spit up coming your way! It’ll look as good as new with a quick wash (just make sure to hang it to dry–don’t put this little rug in the dryer). What do you think?! Ha! Such a sweetie pie. Here’s how to make one:
DIY Mushroom Playmat
DIY Mushroom Playmat
Prep Work
Prepping the Pattern
- First, download and print the pattern. You can find it here!
- Lay out all the pattern pieces in a grid, according to the numbering system. The A’s are the first row, B’s second row, C’s third row, etc. When you print, there will be a small white border around each piece of paper–simply disregard or cut it off.
- Line up the pattern pieces as closely as you can to the seam allowance and tape. We would suggest laying out all the pieces first, then taping when it’s all lined up.
- Now, go ahead and cut the pattern pieces out along the outside line of the seam allowance.
Prepping/Cutting your Fabric
- Prewash your fabric and gently press it.
- When your fabric is pressed and ready to use, lay out your fabric. Make sure there are no bumps or wrinkles.
- Next, gently lay the pattern pieces on top of the fabric they belong to.
- Pin down the pattern pieces to the fabric.
- Now, cut each pattern piece out of the fabric using scissors or a rotary cutter.
Prepping the Batting
- To prep your batting, lay out your piece of batting. Smooth it out to make sure there are no wrinkles.
- Next, take the fabric piece labeled “back” and lay it out on top of the batting.
- Cut out the batting along the shape of the mushroom.
Sewing your Mushroom Playmat Together
Sewing the Front Pieces
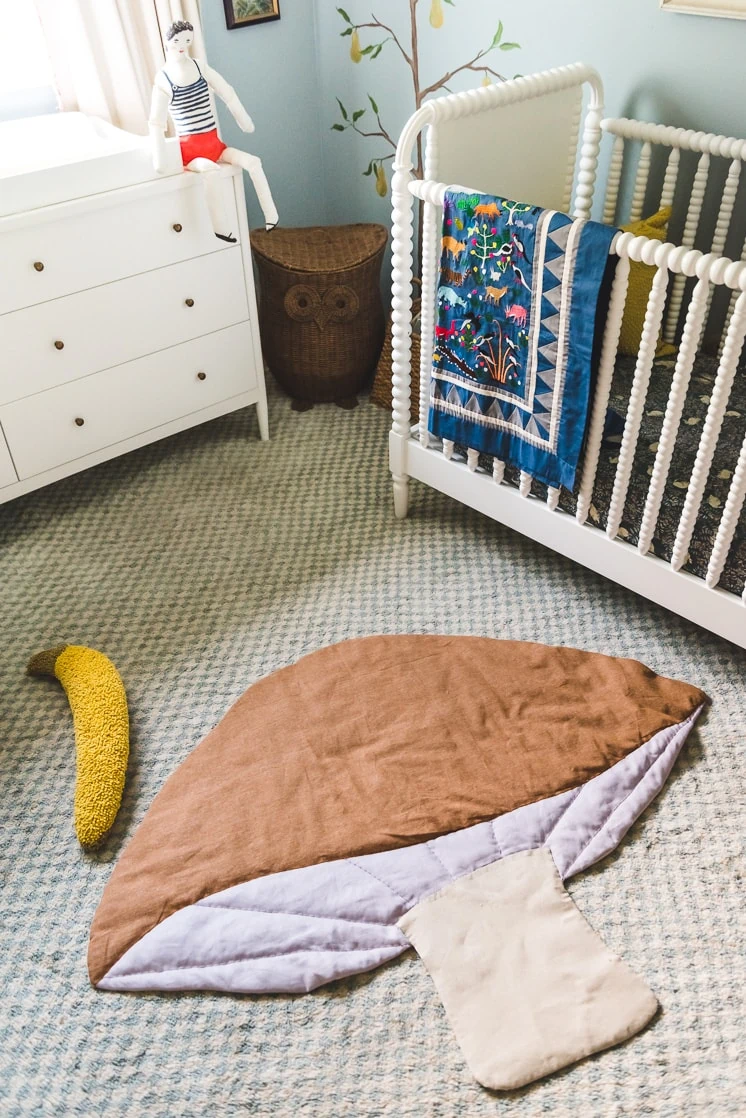
- Take the mushroom pieces labeled “facing: mushroom top” and “facing: under mushroom” and with right sides together, pin them along the central edge (this will give you the two pieces of the front of the mushroom). For help knowing how to align the two pieces, see the finished photos for reference.
- Next, take the piece labeled “facing: mushroom bottom” and fold the flat edge (the top) under a 1/4 inch to hem. Using the piece labeled “back” as a reference, hem the sides 1/4″ from the top hem down until the sides meet the stem on the “back” piece.
- Now you’re ready to add the stem to the front of the mushroom. With the right side face up (hems tucked neatly underneath), sew the piece labeled “facing: mushroom bottom” to the right side of the stem portion of the two pieces you just sewed together.
- Top stitch the hemmed portion of the stem to the front for a nice, clean finish.
- You should now have an entire mushroom front piece!
Assembling the Mushroom
Now you’re ready to assemble all the pieces of the mushroom together!
- To do this, lay the front piece of the mushroom down (face up) and smooth out any wrinkles.
- Then, lay the back piece of the mat down on top of the front piece (face down). smooth the wrinkles. The two pieces should be right sides together.
- Now place the batting on top of the two pieces of fabric. Smooth it out to make sure there are no bumps or wrinkles.
- Baste stitch the edge of the three layers together as well as sections in the middle. Make sure to leave a 6-7” opening so you can flip your mushroom right side out.
- After it’s basted, you can sew around the edge, following your basting line. Remember to leave that opening so you can flip the mushroom.
- Trim your edges when you’re done sewing.
- Now flip the mushroom right side out and hand stitch the opening closed.
- Gently press the edges flat.
Finishing Touches
- To finish up, use your embroidery thread to gently hand stitch the top of the mushroom where the two pieces meet. Tie it off in the back.
- Take another piece of embroidery thread and hand stitch a few lines onto the belly of the mushroom. Use the photos as a reference to see where we stitched the lines. Again, tie it off in the back.



Comments