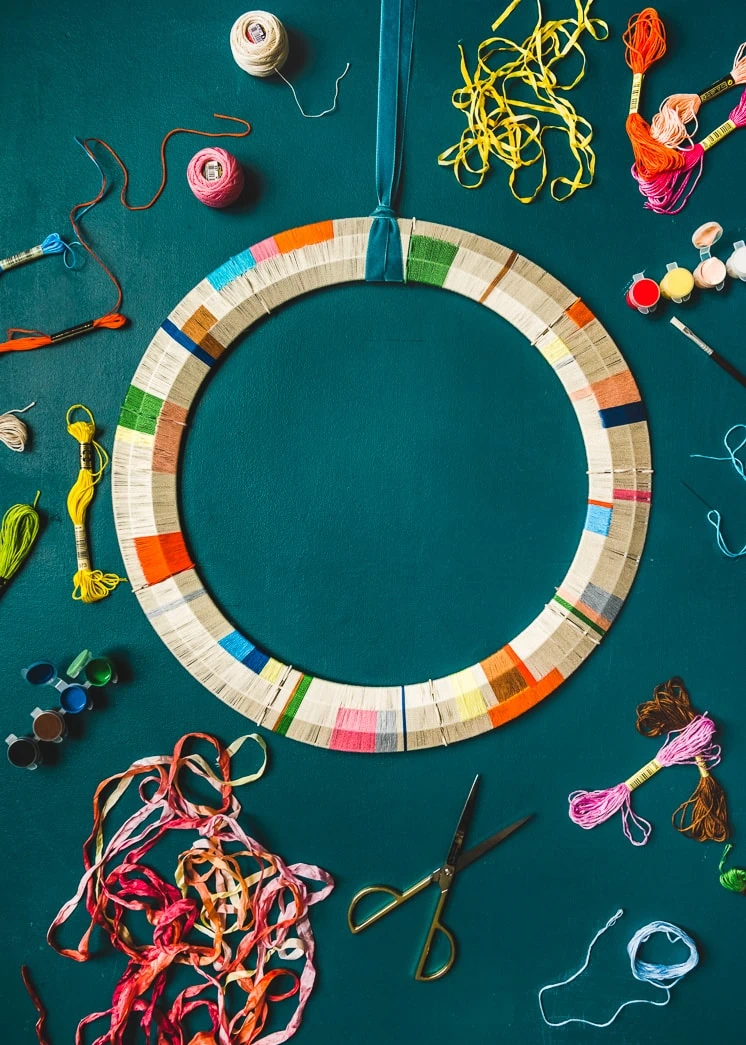
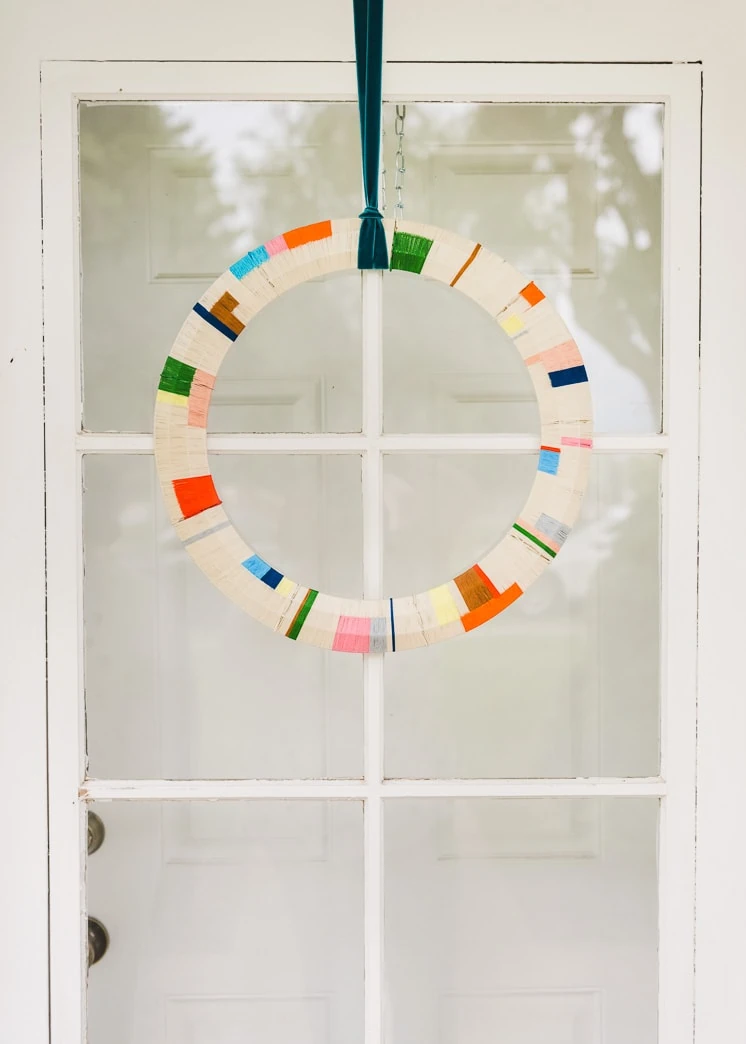
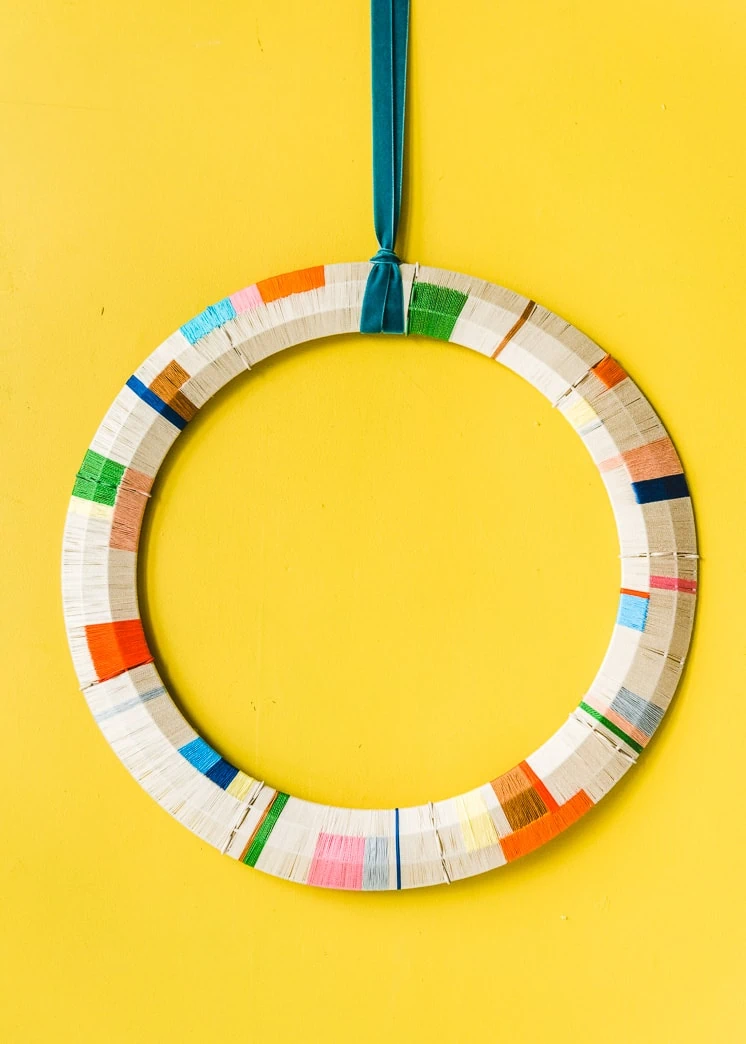
 For the last few months, the entire Lars team has had a somewhat unorthodox love affair. Don’t worry, it’s nothing too saucy, just that we’ve been enamored (one might even say obsessed) with…would you like to guess? Lampshades and lighting fixtures! I know, I know, we’re the biggest nerds on earth, but who cares? We can’t help it; we see them, we like them, we want them, and then, of course, we make them. We’ve been on an absolute lamp overload as of late and especially the work of Ana Kras, so we decided to mix things up just a little bit with our next project. We have yet to fall out of love with the plate and cup light fixtures we made a while back, so we decided to turn our latest obsession, these threaded lampshades, into this amazing door wreath!
If you’ve been following us for a while, you’ll realize that this project combines two Lars hallmarks; color, and wreaths. We combined the two, because we absolutely cannot think of anything we would love more than this vibrant door wreath. Can’t think of anything more inviting to welcome your loved ones into your home!
Material:
- Metal Floral Wreath
- Embroidery Thread (you will to pick a base color and buy more of that color, we purchases one like this)
- Needle
- Neutral colored spray paint
- Acrylic paint to match thread surrounding knobs
Direction:
- Spray paint wreath, so that the color of the wreath is not distracting in case any part of it shows. .
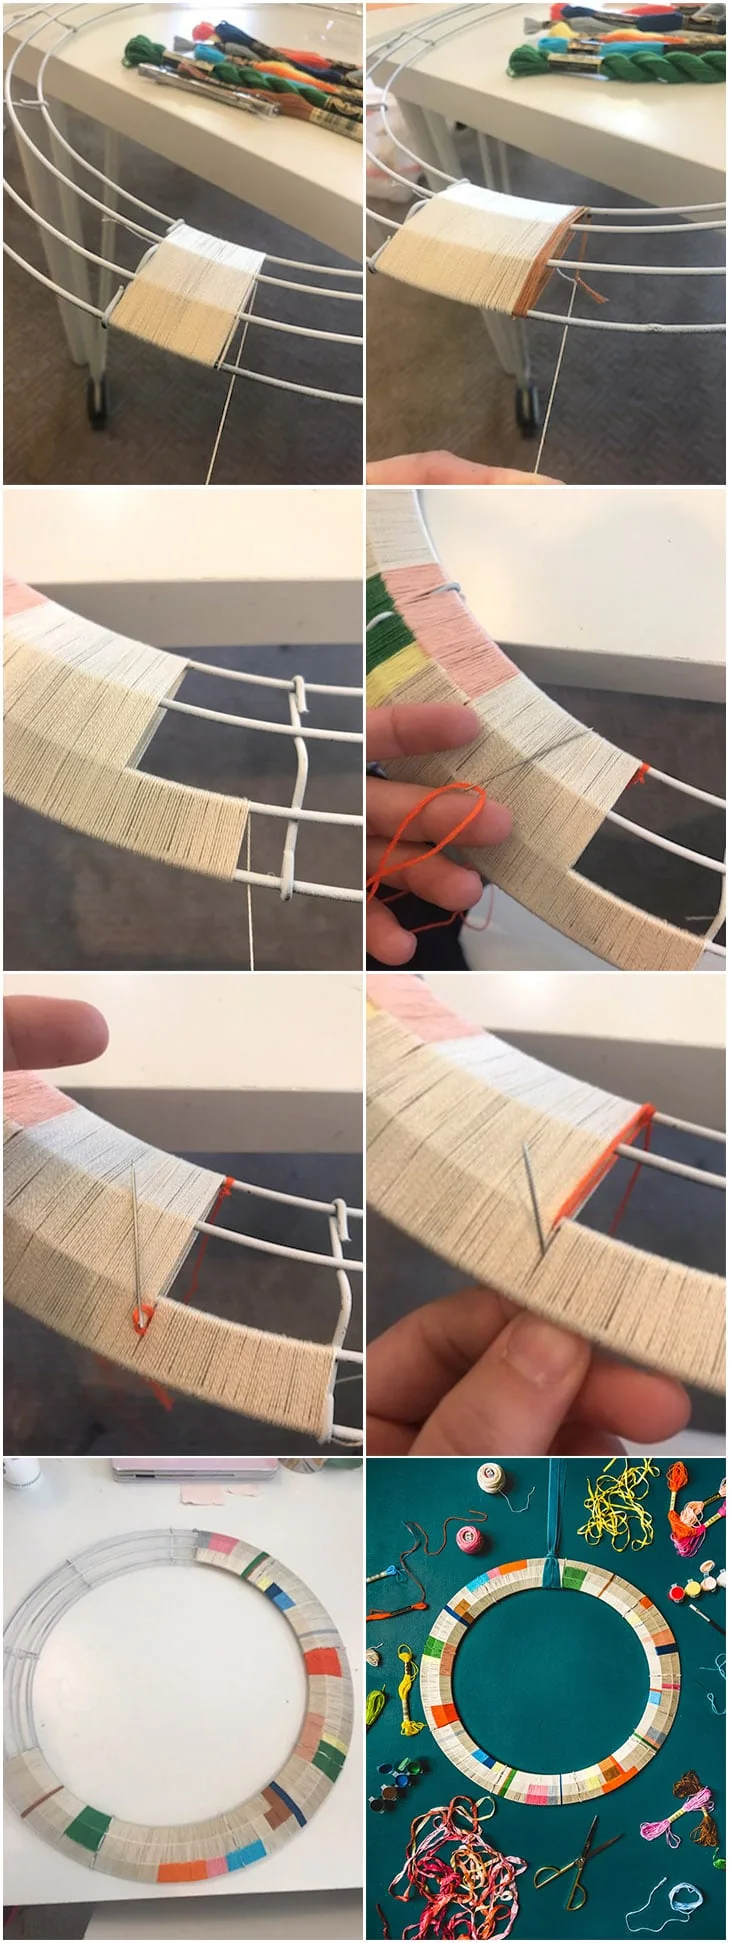
- Tie embroidery thread to metal rod, anywhere is fine, you can leave a little tail for the end to tie off.
- Start wrapping!
- Wrap until you are satisfied with the amount of thread wrapped.
- To switch to another color, tie the next thread you want to the one that’s been wrapped, making sure the knot is on the backside/hidden.
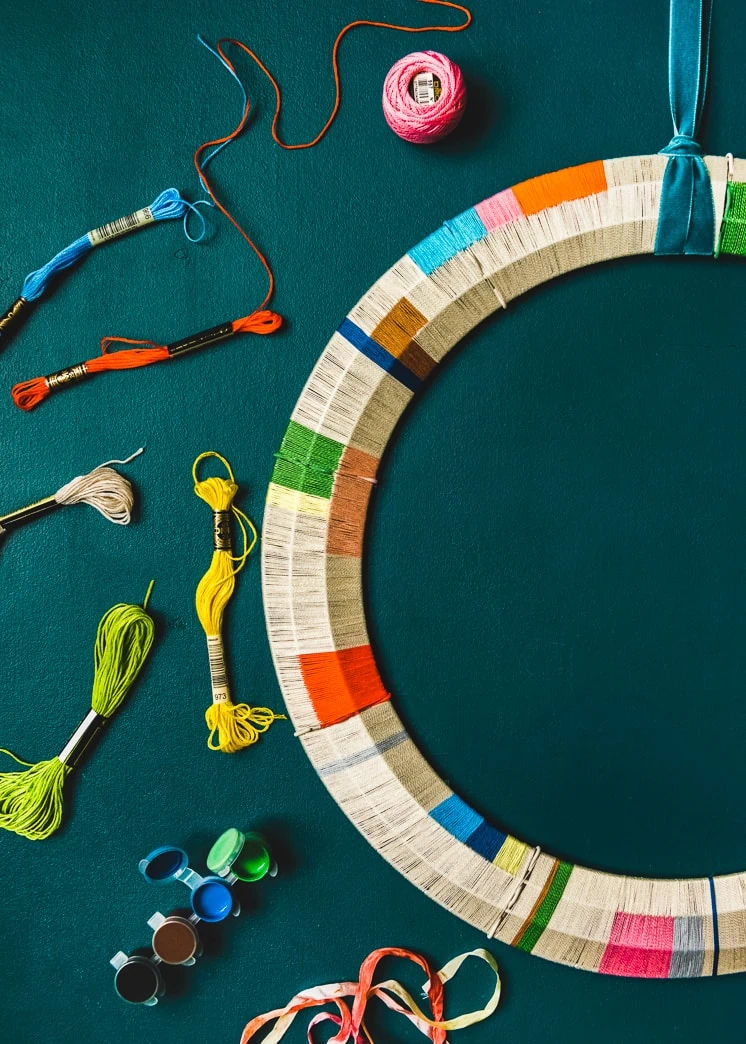
- You can adjust the width of color by wrapping on just 3 or 2 of the wireframes at a time instead of all 4. (4 is the easiest).
- To connect color blocks if you do different widths, knot thread to the next color or to a rod, thread the needle with it and weave the thread through the existing color block from the bottom up (see pictures). Continue interchanging to the next thread till you get desired length.
- End by tying off with the tail of thread you left at the beginning, or tie to another loose thread.
- Paint knobs according to the thread colors surrounding it.
We love to see your creations! Tag us with #LarsMakes so we can take a look!


Comments