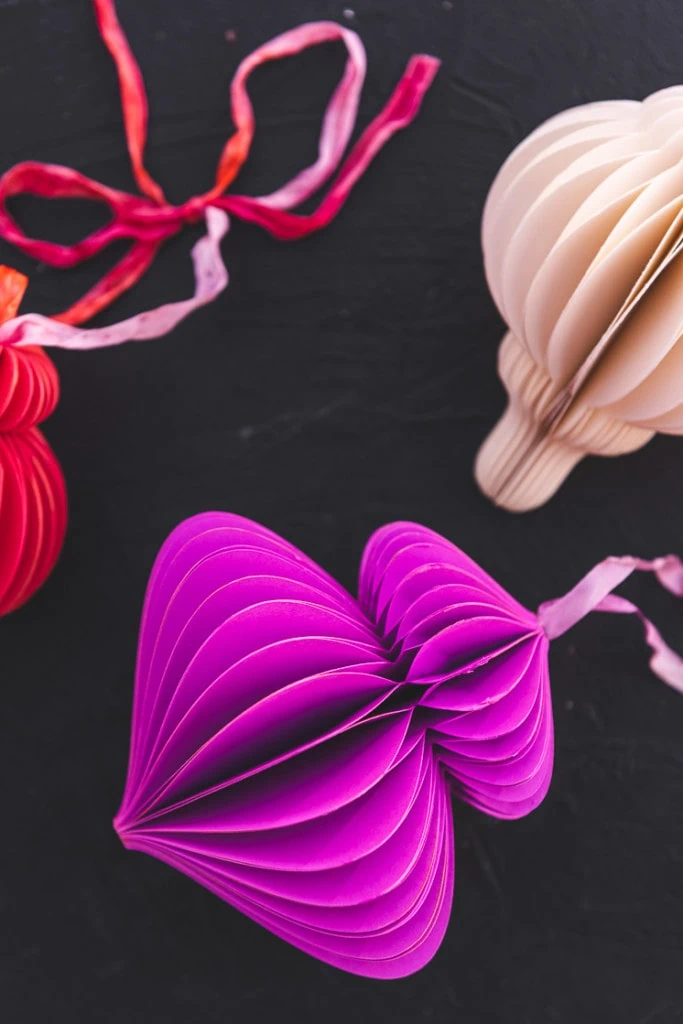
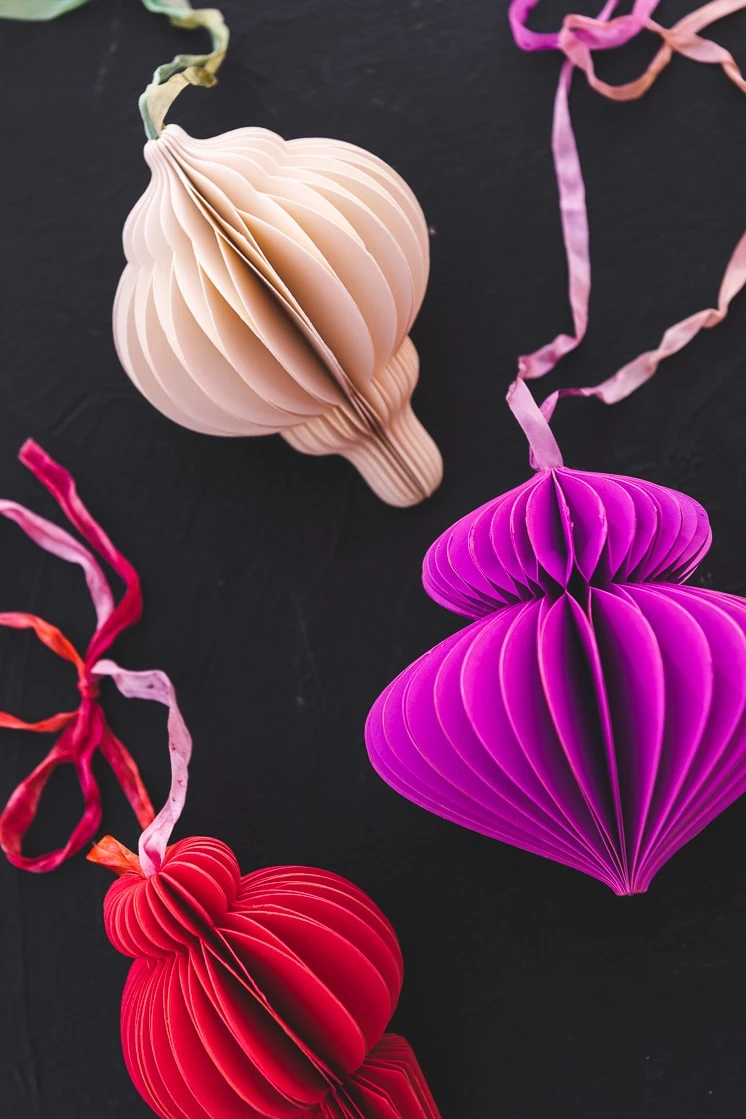
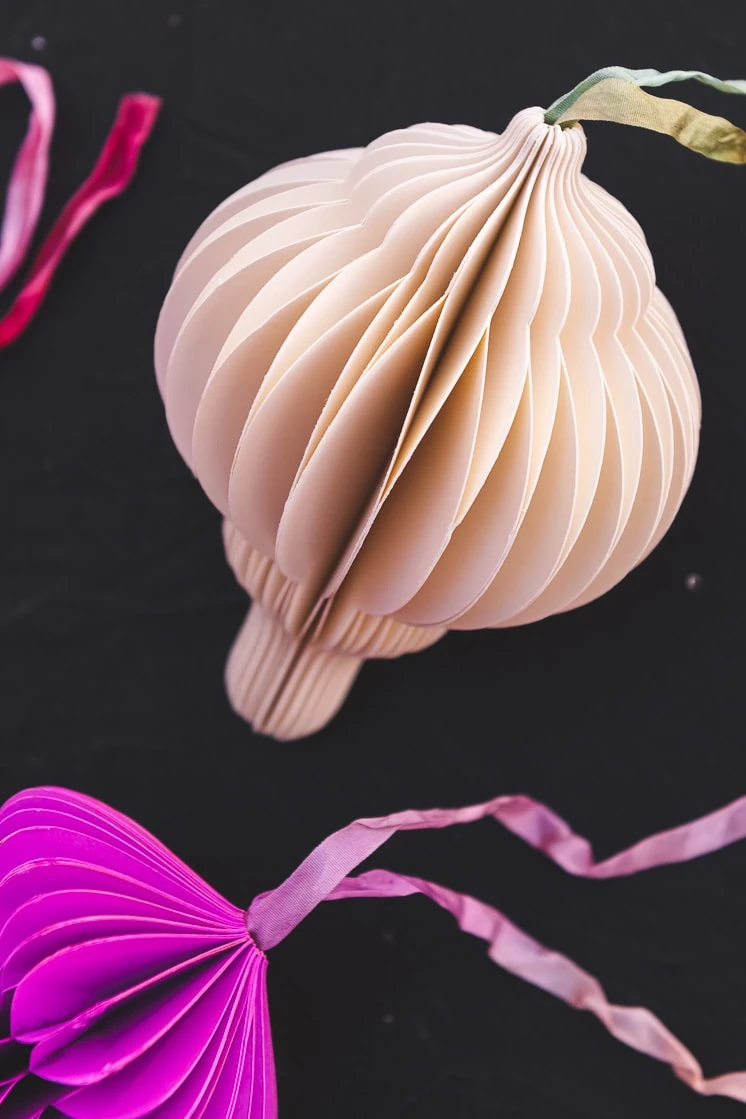
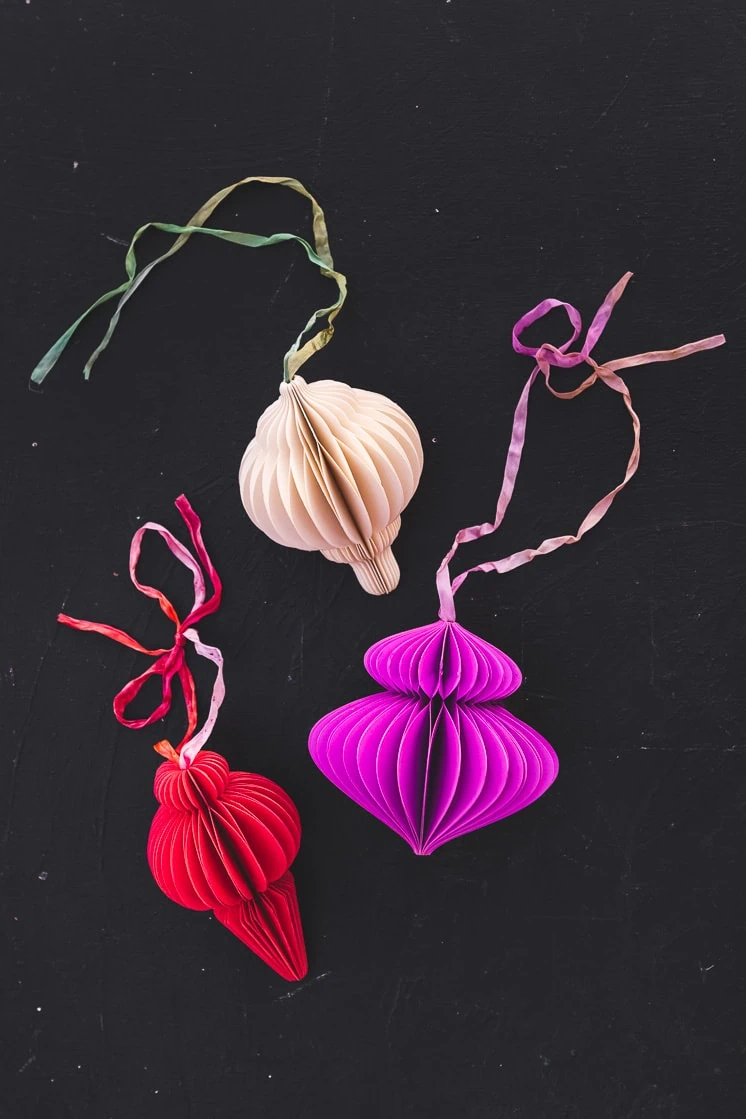
Paper honeycomb ornaments are totally on-trend this holiday season. They come in so many fun shapes and sizes, but they can be pretty expensive. In fact decorating your Christmas tree in any way can add up pretty fast. Which is why making these paper ornaments yourself will turn your mood from a humbug grinch to a Christmas elf just. like. that.
Keep reading to find out how to make your own! We also now have a template of 5 classic but whimsical ornaments shapes to fill your tree. Adorn your tree in any color scheme you want this year!
Materials:
We love the mid-century modern vibe of paper ornaments, and the jewel-toned colors complement any Christmas tree. We especially like that they’re non-breakable—if you have a toddler in your house, you understand.
Plus everyone loves a handmade ornament. They are sweet and sentimental, just like Christmas should be. Though these DIY paper ornaments are quite the level up from popsicle stick reindeers and laminated school photos, ha!
How to Make your DIY Paper Honeycomb Ornaments
These DIY paper honeycomb ornaments are easy to make, you’ll get the hang of it super quick. And like all of our paper crafts, you can reuse them next year! Just make sure to store them in a box where they won’t get crushed by heavier objects.
Materials:
- Ornament Templates
- Medium weight cardstock – Enough to cut 60-66 shapes out per ornament. Our ornaments are all around 5.5 inches tall when complete and we were able to fit 6 shapes each on an 8.5×11 sheet for our Cricut.
- Ribbon
- Cricut machine (or your trusty scissors!)
- Superglue with small applicator – I used both Gorilla Glue clear super glue and Krazy Glue Pens – Stock up on the super glue! This project uses quite a bit.
- Flexible glue such as bookbinding glue – I used E6000 clear transparent adhesive
- Paintbrush with a flat edge
Instructions:
Read all instructions before beginning your project!
- Download our ornament templates here
- Use your cutting machine or scissors to cut out 66 pieces for each ornament.
- Once all of your pieces are cut, you will start glueing them together.
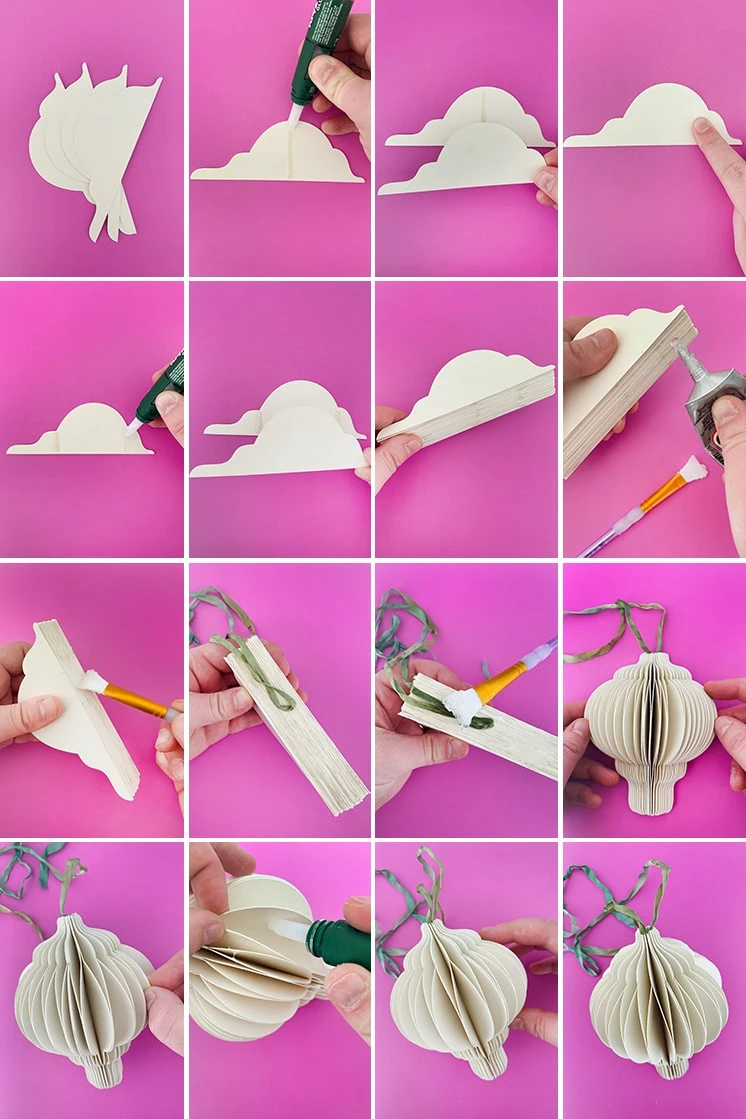
- Carefully place 2 thin lines of super glue separate from each other, and perpendicular to the flat edge of the shape. Take care not to spread the glue anywhere else. Your line of glue does not need to go all the way to both edges of the paper, start and end in a little bit to avoid glue spilling over the edges.
- Place the next shape on top of the one with glue, carefully lining up all the edges.
- On top of this new piece, carefully place one line a super glue, in the middle of where you placed the 2 lines on the last piece.
- Place a next pieces on top of top of that, again aligning all edges.
- Repeat steps 4-7, alternating between 1 line of glue and 2 until all of your cut shapes are stacked on top of each other.
- Now you will seal the flat edges of your ornaments shapes together using bookbinding glue or any other flexible glue.
- While holding the shapes together tightly, use a small paintbrush with a flat edge to spread flexible glue along the entire flat edge of your stack of paper shapes.
- Before the flexible glue has dried, use it to attach a ribbon to the flat edge, on the side you want as the top of your ornament. This is what you will use to hang it up later.
- Let your work sit until all of the glue is completely dry. Now it is time to open your ornament!
- Starting at one side, start to carefully open the individual shapes in your stack, carefully unsticking any edges where the super glue might have spilled over if needed.
- Your paper shapes should open up to form your ornament, meeting on the opposite side. You’ll see the ribbon is now tucked in in the center of the ornament.
- Carefully align and glue together the 2 sides that meet when the ornament is open. Ta da!
Extra Tips
Here are some extra notes that will help you avoid mistakes your first time around!
If you are having a hard time opening your ornaments that is most likely because glue spilled over the edges and is in places it shouldn’t be. That is why it is important to take care to make your lines of super glue as thin and straight as possible. And avoid glueing all the way to the edge of your paper. Just take your time!
You may experiment with where you place your lines of glue to achieve different end looks – as long as you use the same pattern for one entire ornament. These lines of glue effect where the “honeycomb” effect shows up on finished ornaments. For all of the shapes included in our templates, I still used 2 lines of glue alternating with 1 line between them.
More Paper Ornament Ideas
Need more DIY ornament ideas? Check out our tutorial for printable retro ornaments, paper candle ornaments, or a head to toe Swedish Christmas tree.
If you’re not in the mood for a DIY, browse through our whimsical Christmas ornament selection, introduced in this post from a few weeks ago.
Paper Ornaments Available For Purchase




Comments