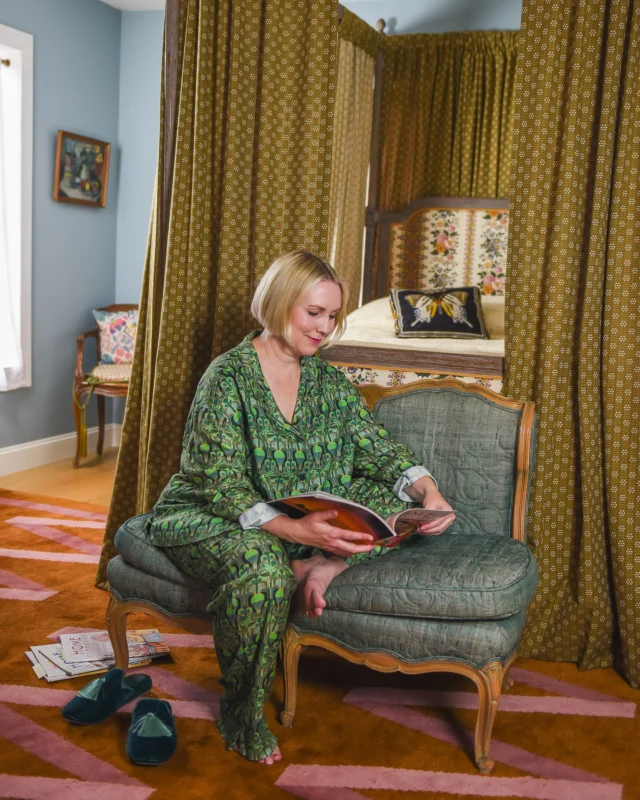
Best movies for fall/halloween
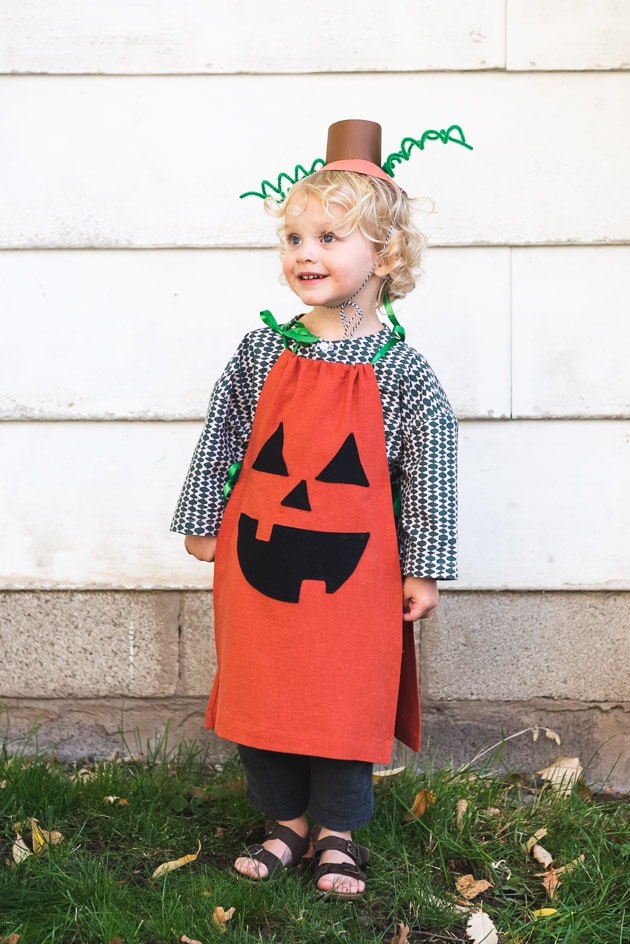
Halloween projects to make with your kids
Halloween party decor ideas
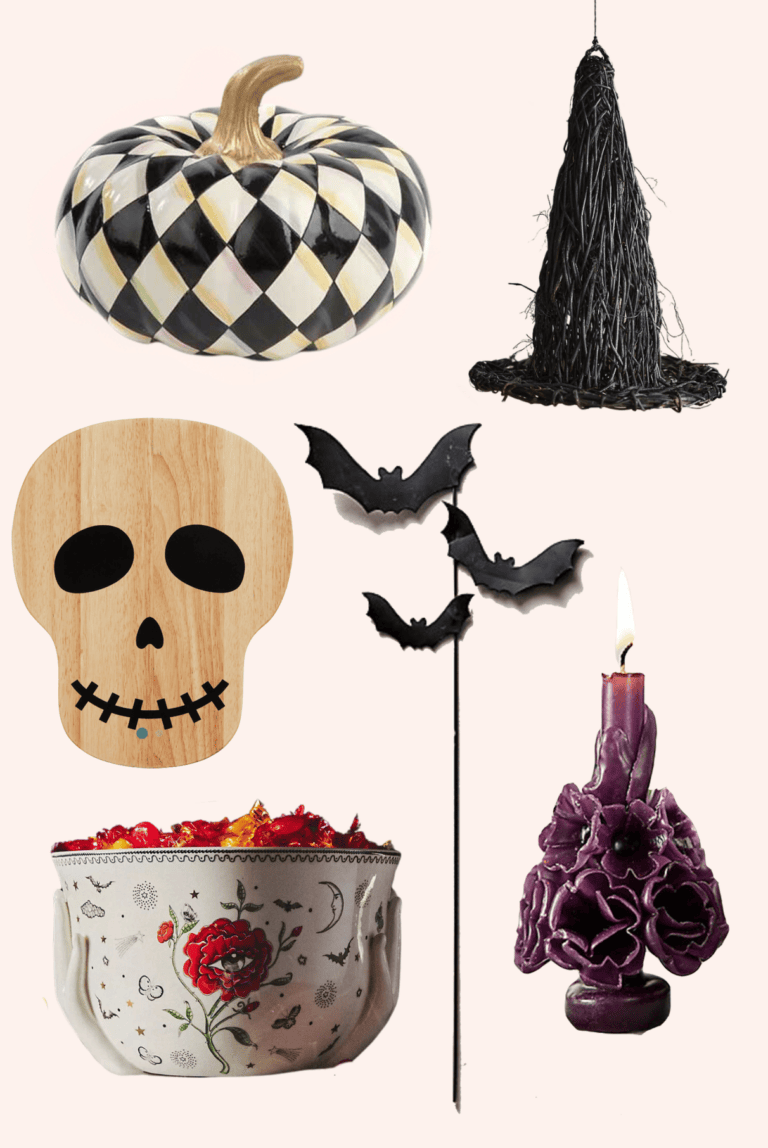
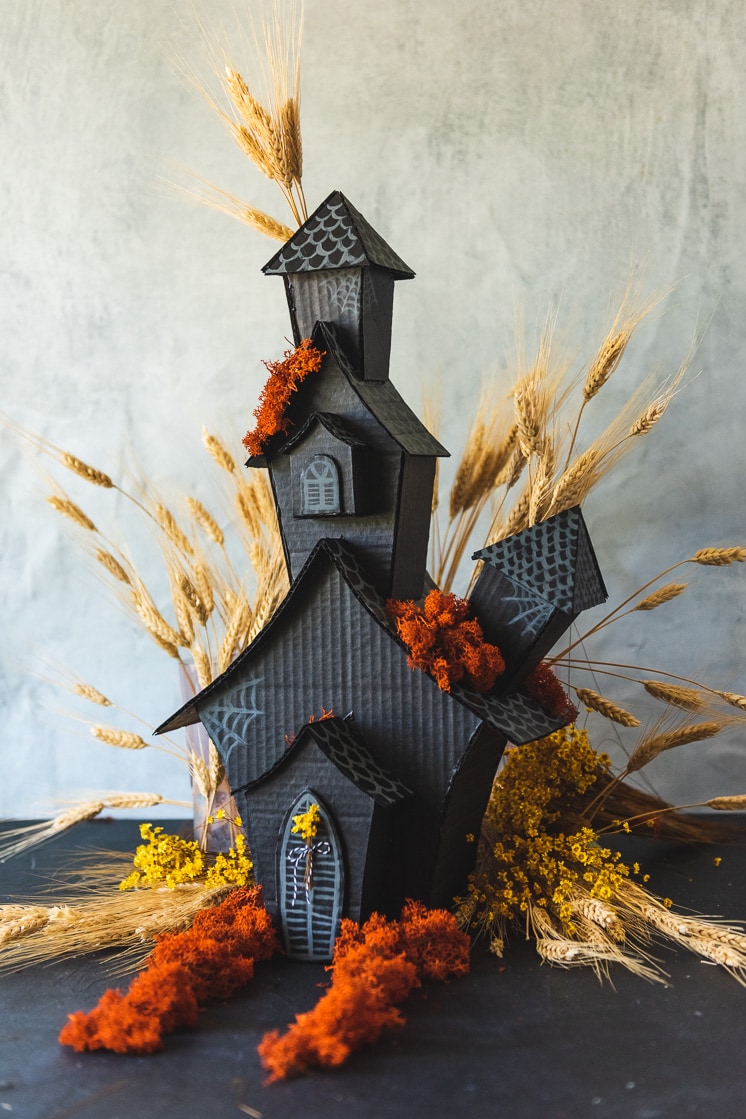
Spooktacular Fall and Halloween Decor
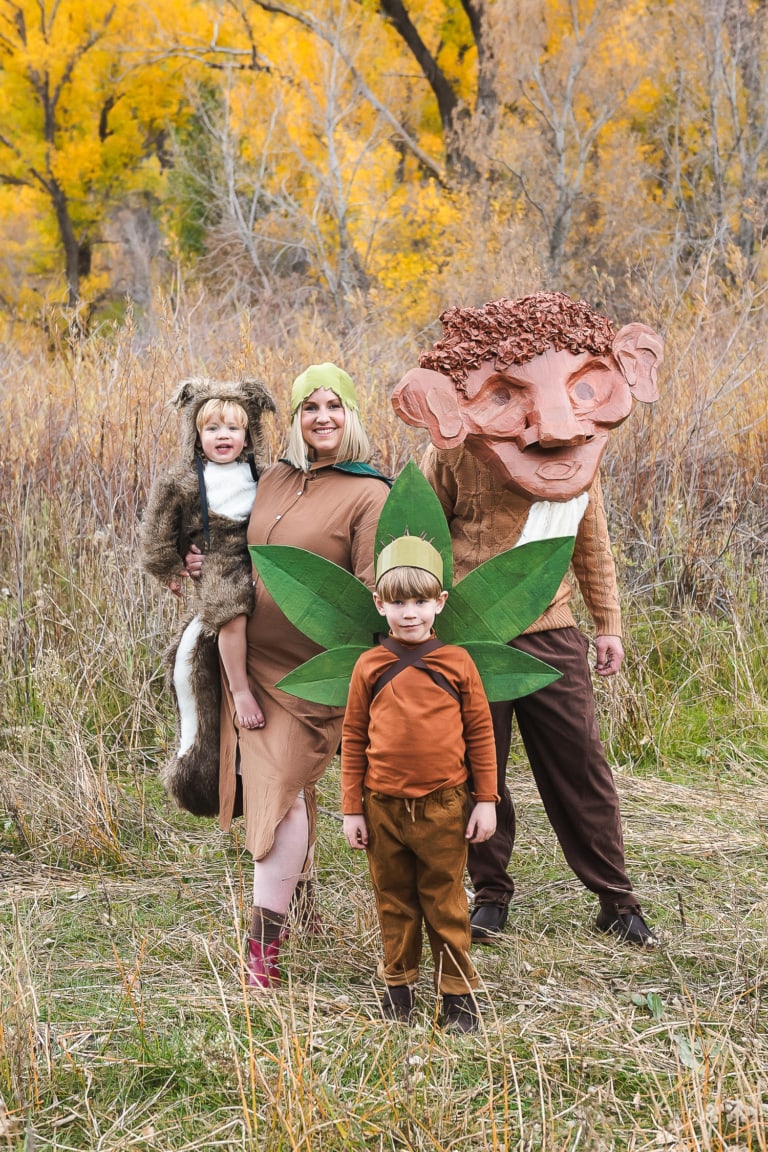
Woody, Hazel, and Little Pip Family Costume
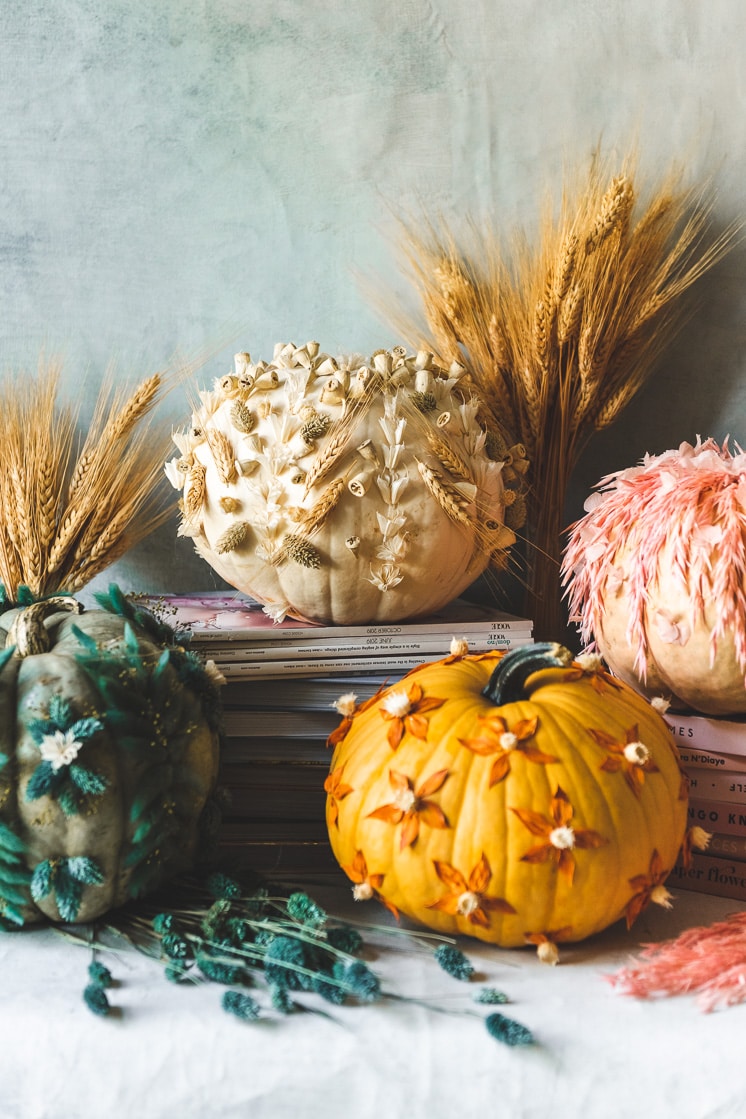
Pumpkin ideas to elevate your front porch
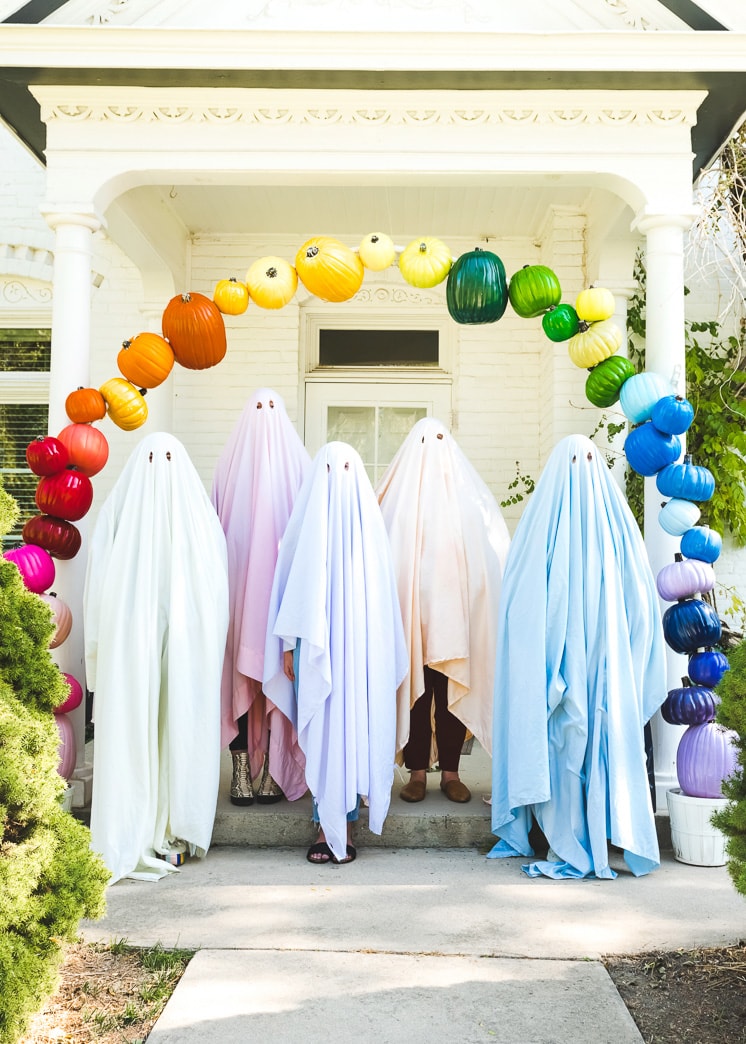
Squad goals: Group Costume ideas for Halloween
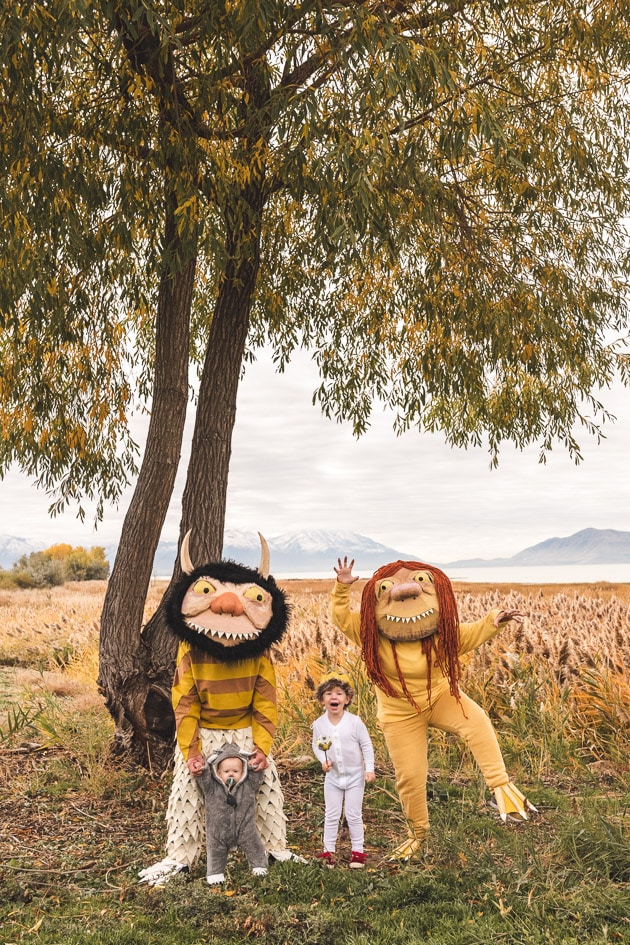
Halloween costume ideas for families

Spooky Halloween decor ideas
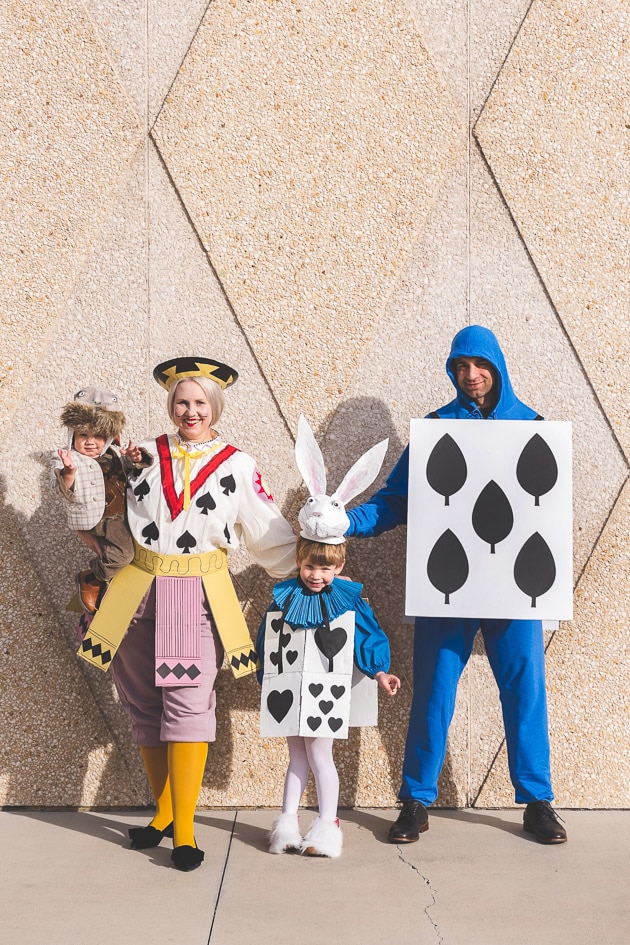
Alice in Wonderland Family Costumes
Easy Halloween Ideas From Our Shop

Vintage Clown Costumes
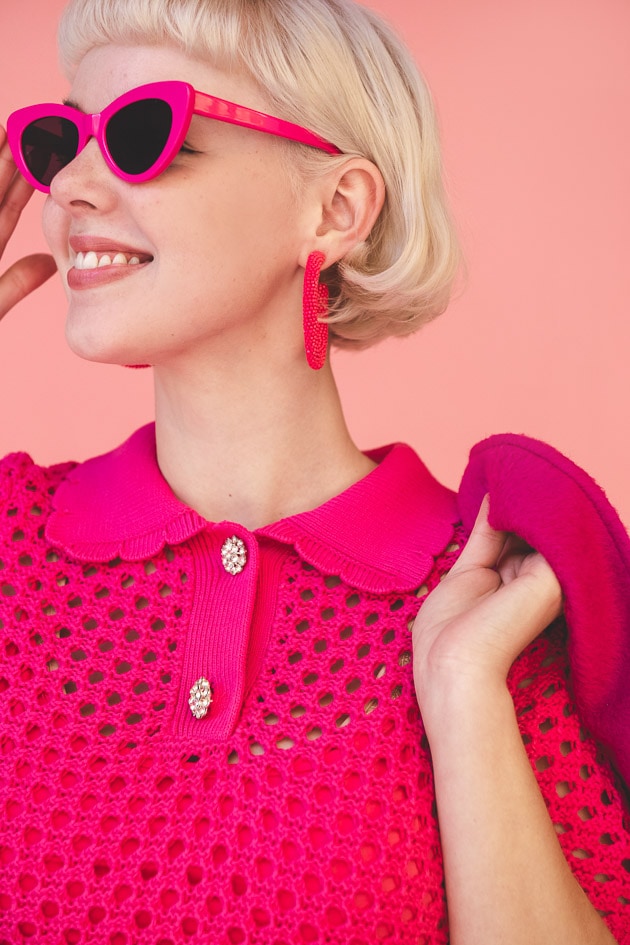
Barbiecore Costume Ideas
Classic Halloween Costumes
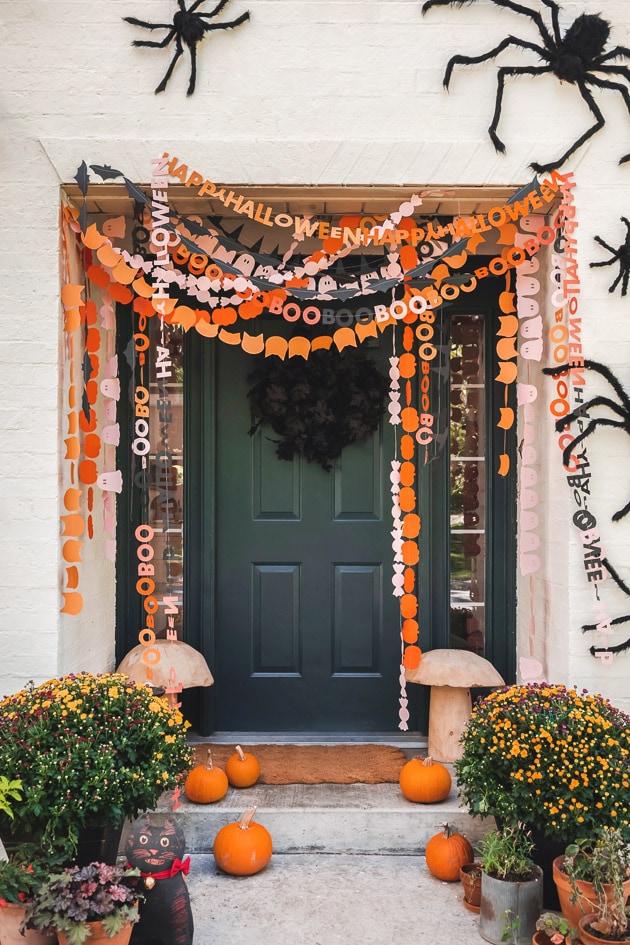
Halloween Garland
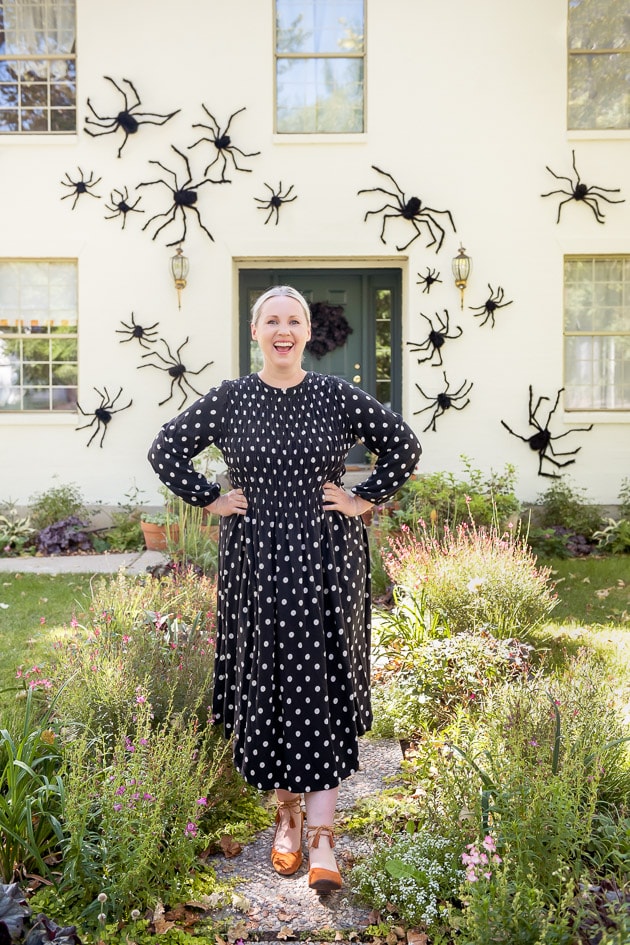
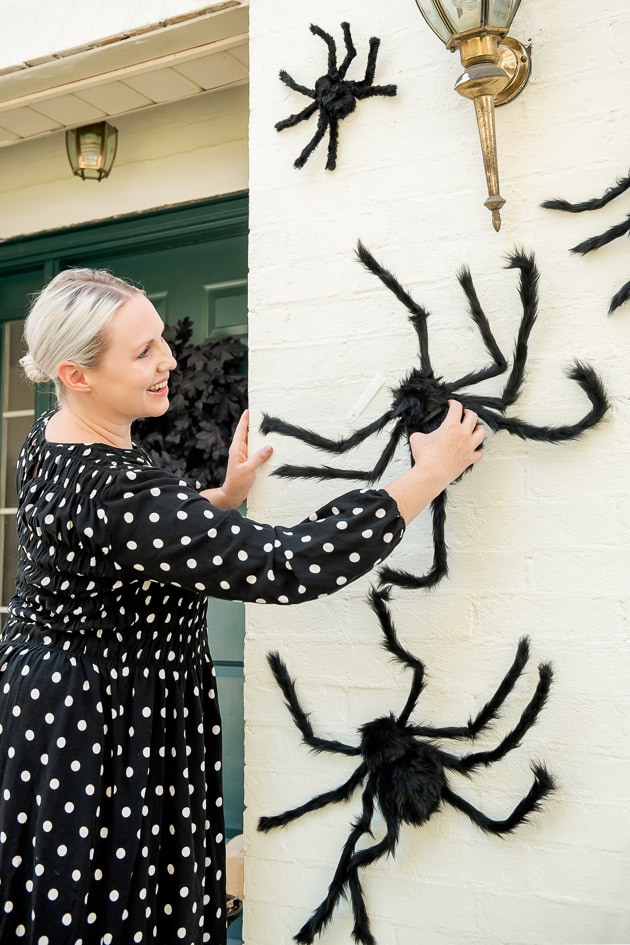
Halloween decoration spiders
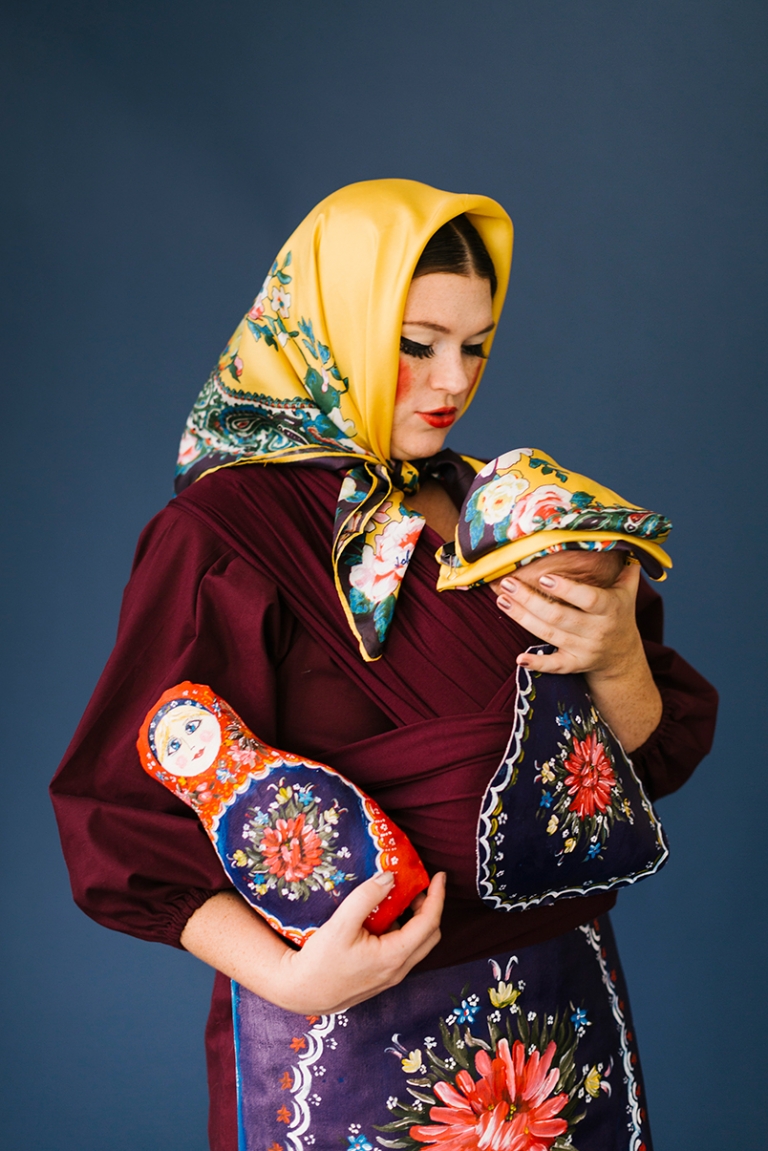
Mommy and Me Halloween Costumes
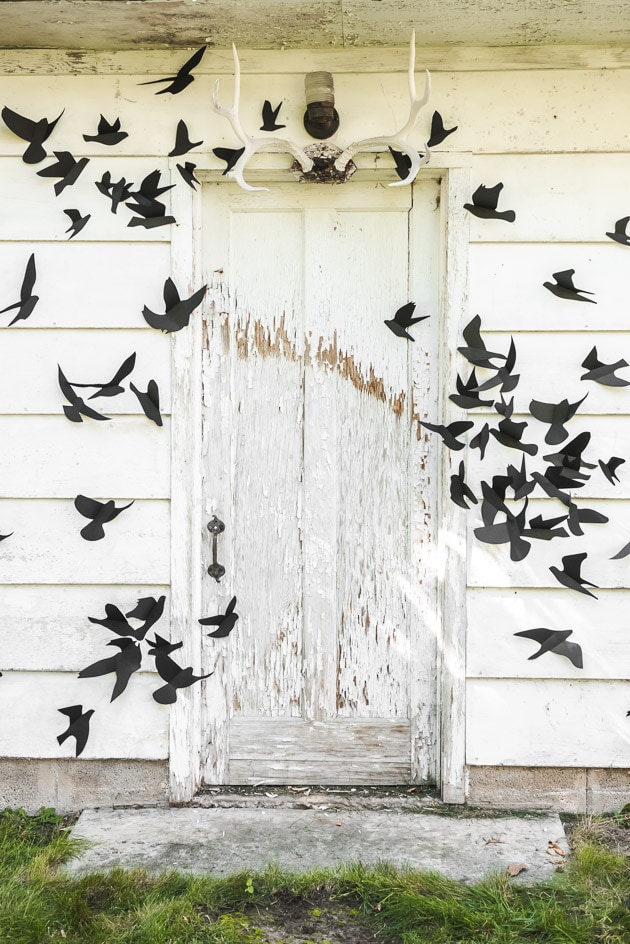
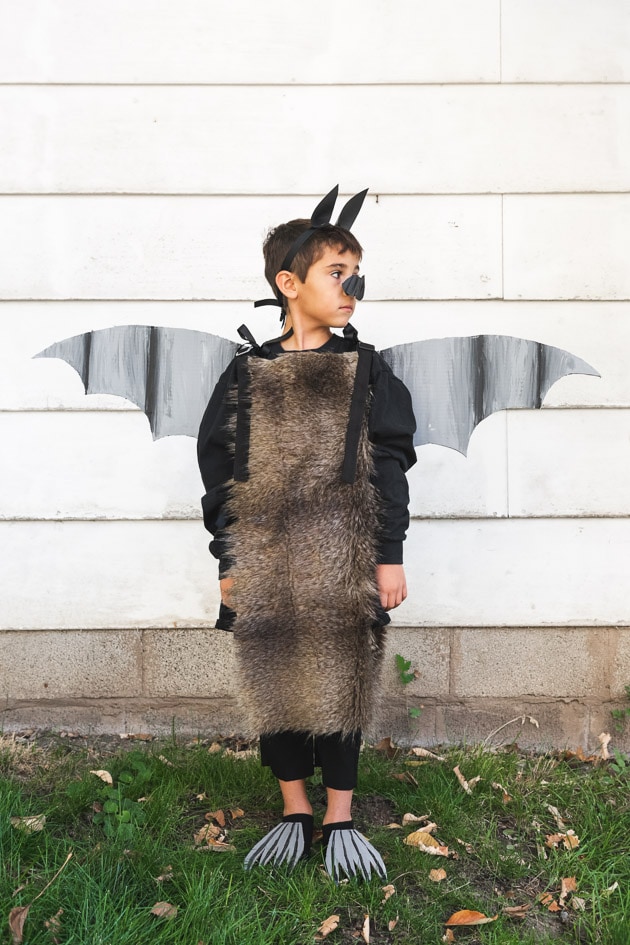
“The Birds” Halloween Wall Decor
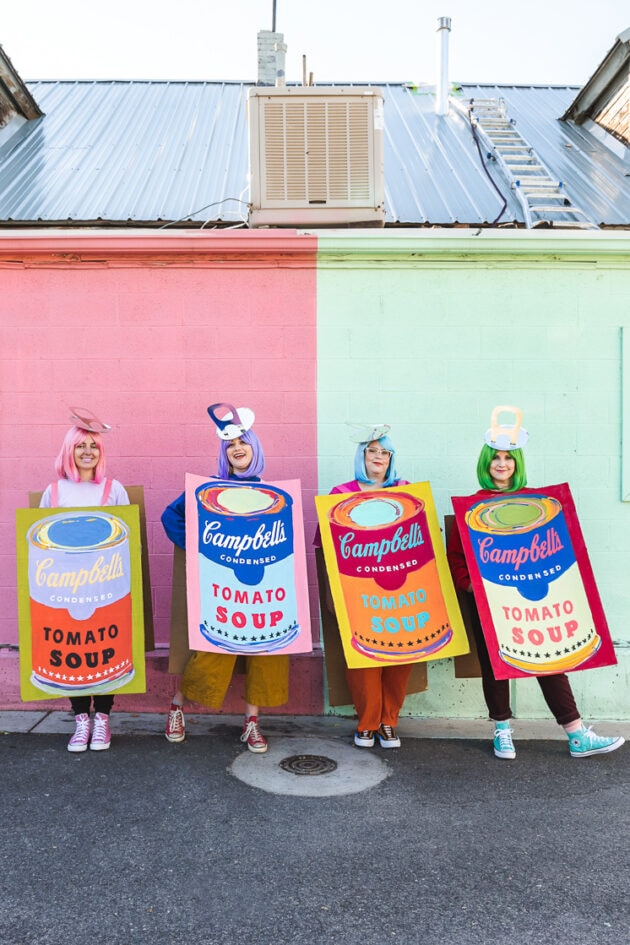
Best Cardboard Costumes
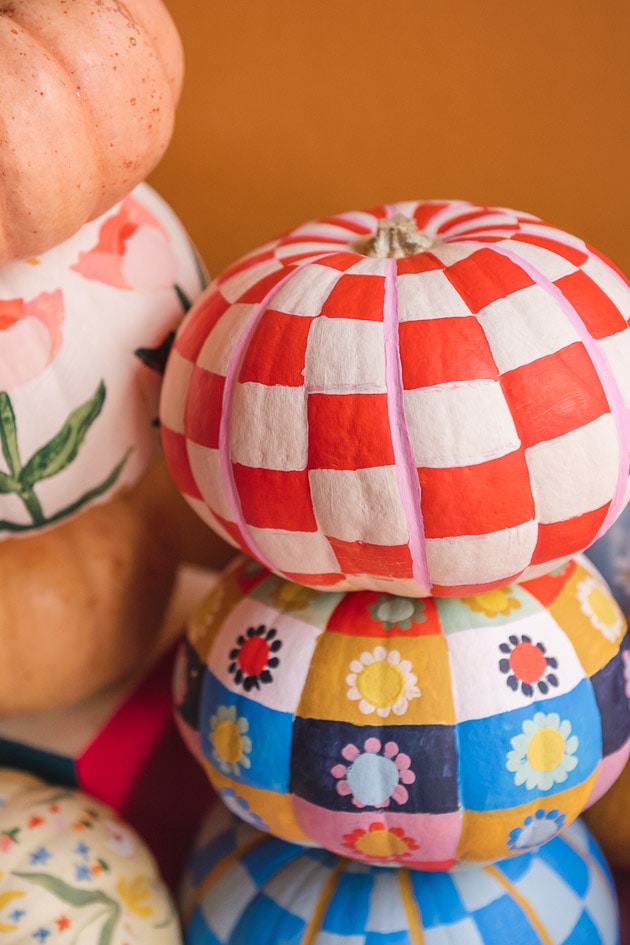
Halloween Pumpkin Ideas
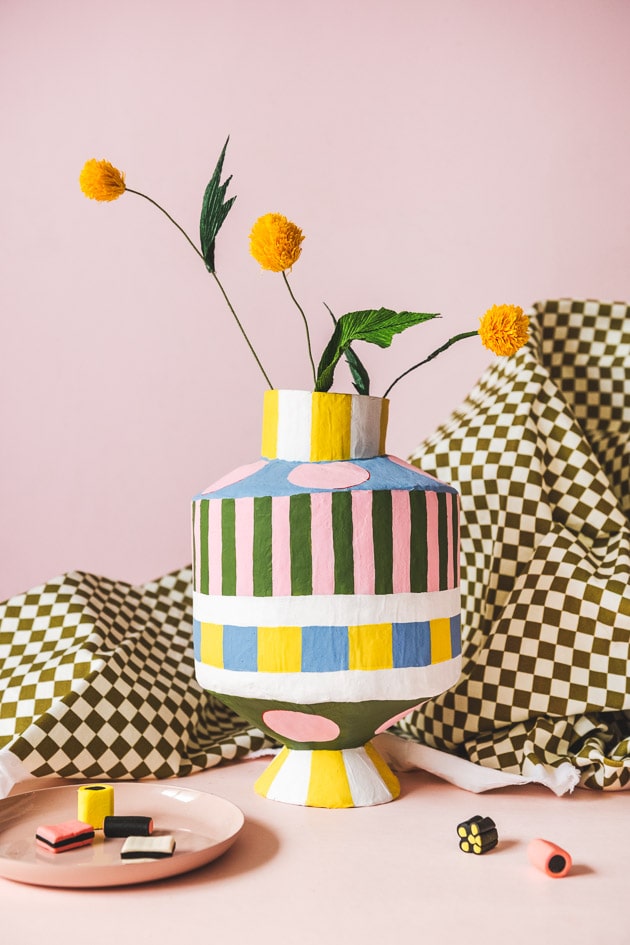
Eight Crafts to do with Leftover Cardboard
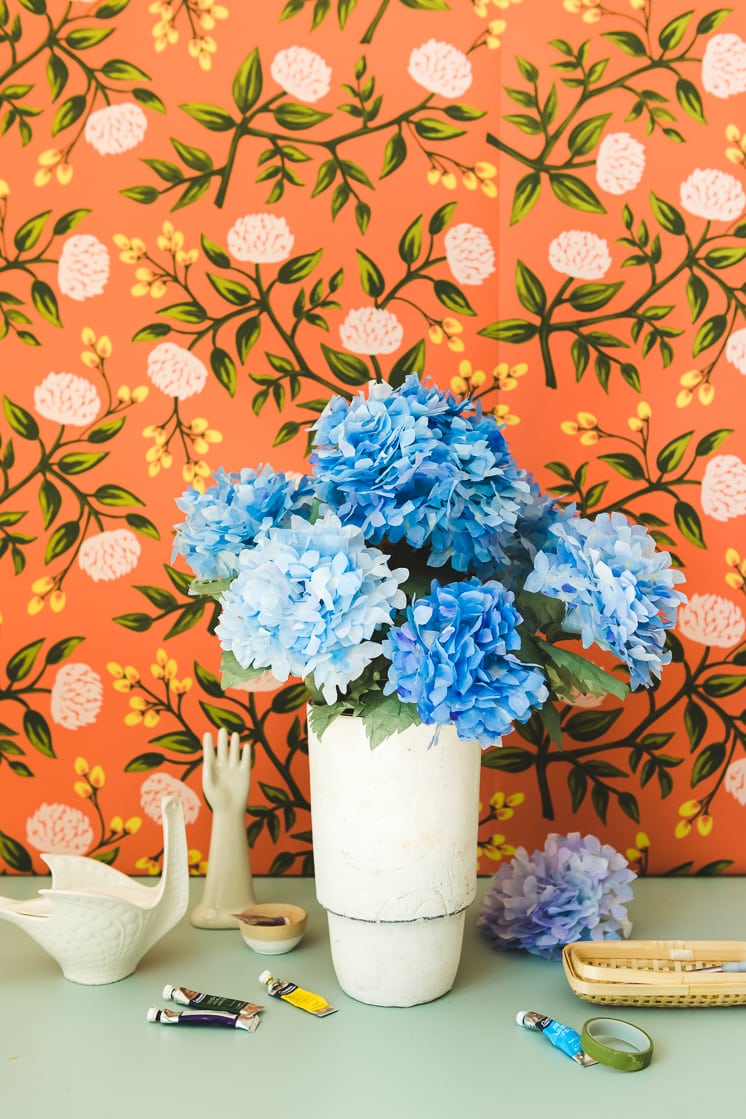
All Our Paper Flower Tutorials
Easter Activities for Kids
- 1
- 2
- 3
- …
- 5
- Next Page »