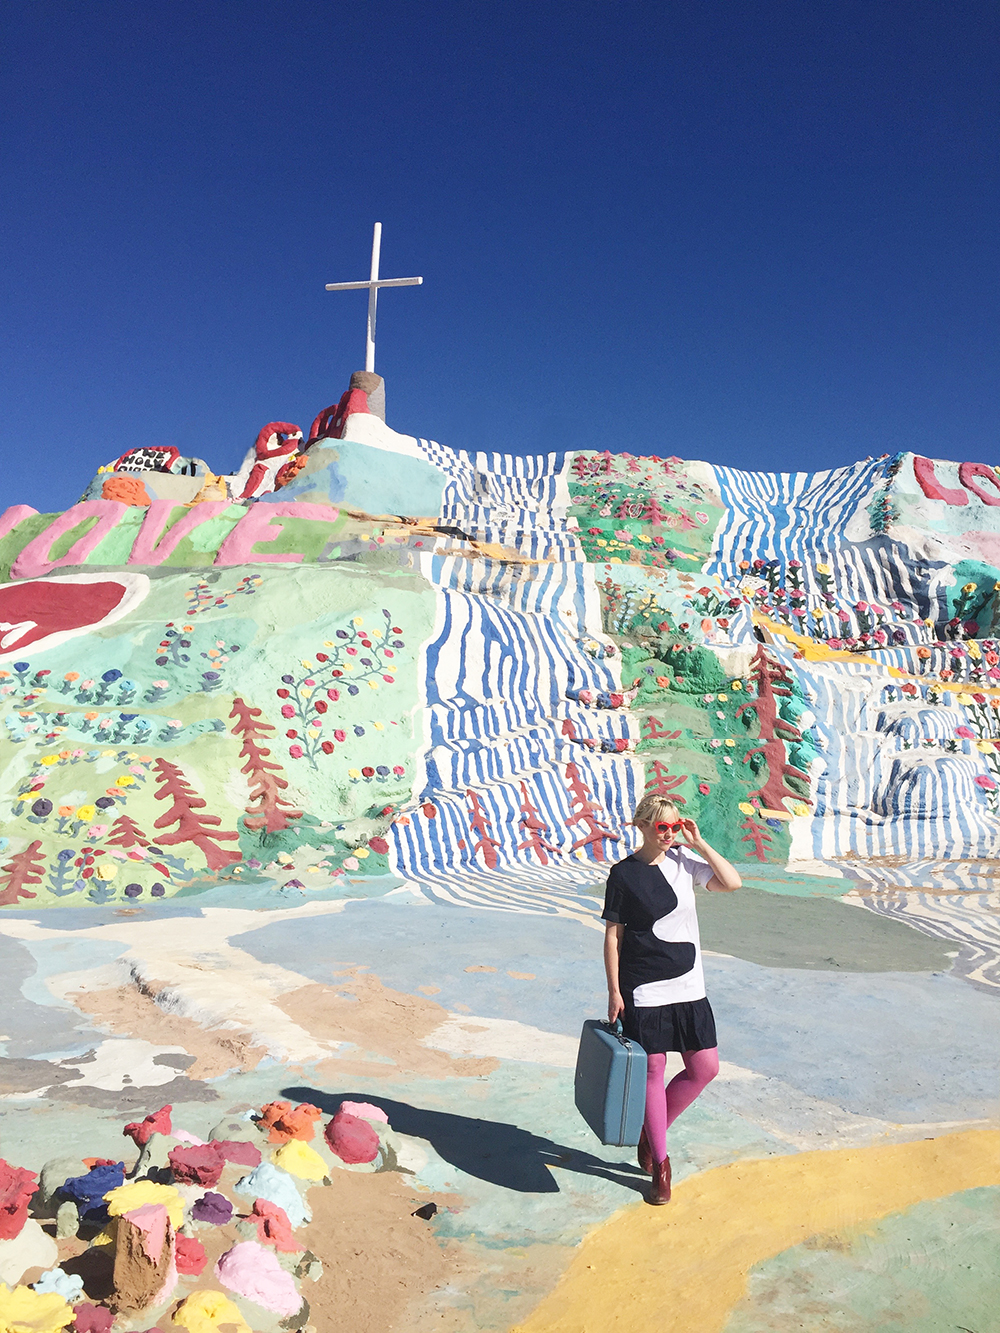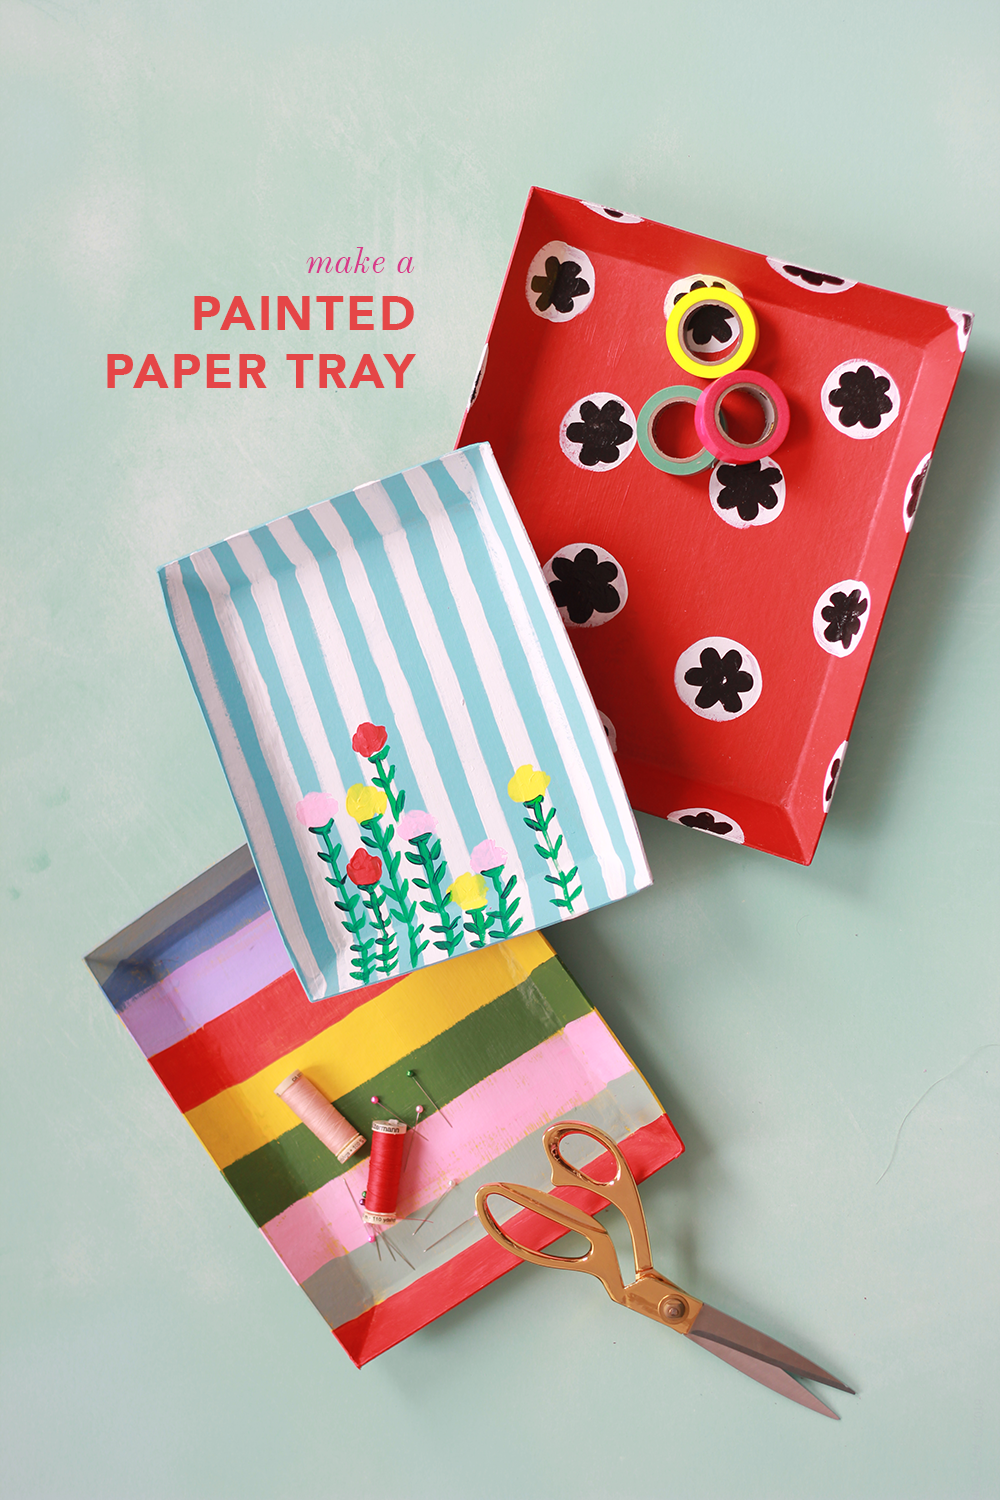
Last week I featured our trip to Salvation Mountain over the holiday break. I was super inspired by colors and patterns of Leonard Knight’s painted mountain, which is covered with stripes and flowers and trees, everything my #CraftTheRainbow heart could desire. It felt like an explosion of everything going on inside my brain.
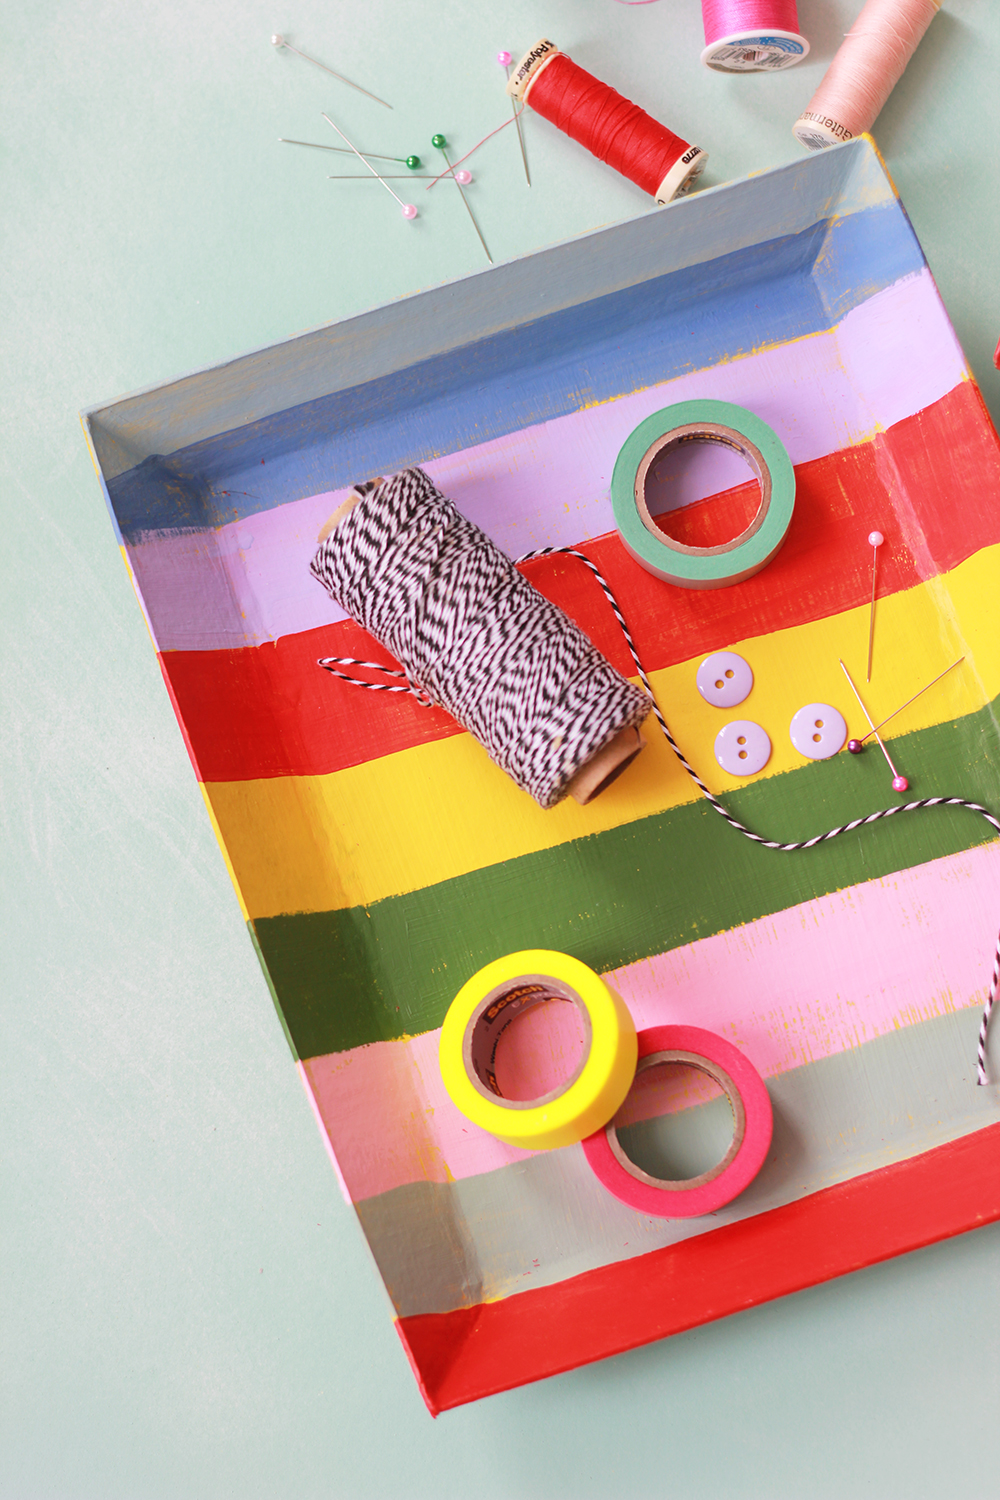
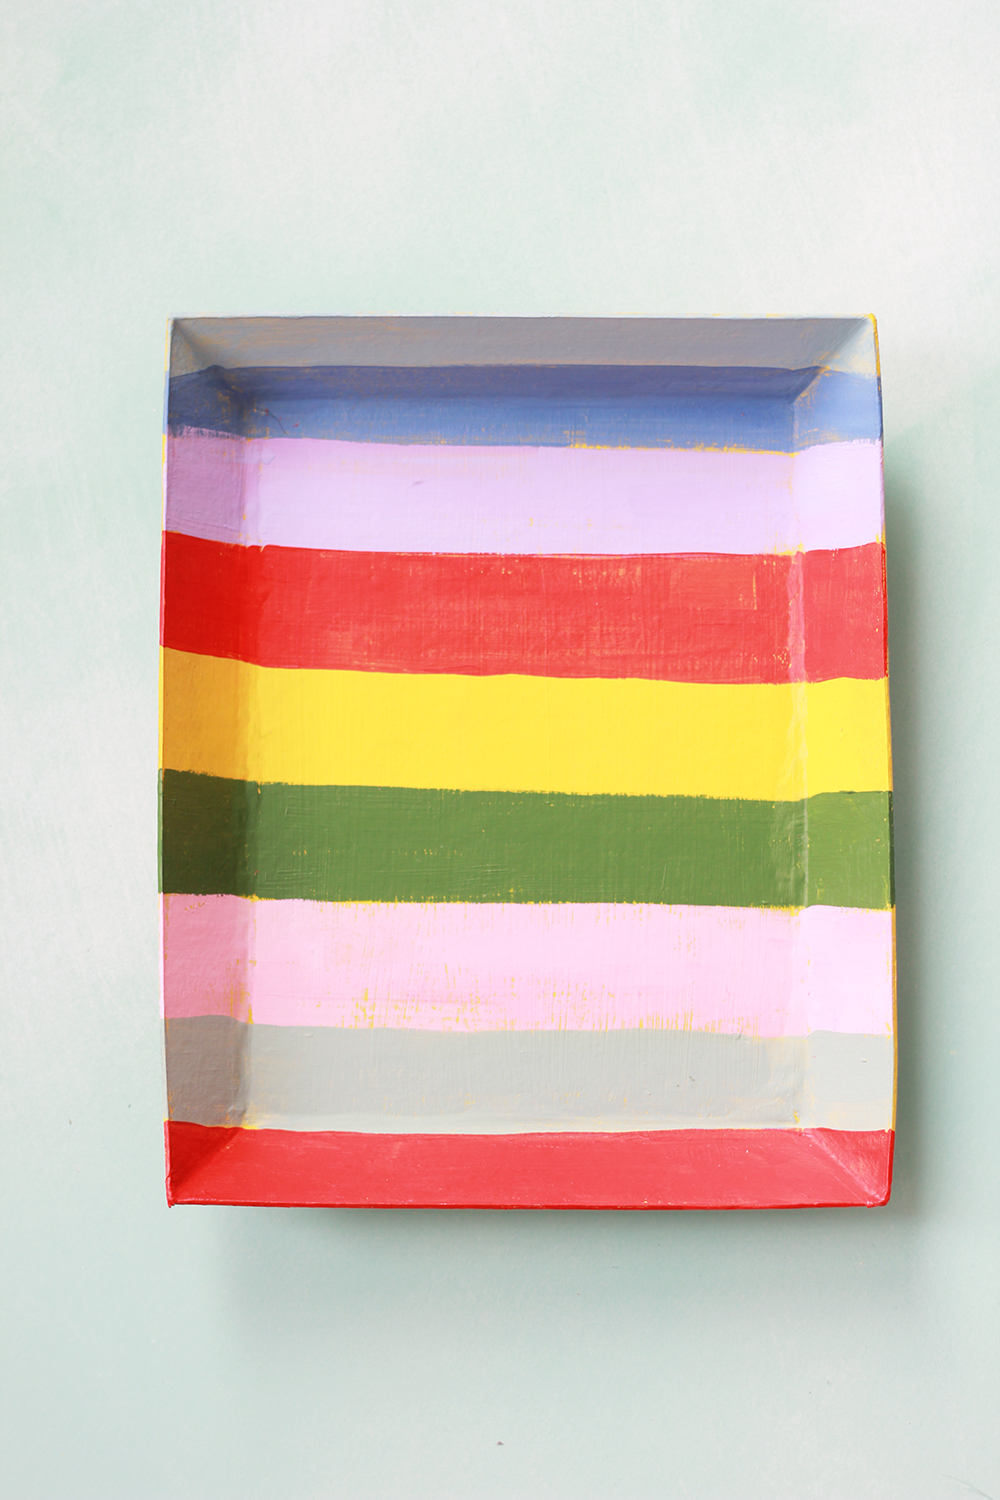
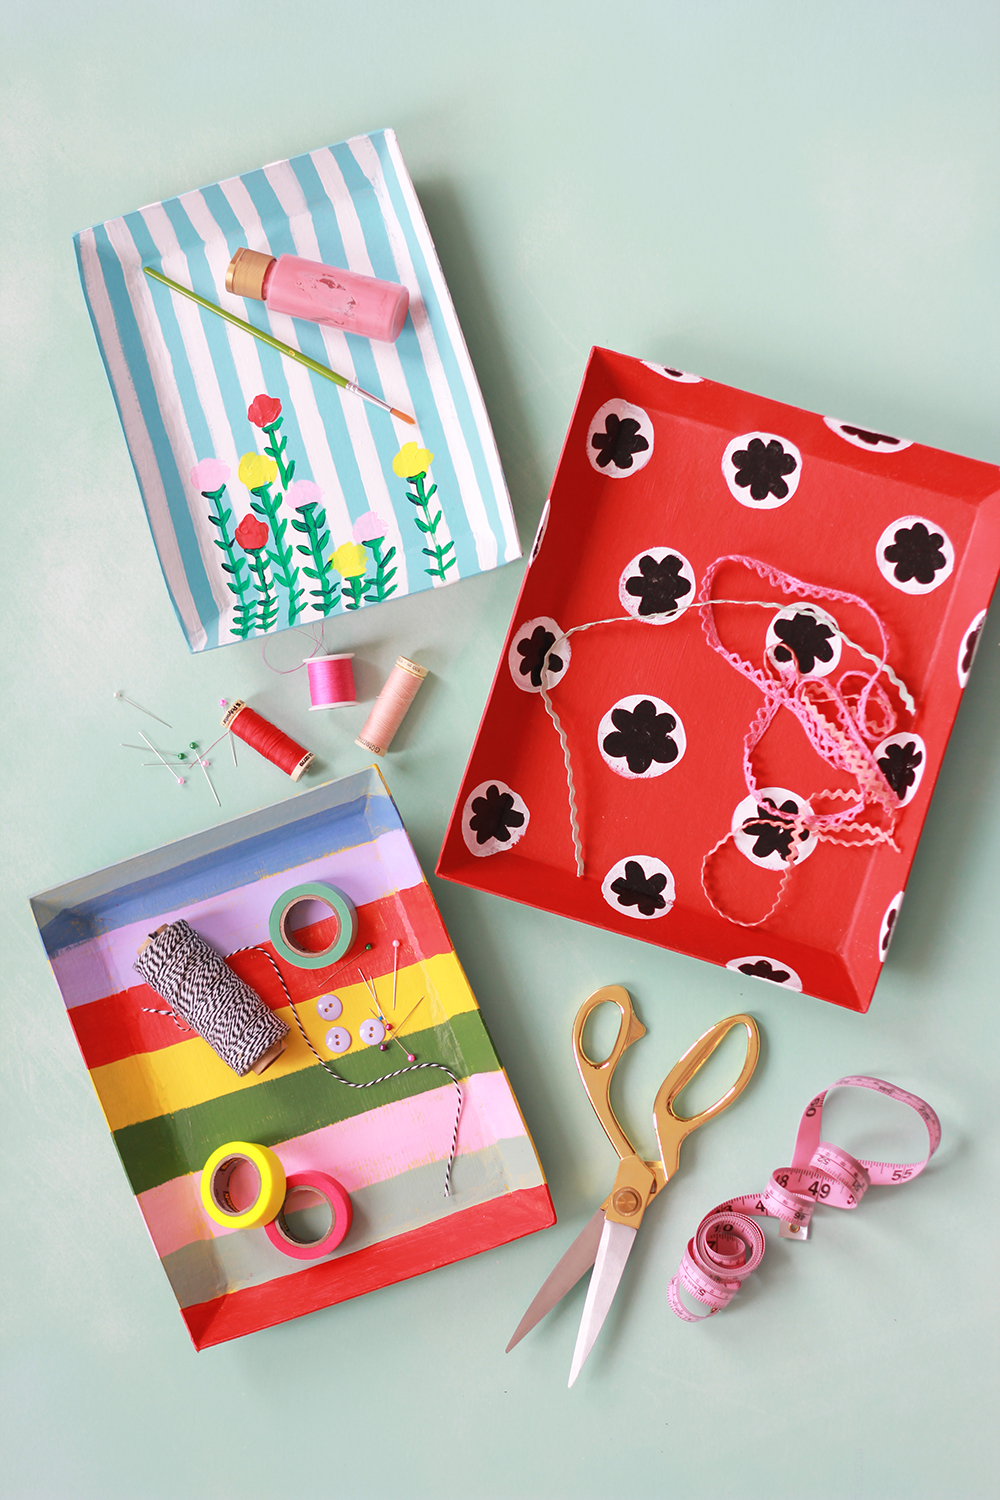
Like I mentioned last week in my State of the Blog Address, one of my goals that I’m choosing to focus on this year is keeping to my own inspiration, versus the floods of inspiration that come immediately from Pinterest or Instagram so I decided to put paint to paper after our trip. My sister had painted some plain papier mache trays out at my parent’s house and I quickly claimed them and applied some patterns and colors as inspired by Salvation Mountain (that’s what sisters are for, right?!). Because another goal of mine is to be more organized (like the rest of the world for the first month of the year) I’m using these trays for paperwork and such. I’ll let you know how it goes.
Learn how to make the painted paper trays below!
Materials:
- plain paper mache trays (we found ours here. These boxes would be pretty too!)
- acrylic paints
- paint brushes
- clear paint seal
- Make sure your surface is clean.
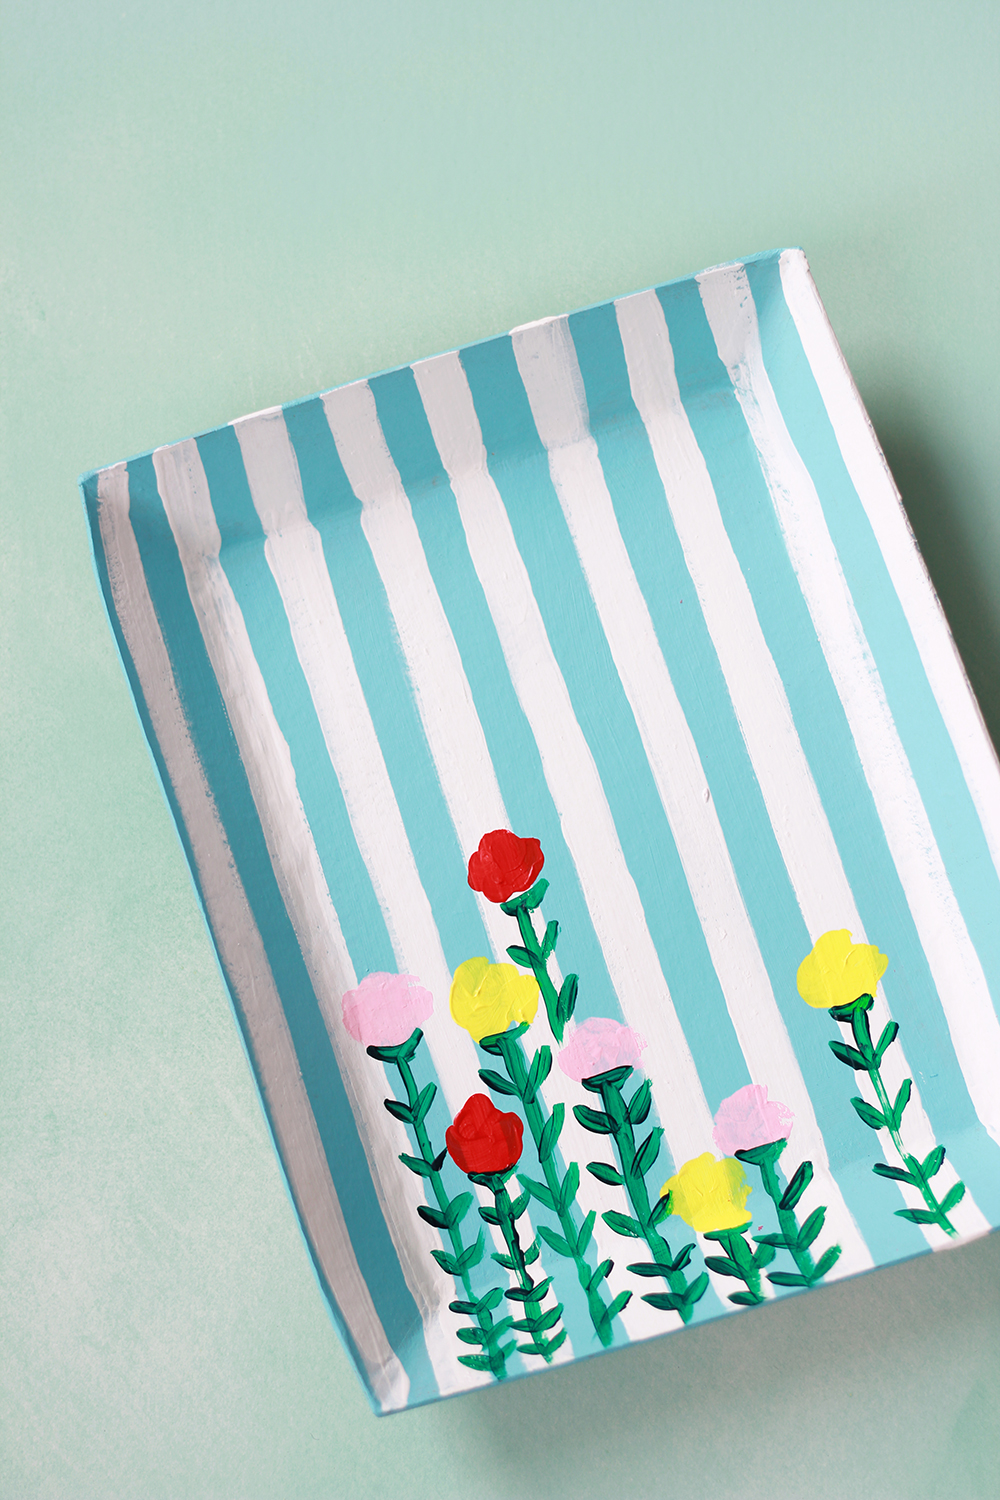
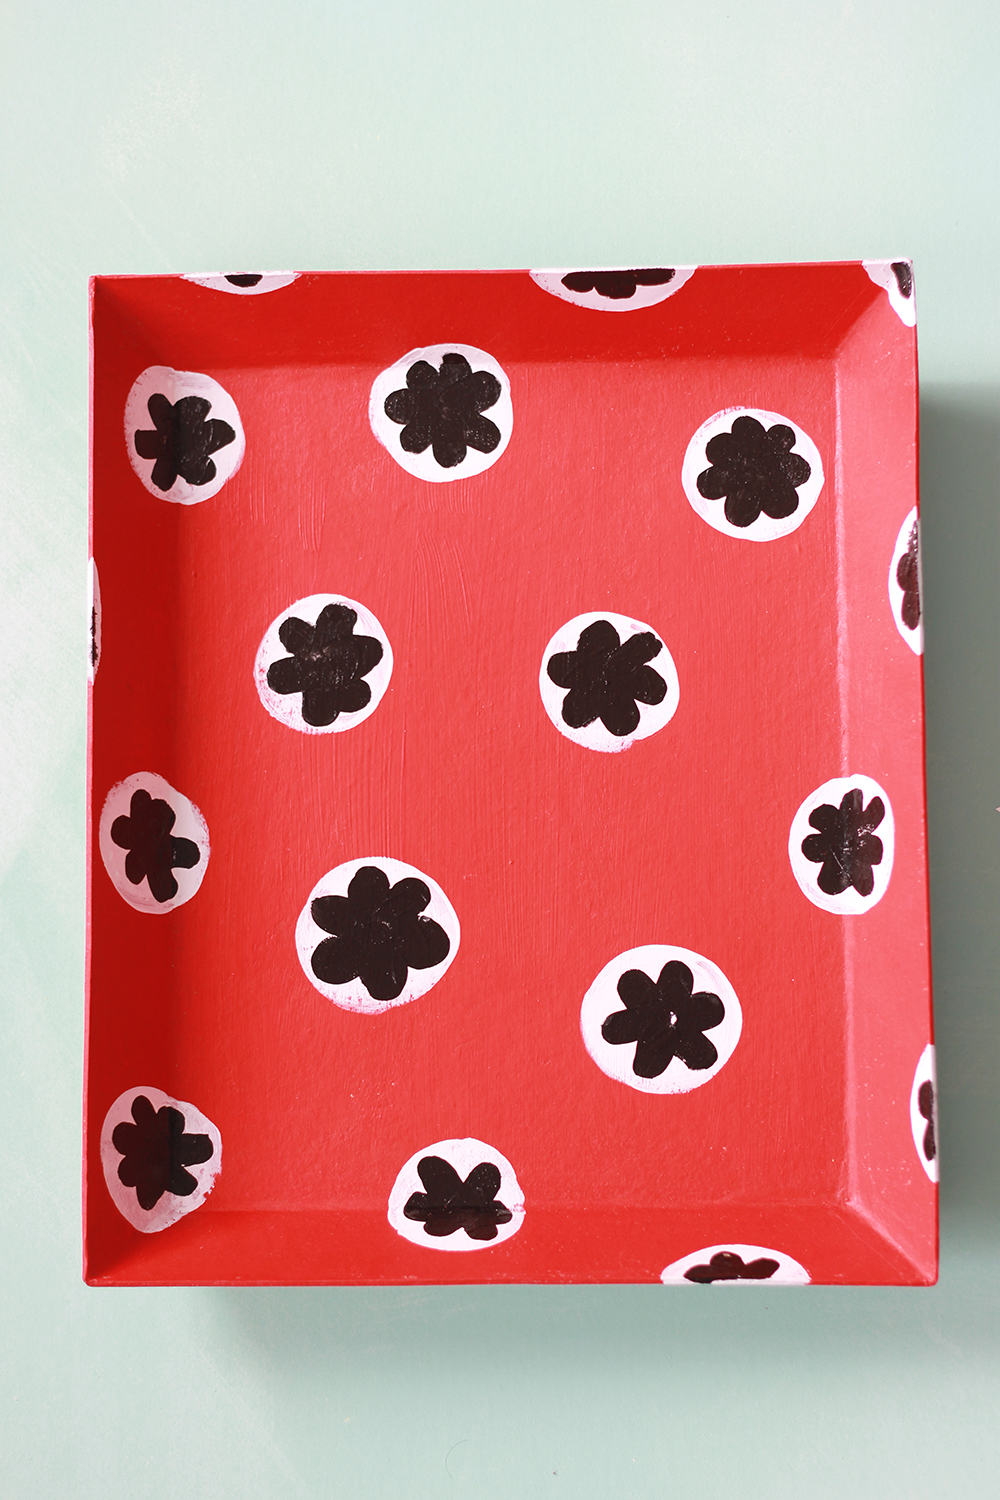
- Paint the tray with one color all over. I painted one blue, one red, one yellow.
- Apply your patterns. I chose not to stetch a pattern on because I wanted to keep it loose and painterly, but feel free to draw on your pattern then paint on top of it.
- Seal it with a clear paint seal. Not food safe.
Though I’m using mine for organization, I’m thinking they would also be fun as art decor, hung from the walls or displayed in vignette on a table. Or, they would be a fun gift to give.
See more craft projects here.


