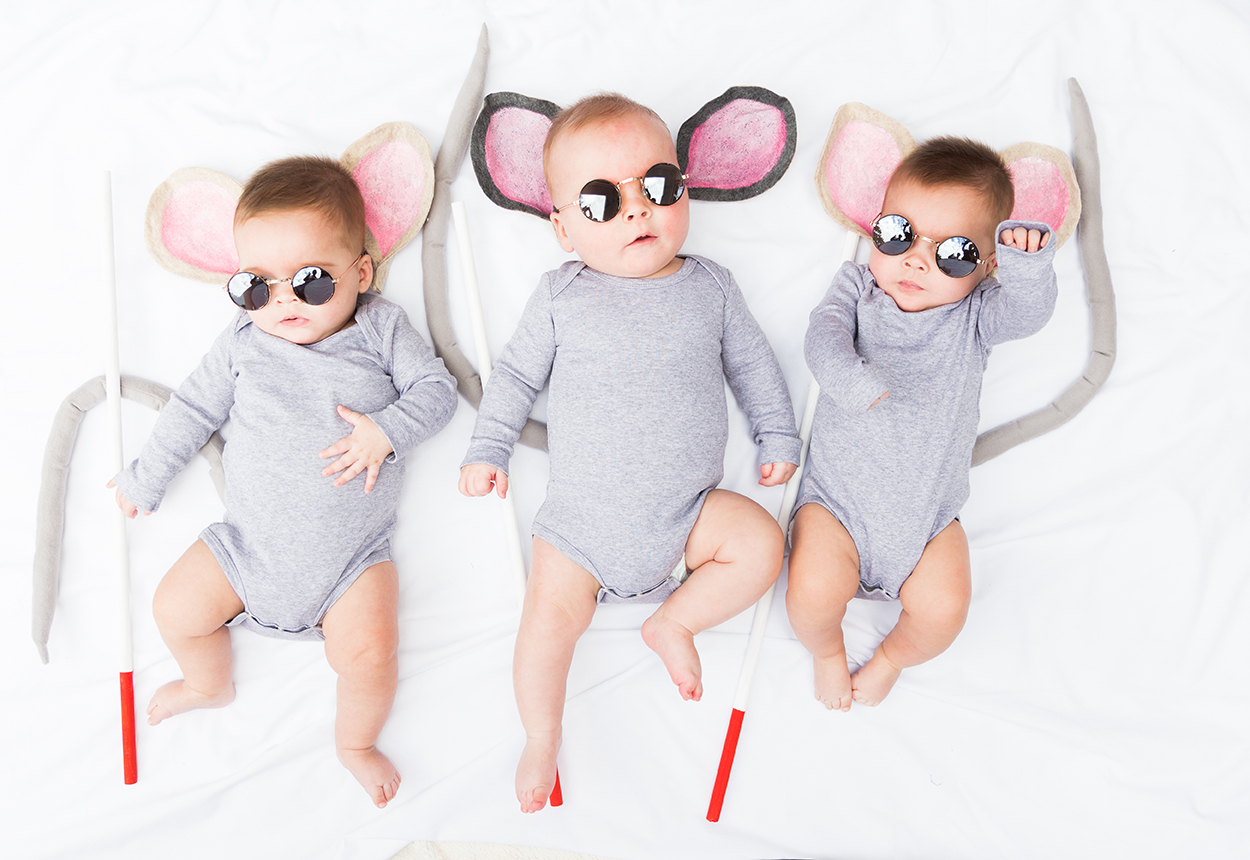
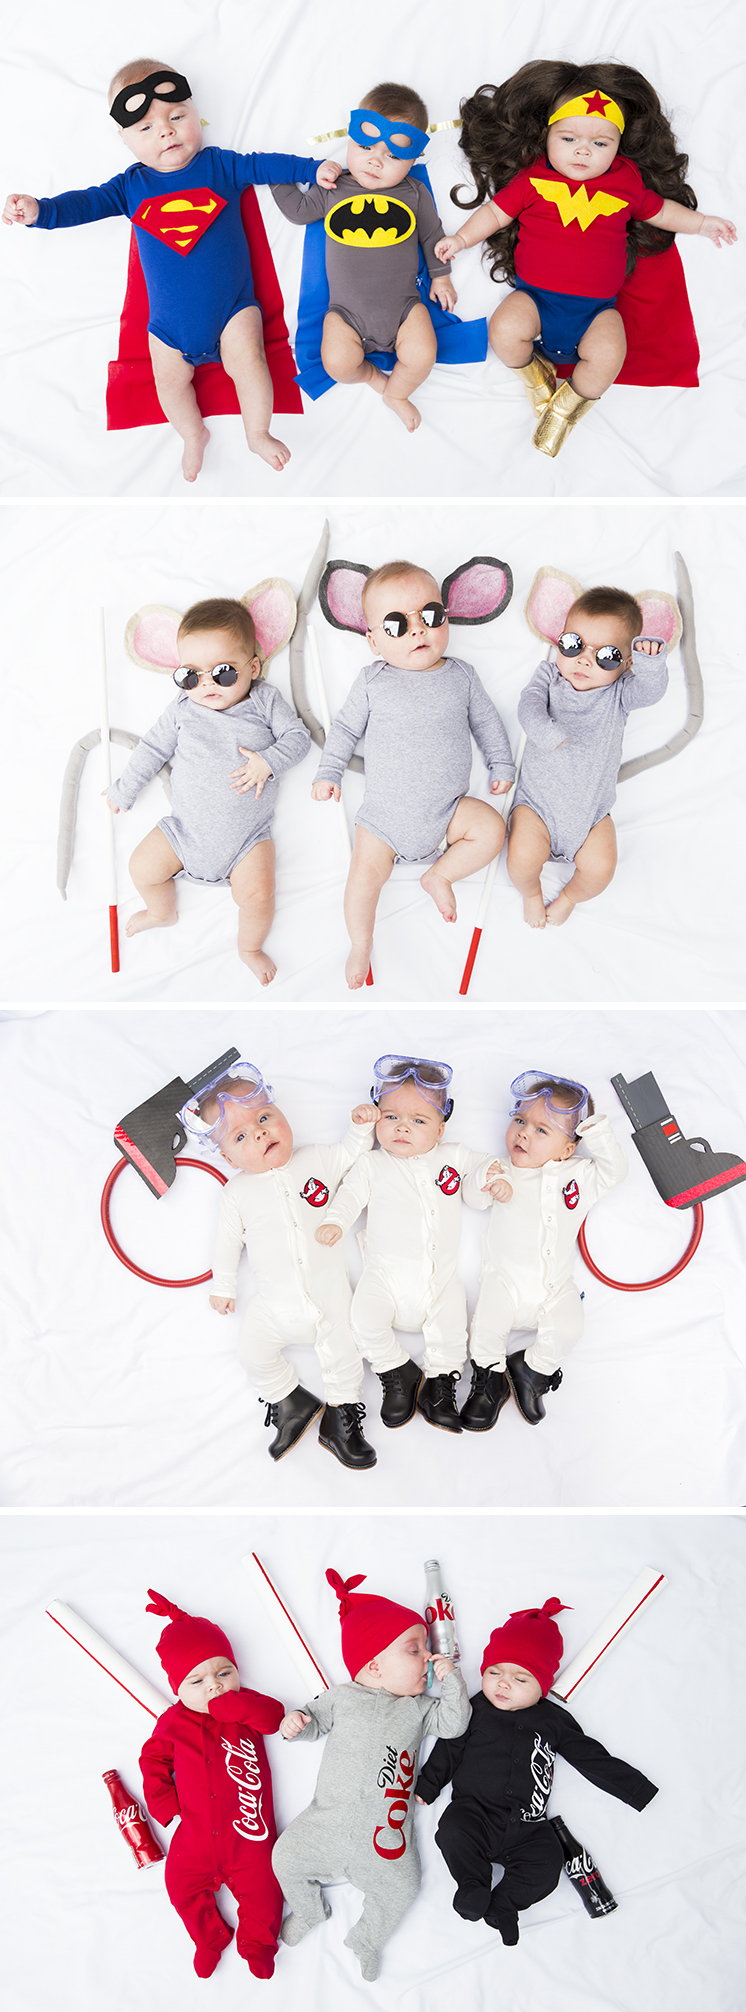
Each of these three costumes is based off a basic infant onesie pajama and should less than an hour to make. We love the easy ones too!
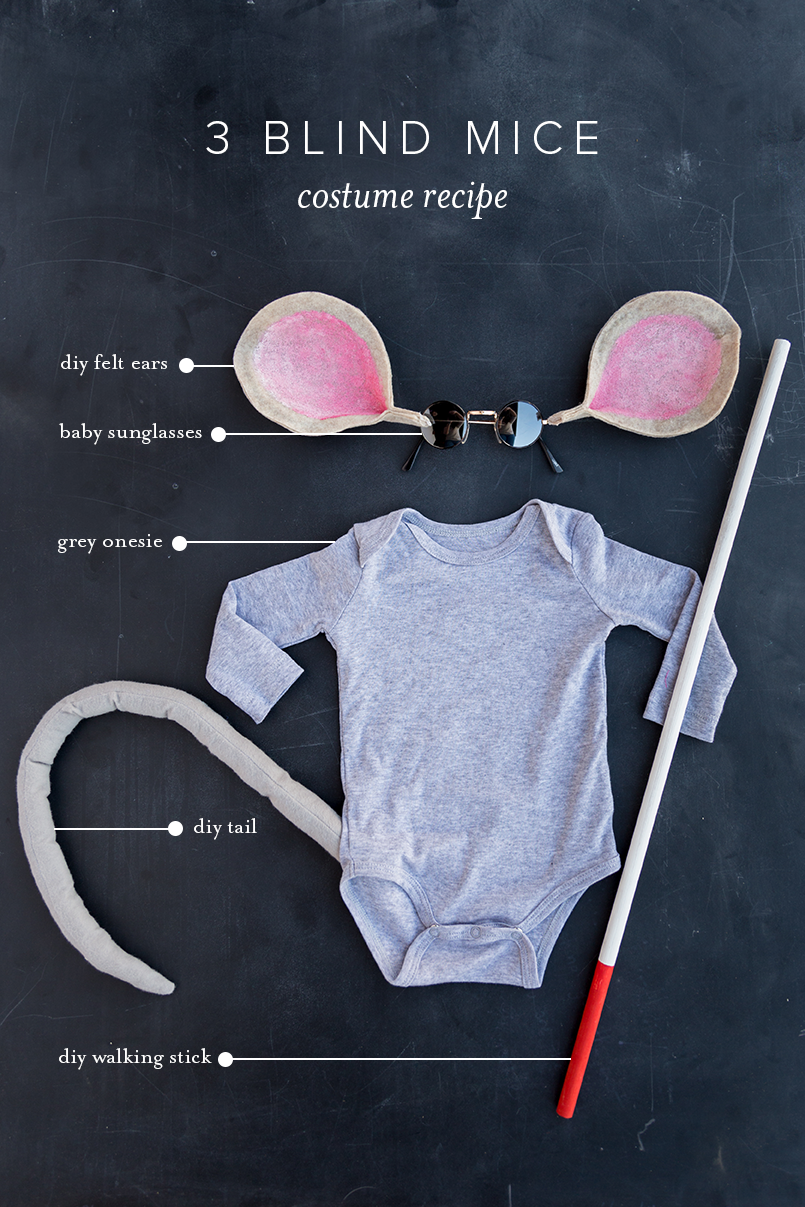
THREE BLIND MICE
You will need:
- grey felt (two pieces each for each ear)
- floral wire
- pink, white, red acrylic paint
- paintbrush
- grey onesie (we got ours here)
- 1/2″ wooden dowel 2′ long
- glue gun
- sunglasses (we used these ones)
- grey fabric
- stuffing
To make the ears:
- Cut two ears from this template
- Glue wire around the perimeter of one of the pieces of felt. Leave about 4″ of wire coming out of the bottom
- Glue the other piece of felt to cover the wire.
- Wrap the wire around a headband.
- Cover the headband by wrapping ribbon around it.
To make the walking sticks:
- Paint the dowels white
- Paint the bottom 5″ red.
To make the tails:
-
- Cut a 2′ piece of fabric to this shape
- Sew the two sides together
- Stuff the tail
- Attach with a safety pin
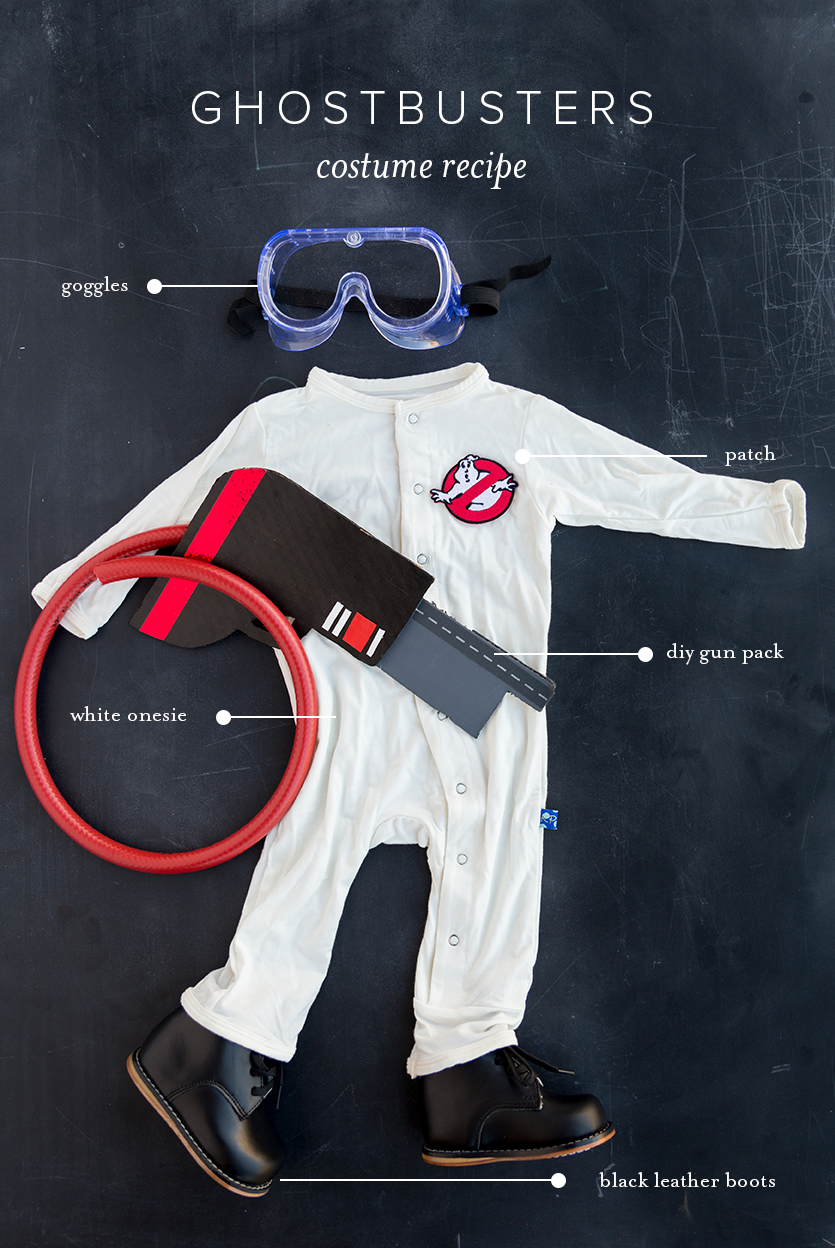
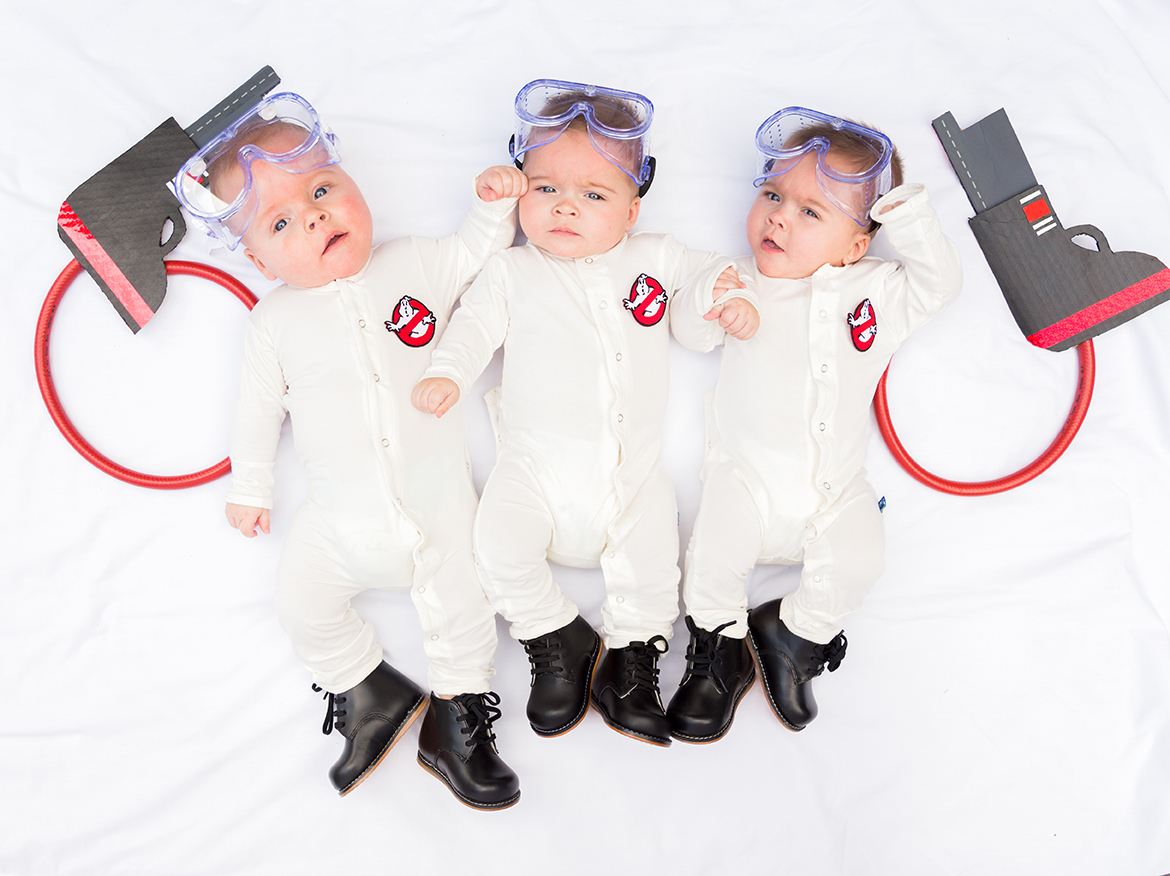
You will need:
- white or khaki onesie (we used this one, they are so soft and have snaps in all the right places)
- black boots (we used these ones)
- Ghosbusters patch (yes! they sell them like that! And they’re the perfect size! I got them here)
- cardboard for gun
- black acrylic paint
- scissors
- plumping hose from the hardware store (sold in 10 ft for $6)
- washi tape in red and black pattern
- kid’s science safety goggles (we used these ones but these ones would have been cute too! or these ones!)
For the costume:
- Glue the patch onto the onesie (or safety pin if you don’t want to harm the onesie)
To make the cardboard gun pack: (note: we didn’t make a pack for the babies because they’re not quite at the age to have something on their backs, but for older kids we would have made a pack out of a cereal box and painted in black)
-
- Cut out the gun shape from this template and trace it onto cardboard
- Paint it black
- add on decorative elements with washi tape
- duct tape the tube to the gun
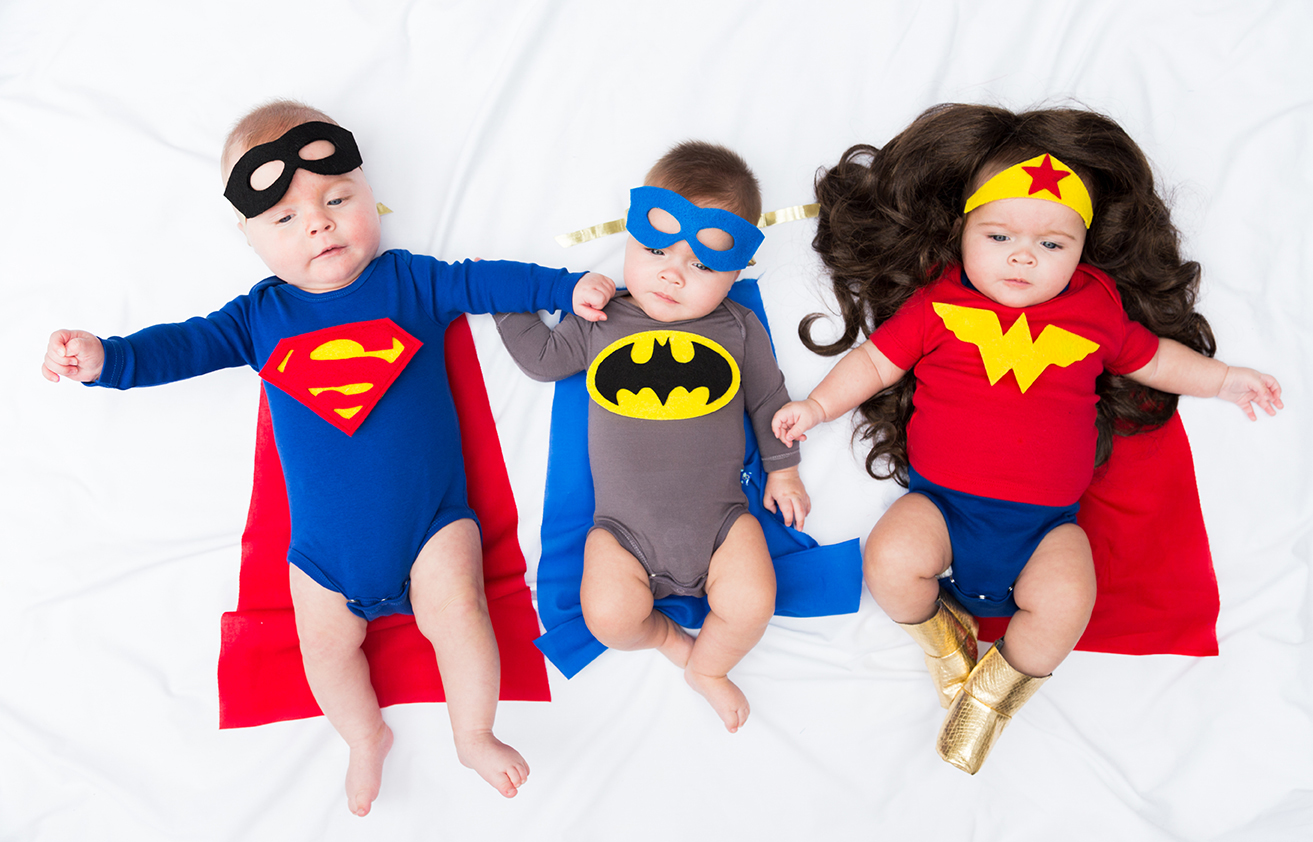
SUPERHEROES
FOR SUPER MAN
You will need:
- blue onesie (we used this one)
- red thick felt
- yellow thick felt
- red fabric for cape
- black felt
- gold ribbon
- Make the “S” emblem with this template. Cut out in red and yellow.
- Glue the two colors together and sew around perimeter if desired. We sewed for a more finished look.
- Cut the mask with this template
- Glue or sew the ribbon to the inside of the mask
FOR BATMAN
- Similar to Superman but use the Batman template
- grey onesie
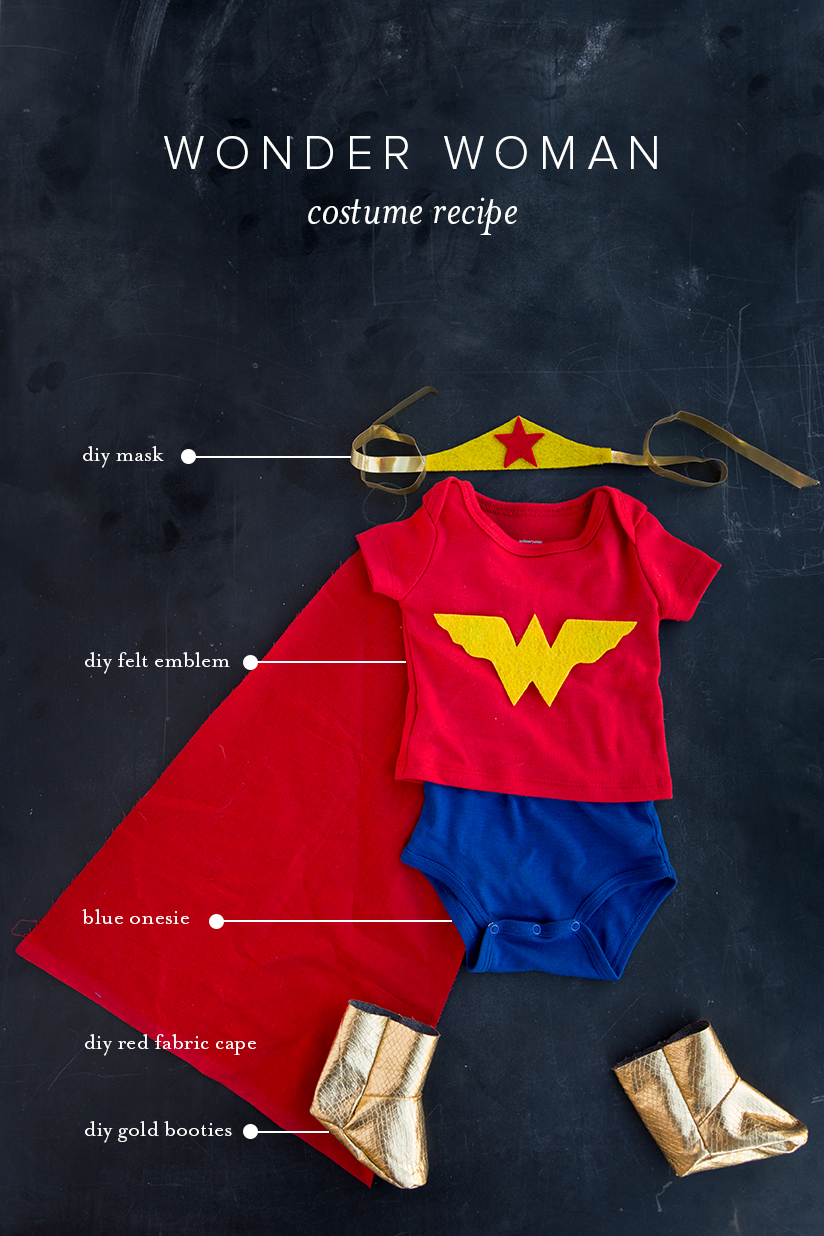
FOR WONDERWOMAN
- we used this red shirt
- blue onesie
- template for Wonderwoman emblem here
- gold fabric for booties
For the booties:
- I found a pdf on the internet for the bootie pattern and used the instructions provided. Click here to access the pattern!
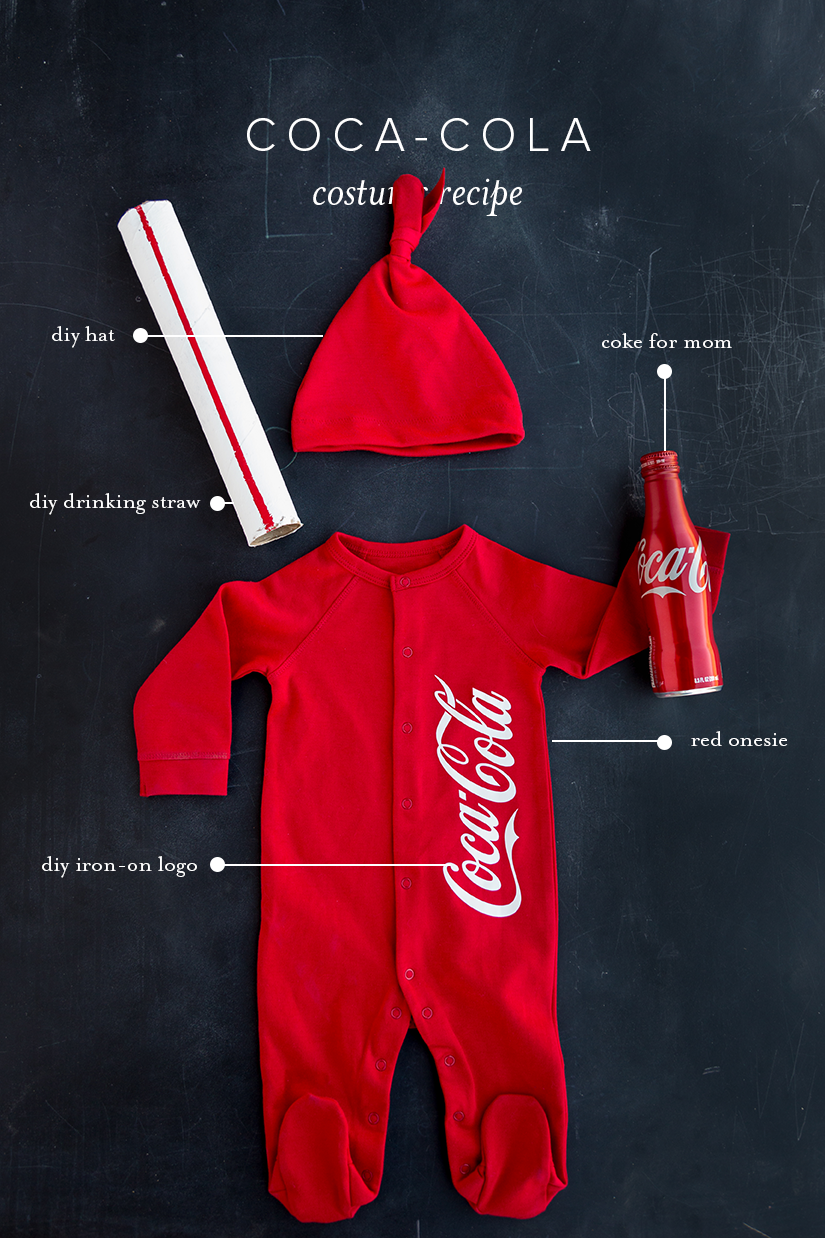
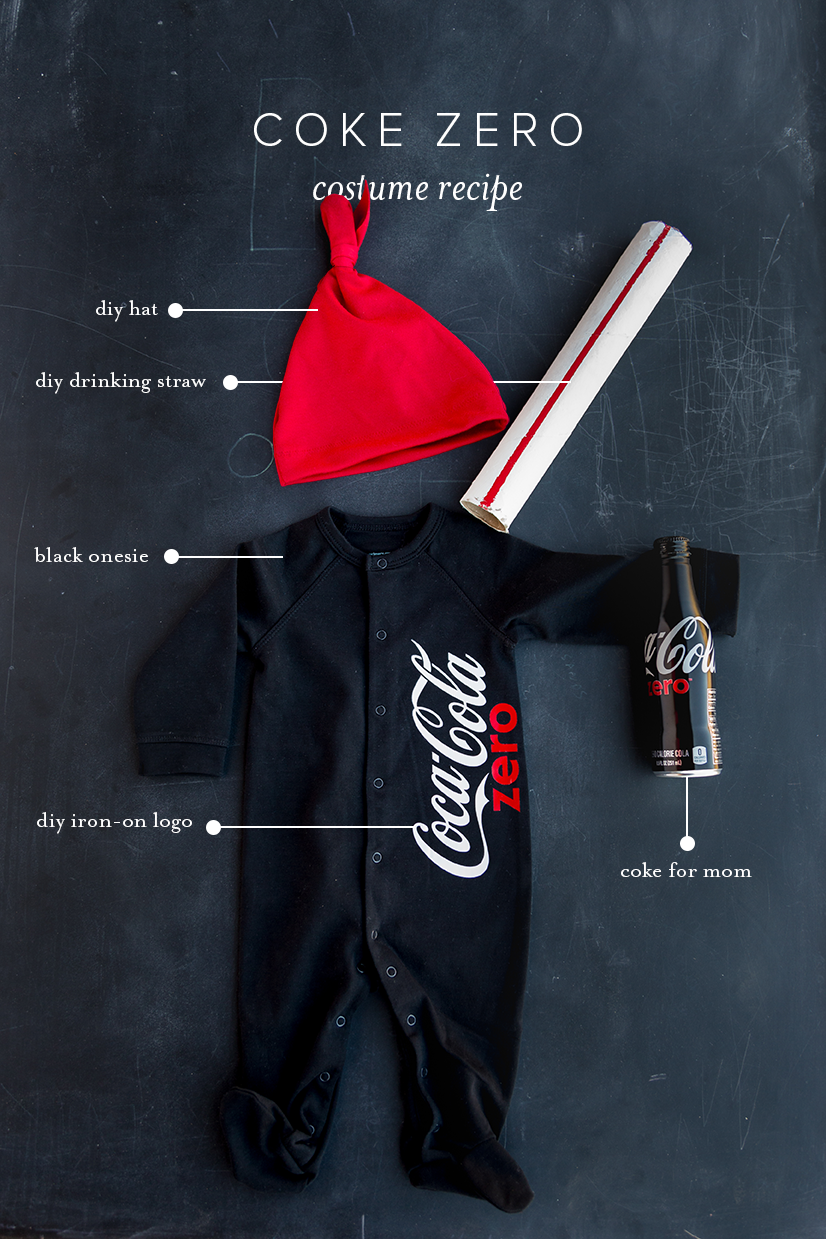
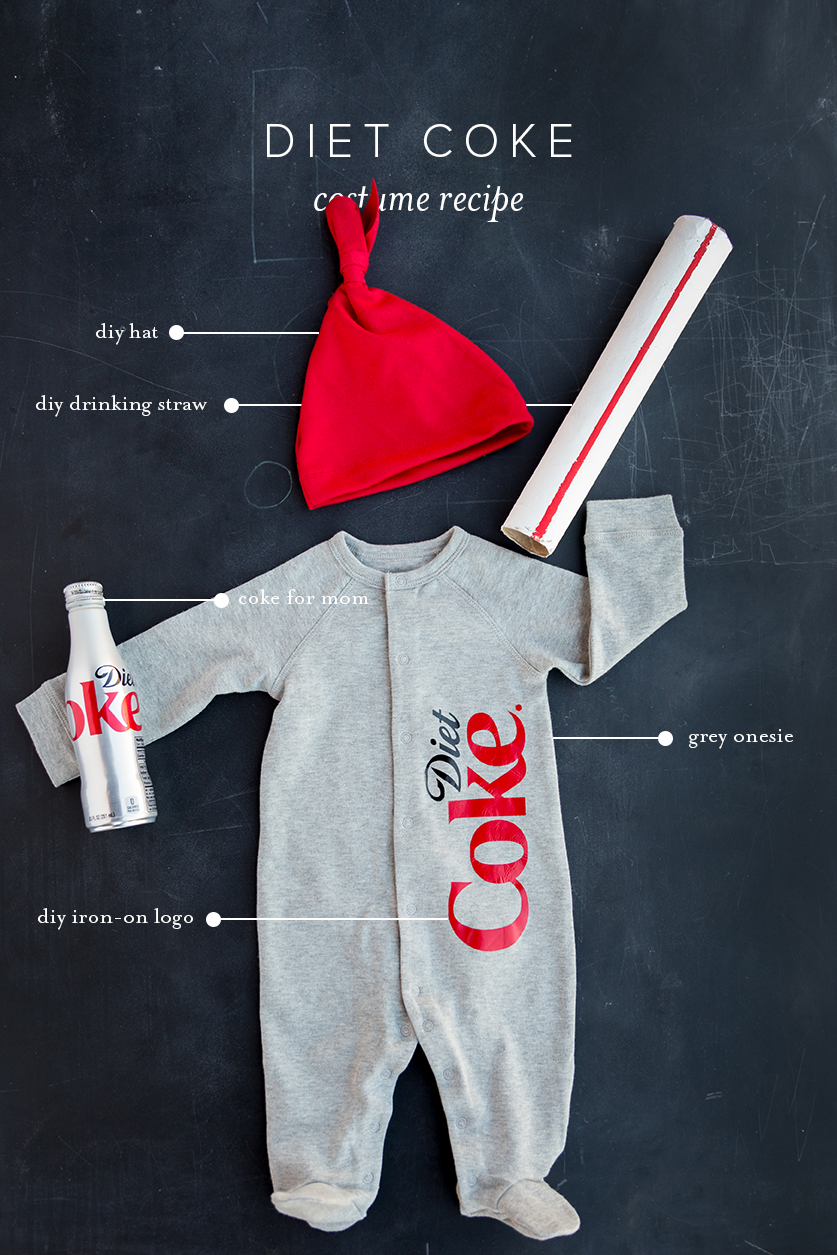
COKE BOTTLES
- craft cutter or scissors
- template for logos
- white and red acrylic paint
- red knit fabric
- iron on adhesive vinyl
- paper towel cardboard rings
- black onesie (here)
- red onesie (we got ours from here)
- grey onesie (here)
FOR THE ONSIES
- Cut out the logos with your craft cutter (so much easier!) or by hand. You will get better results with your cutter
FOR THE HATS
- I used a pattern here for the basic template and instructions. Make sure you measure the size of the child’s head to ensure the circumference of the hat will fit, and add 1-2″ for the seam allowances.
- I did not sew on the bottom band, and instead just folded under the bottom edge about an inch and sewed it to secure.
- The fabric I used was also a bit thicker, so instead of knotting the top portion of the hat, I simply cut a strip of fabric and tied it around the tip of the hat.
FOR THE STRAWS
- Paint empty paper towel rolls with a few coats of white acrylic paint. Let Dry.
- Use tape to make straight red vertical stripes down the straw.
- Remove the tape and let dry.
Photography by Anna Killian | in collaboration with Ali Hynek of Nena and Co | Onesies provided by Primary and Kickee





Comments