As you know, I’m a huge fan of Australian collage artist/craft/artist extraordinaire, Beci Orpin (whose interview you can read here)! She’s released yet another book (she’s so prolific!) and this time it’s about things to do and make with supplies from the outdoors. It’s called Sunshine Spaces and it’s definitely one to add to your craft library. It has a lot of basics for the beginning outdoors lover, such as a guide to indoor plants, a guide to natural dyeing, and other fun projects. Today, she’s sharing her tutorial on how to make pressed flowers with three different methods.
Materials:
How to press flowers in 3 methods
I’m so excited to share this tutorial on how to press flowers with Beci Orpin, one of the most inspiring creatives I know. She’s an artist and illustrator who makes incredible crafts, and I feel lucky to get to share some of her expertise with you. Take it away, Beci!
Press Flowers with Beci
I am an avid collector of many things, but old books are one of my favourites – I rarely walk out of an op shop without one. Quirky typesetting and old-school printing aside, one of the things I love about second-hand books is the chance of discovering a little surprise inside them. I’ve found many treasures tucked inside those yellowing, musty pages, including some flattened Easter-egg wrappers from the 1940s, a birthday note from an aunt to a favourite niece and, best of all, several books containing some beautiful pressed flowers.
When I was a child I used to press flowers with my grandma, and I remember never having enough patience to wait the weeks and weeks before the flowers were completely dried and pressed. Luckily for me, while I was researching this project, I discovered that there are several methods of pressing flowers, some of which allow you to cheat, so you don’t have to wait forever and ever before they are ready. This is good news for me, as I still have as much patience as a five-year-old.
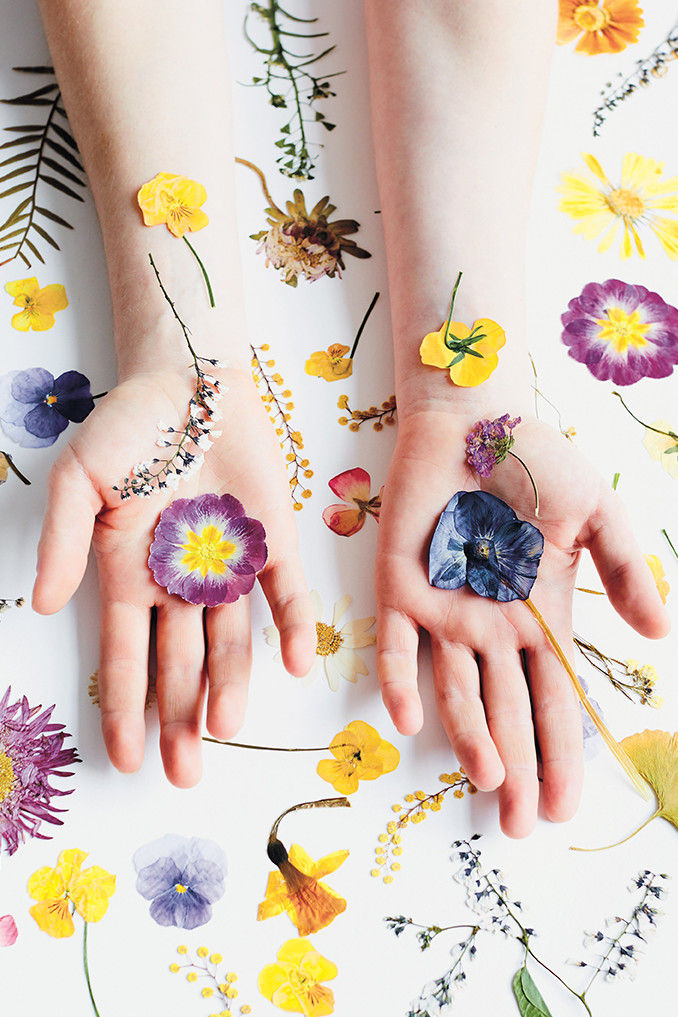
It can be easy to want to put your flowers in a vase. Next thing you know, your dining room table is covered with leaves. These pressed flowers are a great way to preserve the beauty of your flowers, without a mess. Daisies, orchids, zinnias, lilies, violas, violets..any flower will do.
 YOU WILL NEED:
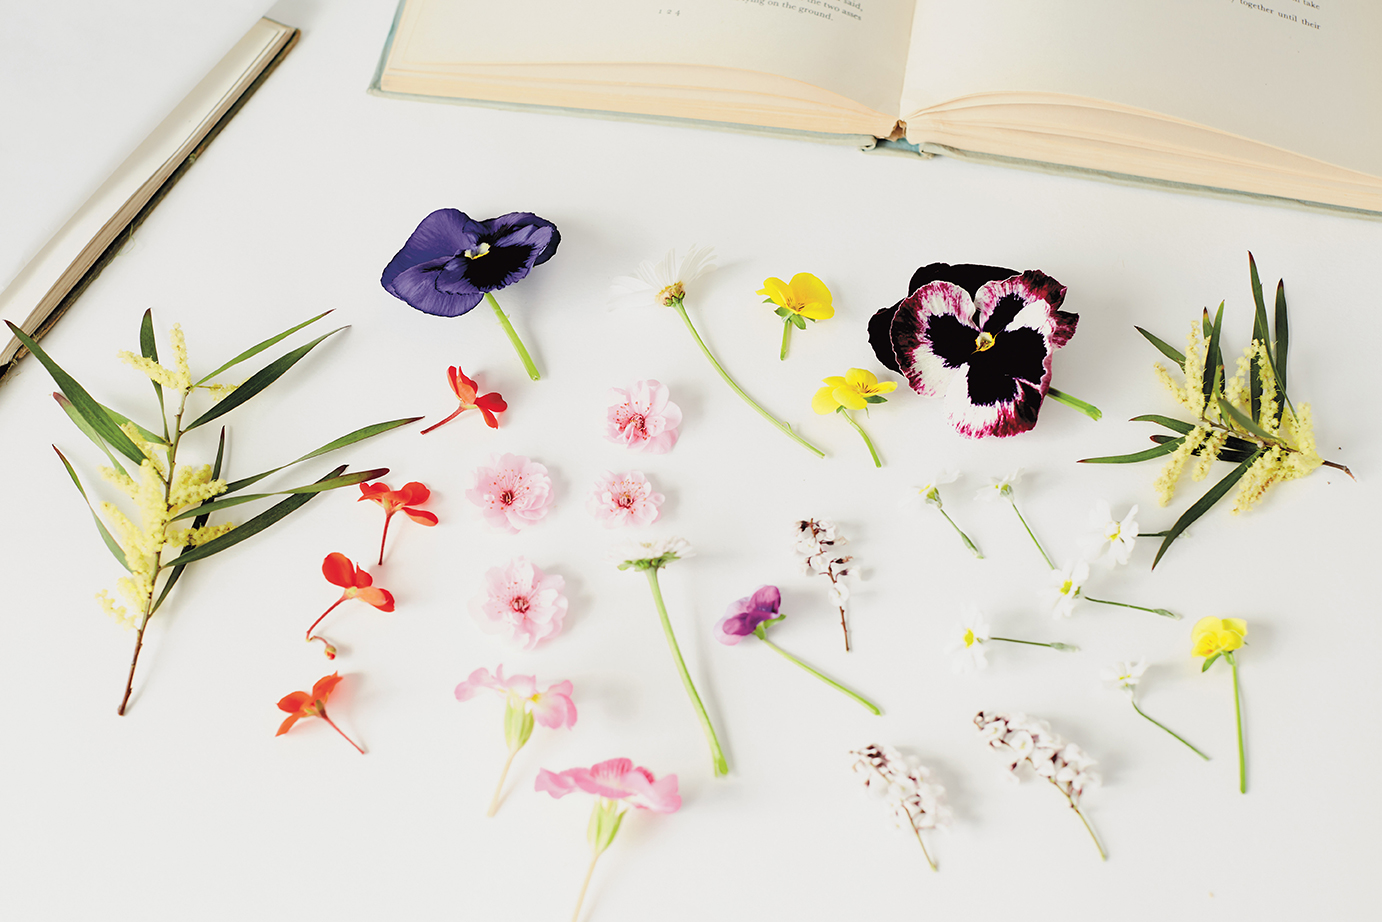
- flowers/foliage: ones with flat petals are best (see a list here. I like pansies, geraniums, flowering weeds – anything pretty and dainty
- book/iron/microwave: what you use will depend on which method you choose.
- paper or a card: try blotting paper, coffee filter paper, sheets of absorbent paper, printer paper, several layers of tissue paper
NOTES:
- Flowers should preferably be freshly picked, to prevent browning.
- Don’t pick your flowers too early in the morning, as they will still have dew on them. The extra moisture from the dew may cause them to go moldy during the pressing process.
- Flowers should have just bloomed or be about to bloom. If they are too mature, they will lose their petals.
- If the flowers have obvious stamens, remove them before pressing.
 Method 1: Pressing in a book
(This is the easiest but slowest method; I found it produced the best results.)
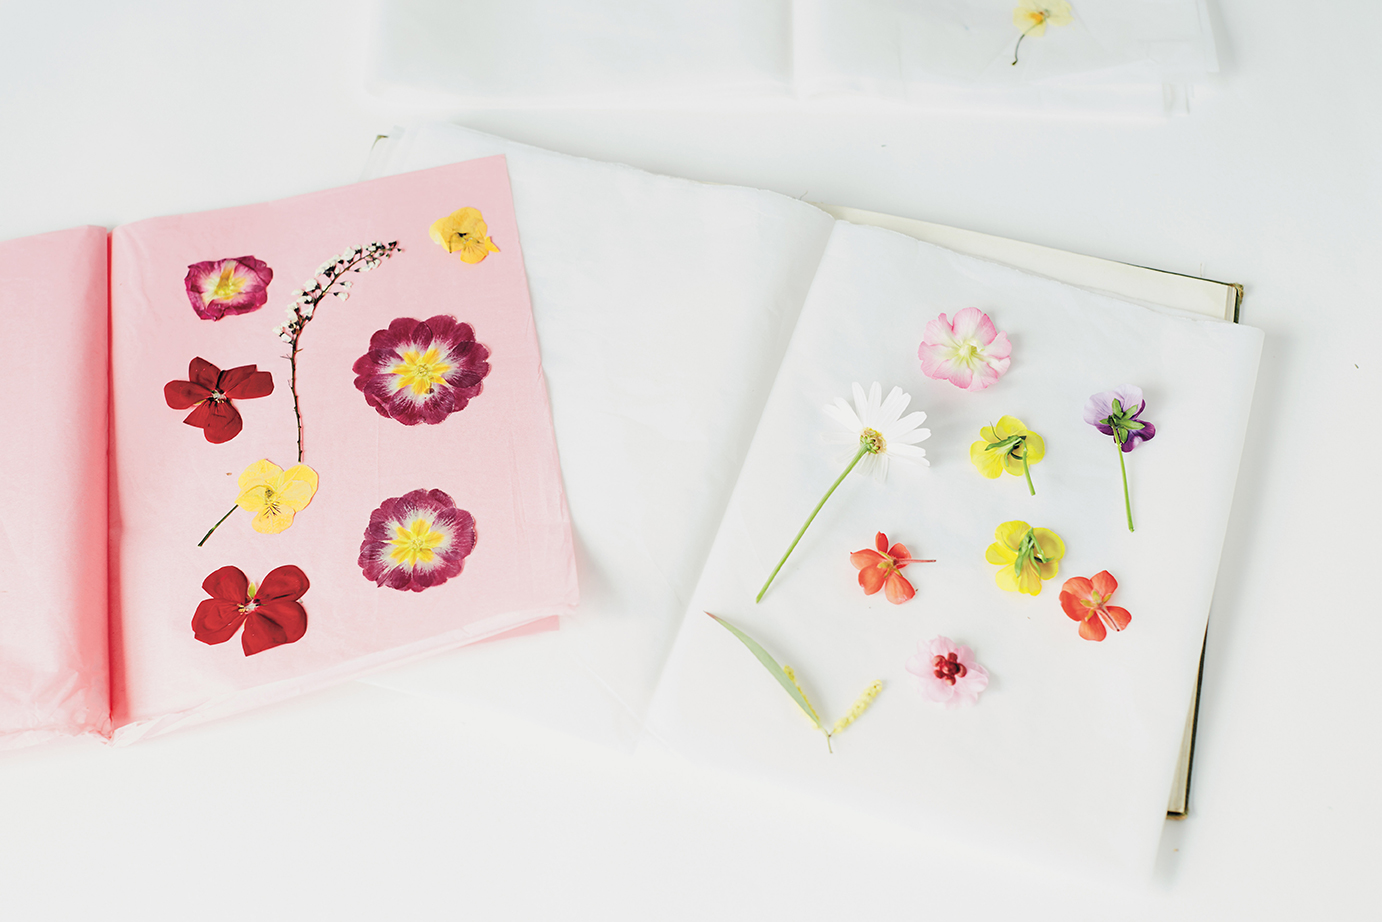
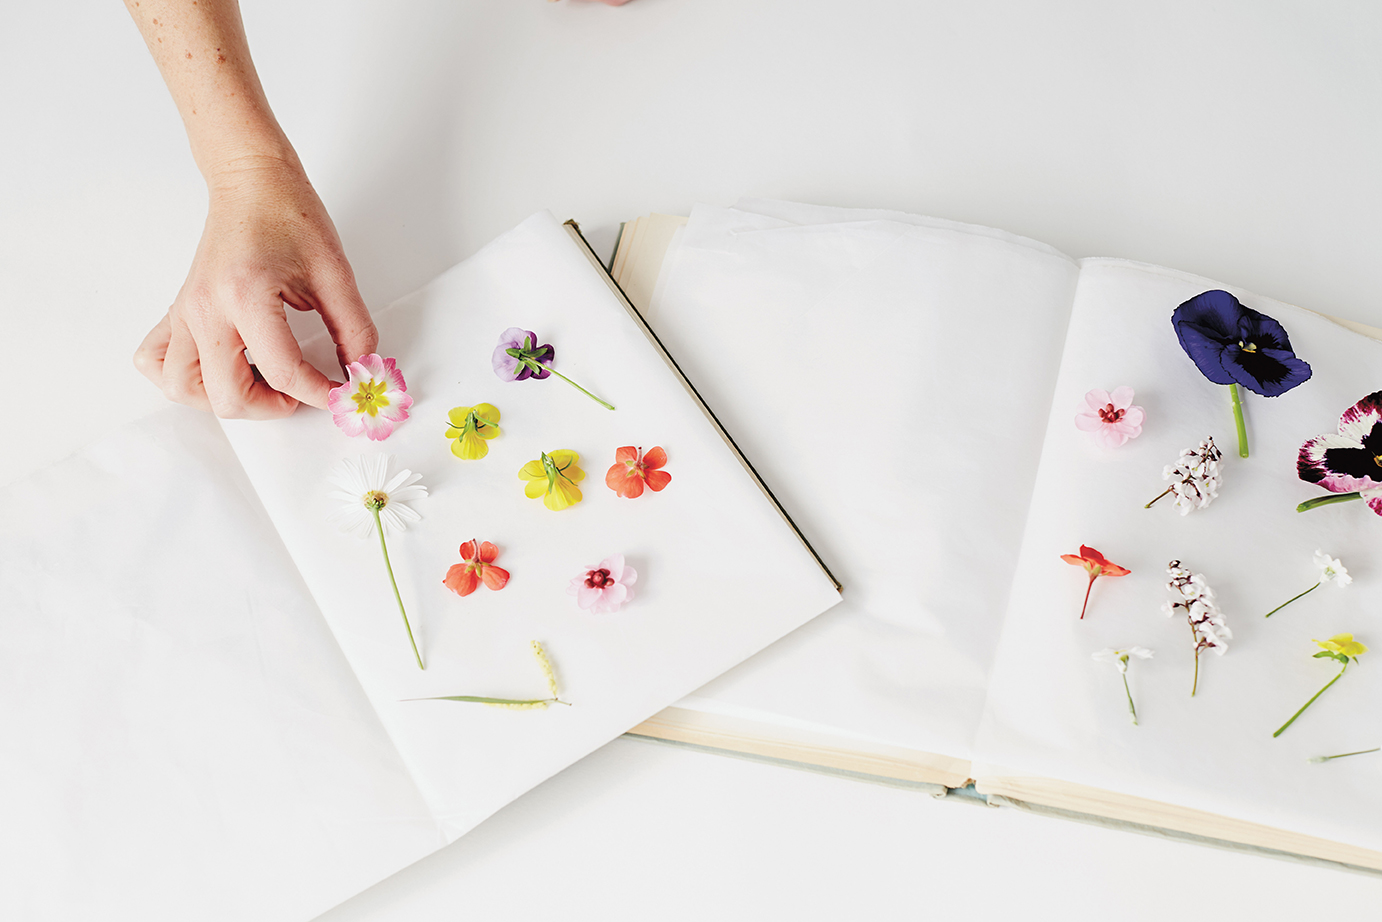
Open up your book and place a sheet of paper on one side of the book. Liquid from the flowers can leach into the surrounding pages, so use an old book or several sheets of paper to prevent this. TIP: Don’t use a phone book, as the paper is too flimsy.
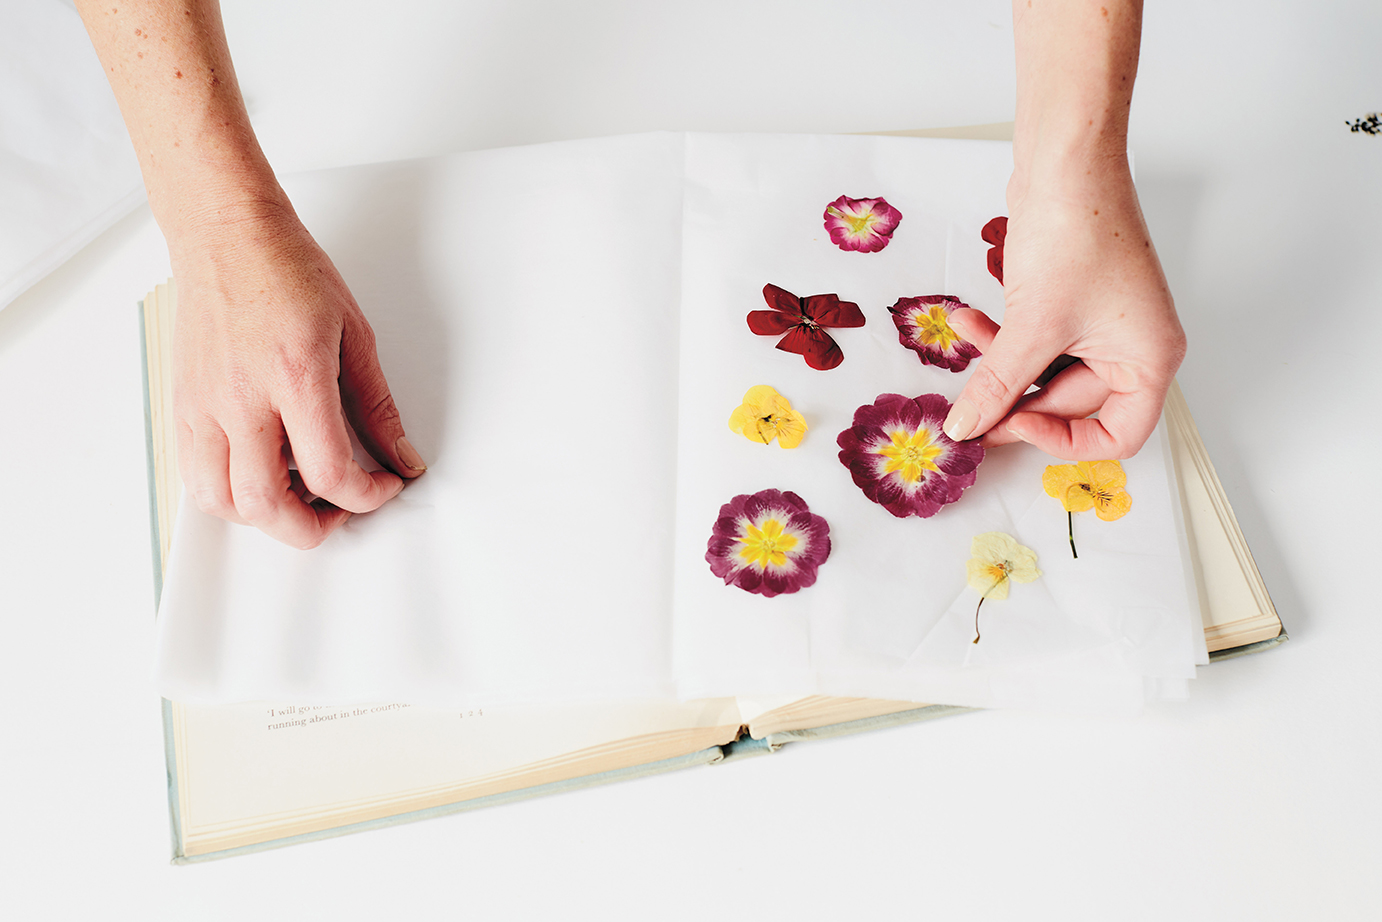
Arrange your flowers on the piece of paper, making sure the flowers aren’t overlapping (unless you want them to). Cover with another piece of paper (or fold the first piece of paper in half) and close the book.
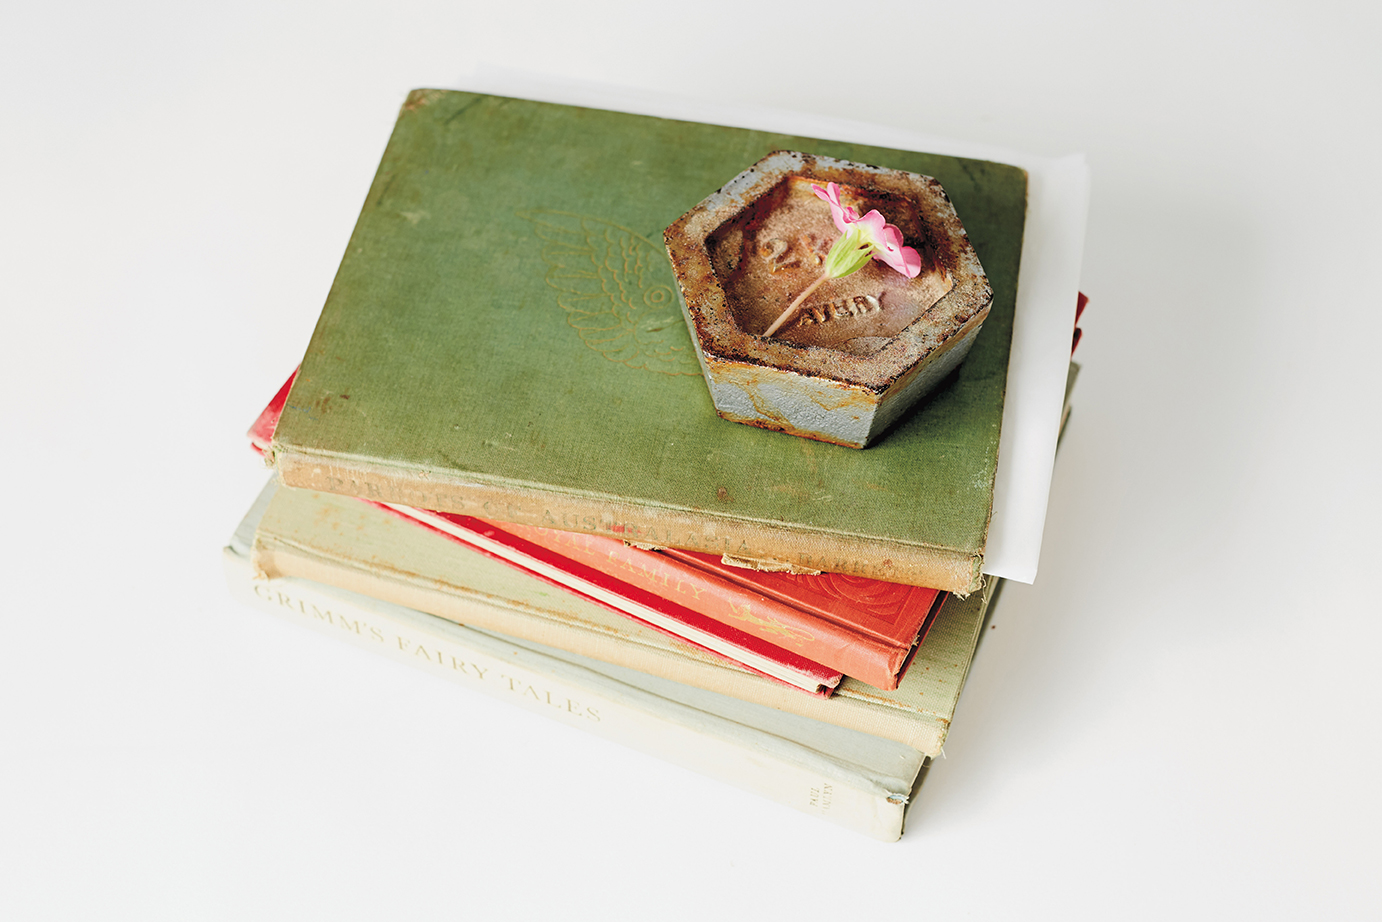
Weight down the book by placing some heavy books or bricks on top of it.
Change the papers after 1 week, then leave for a few more weeks until the flowers are completely dry. Try to resist the temptation to check them (unless changing the paper), as this can disturb the flowers.
Method 2: Ironing
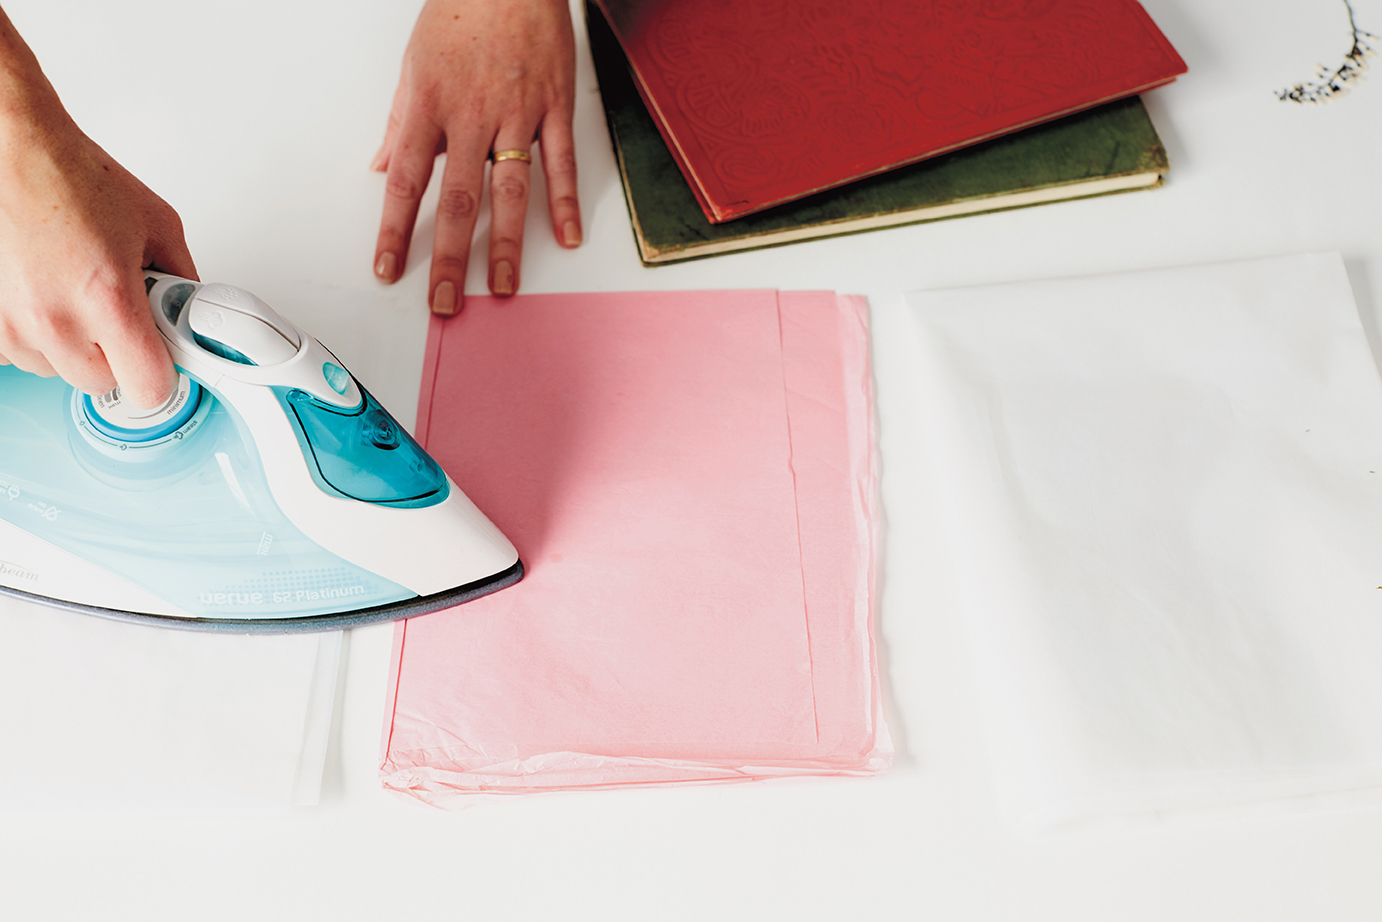
Flatten the flowers between pieces of paper in a book, following steps 1–3 (left). Leave the flowers to dry for however long you can manage (I recommend at least 1 day). Empty any water out of the iron (you don’t want any steam), and set the heat to the lowest setting.
Remove the flowers from the book, leaving them sandwiched between the two pieces of paper, and press them with the iron for 10–15 seconds. You don’t need to move the iron around, just press it on the paper.
Method 3: Microwave
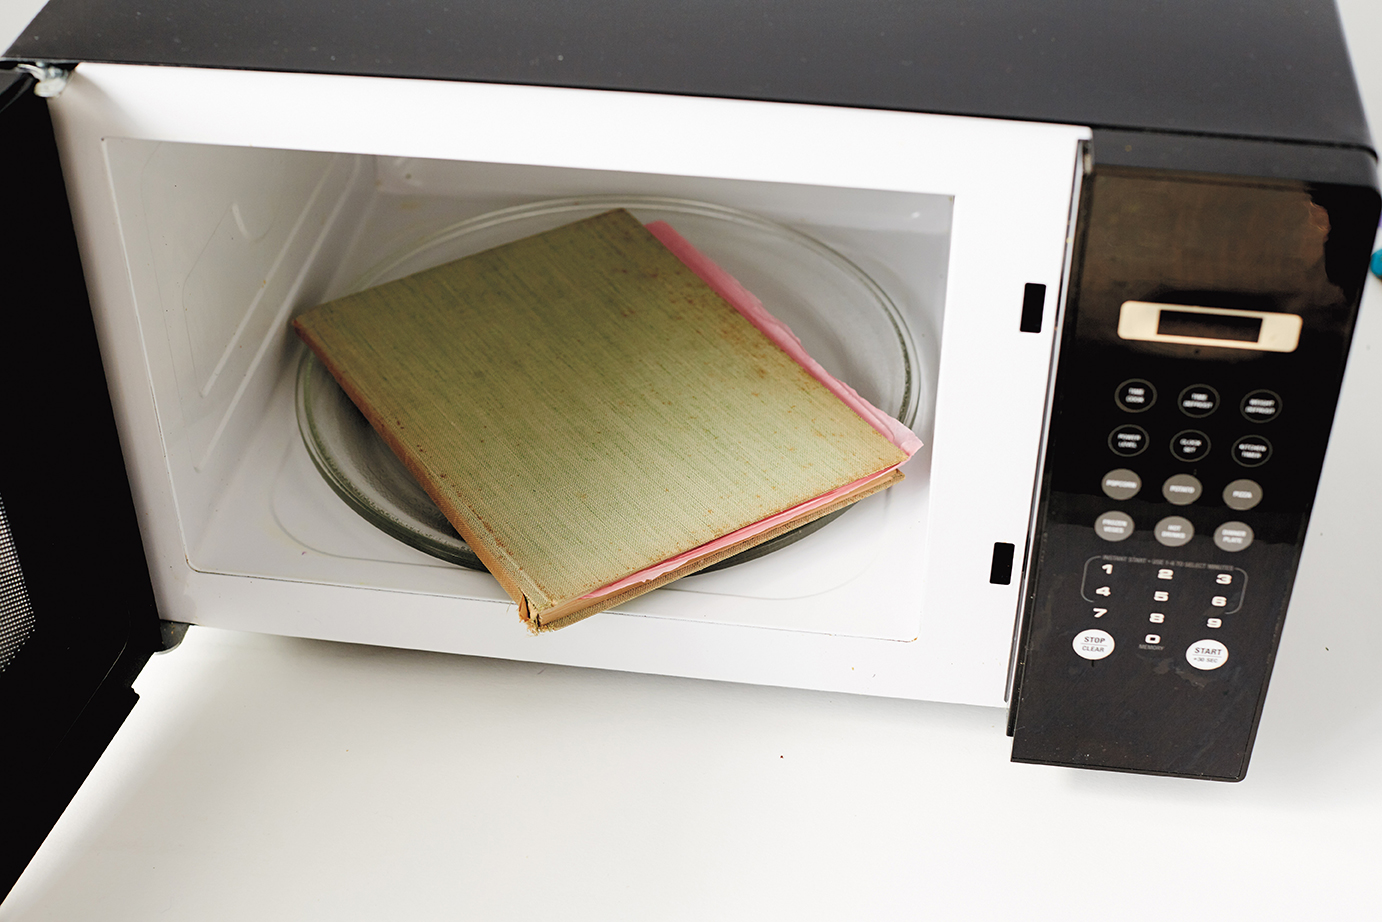
Arrange the flowers in the book between two pieces of paper, following steps 1–2 (left). Make sure that your book has no metal in the spine or type before putting it in the microwave. Place in the microwave and zap for 30 seconds. Take the book out and let it cool by opening the pages to let the steam out (don’t open the pages that have the flowers enclosed). TIP: Have a couple of books on the go at once, so you can have one heating in the microwave while the other one is cooling down.
Once the book is cool, zap it in the microwave again. Repeat until the flowers are almost dry (you may need to do this about four or five times: smaller flowers will dry out quicker), taking care you don’t overcook them, as the flowers will turn brown.
What To Do With Pressed Flowers
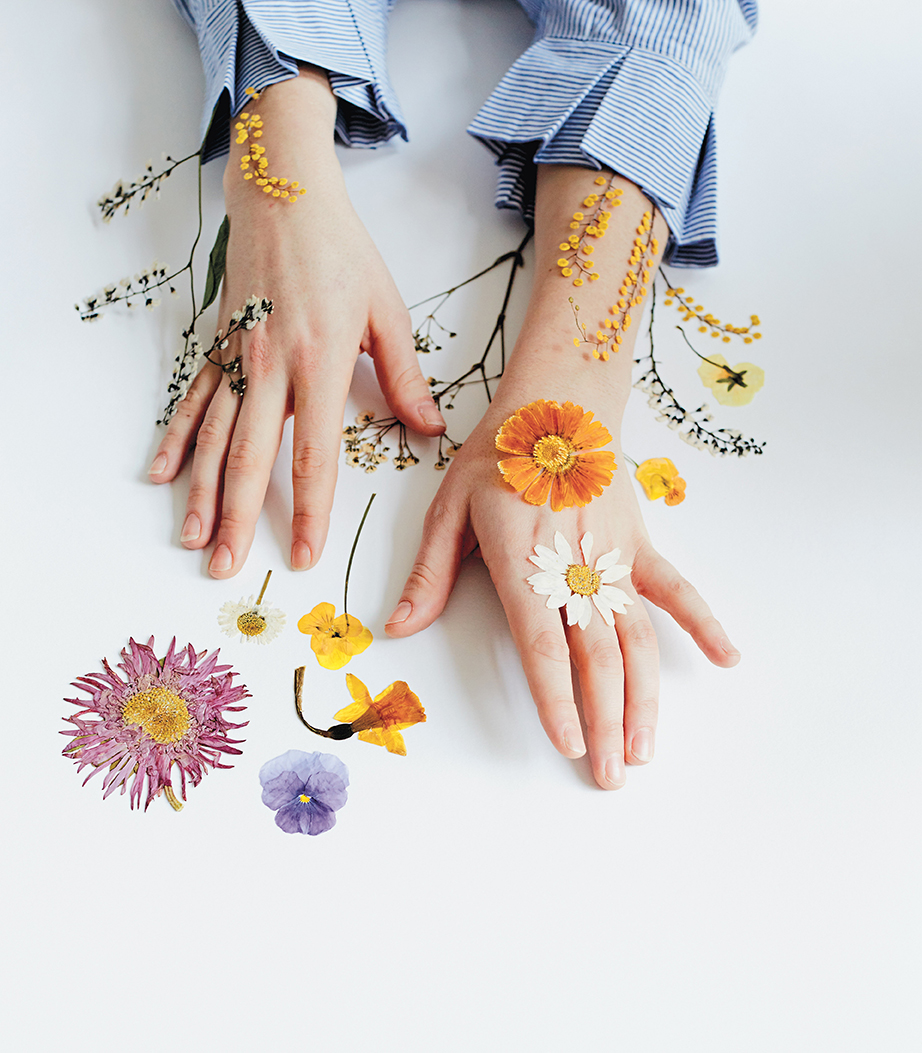
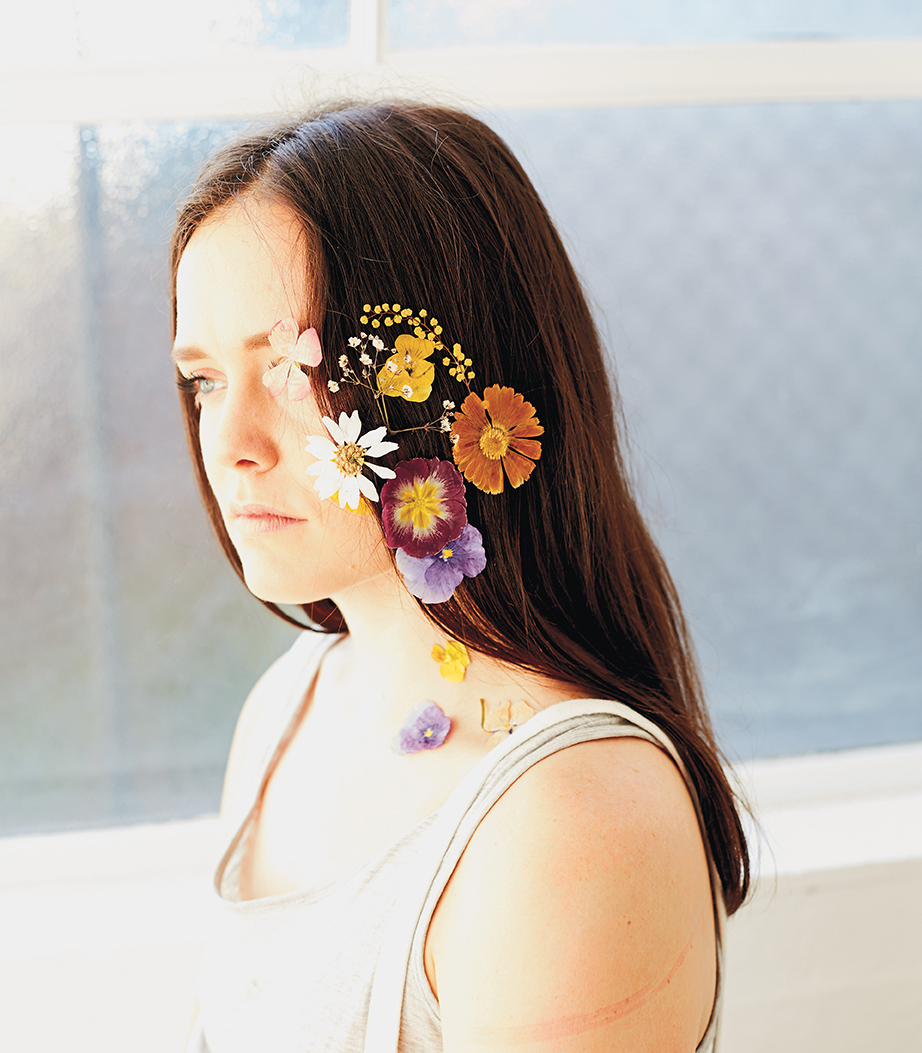
Learning to press flowers is just the beginning! Once you’ve pressed your flowers there are so many great crafts you can do with them.
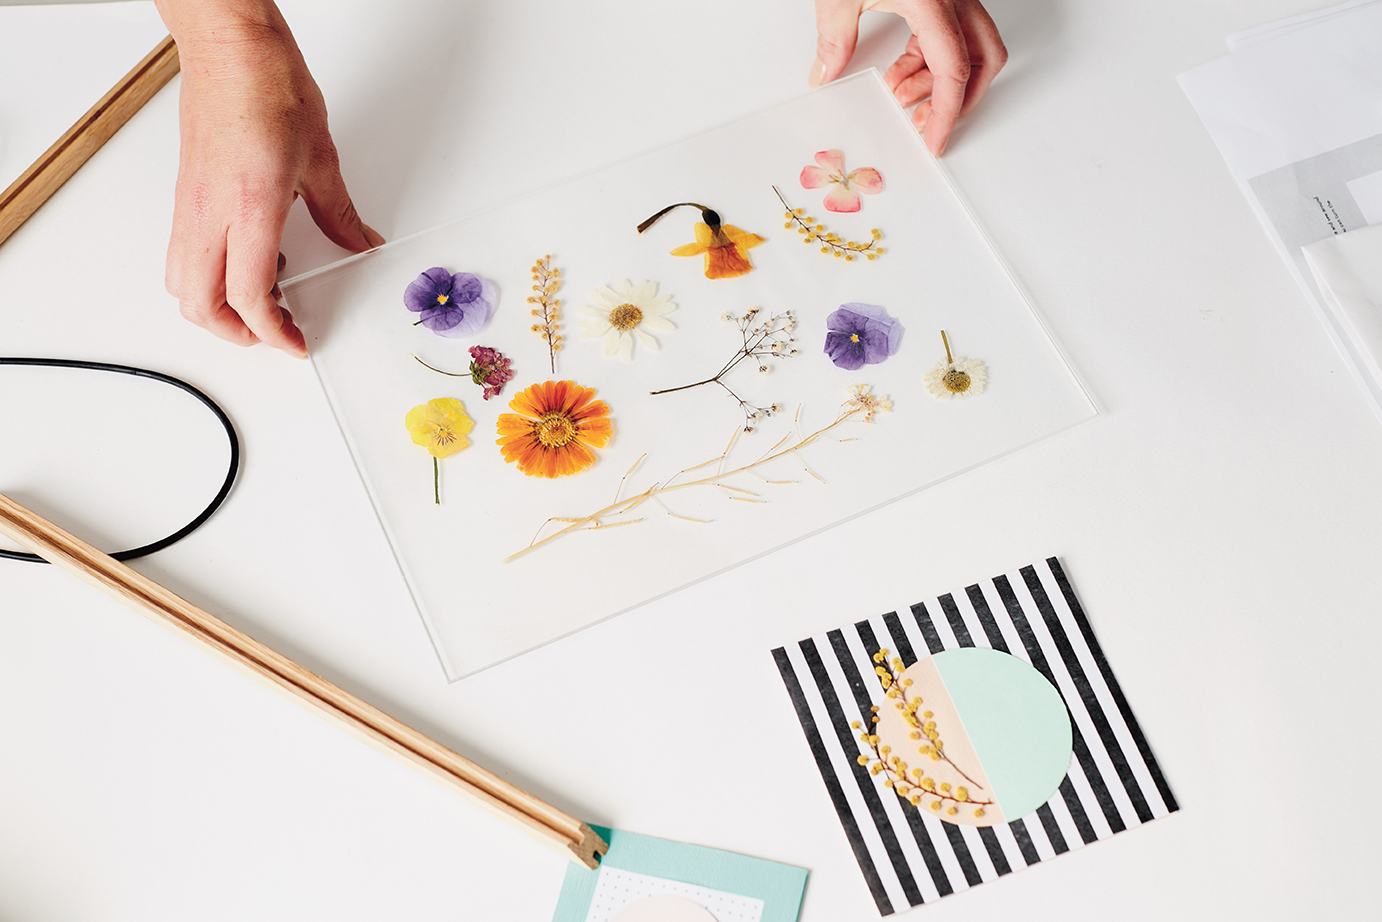
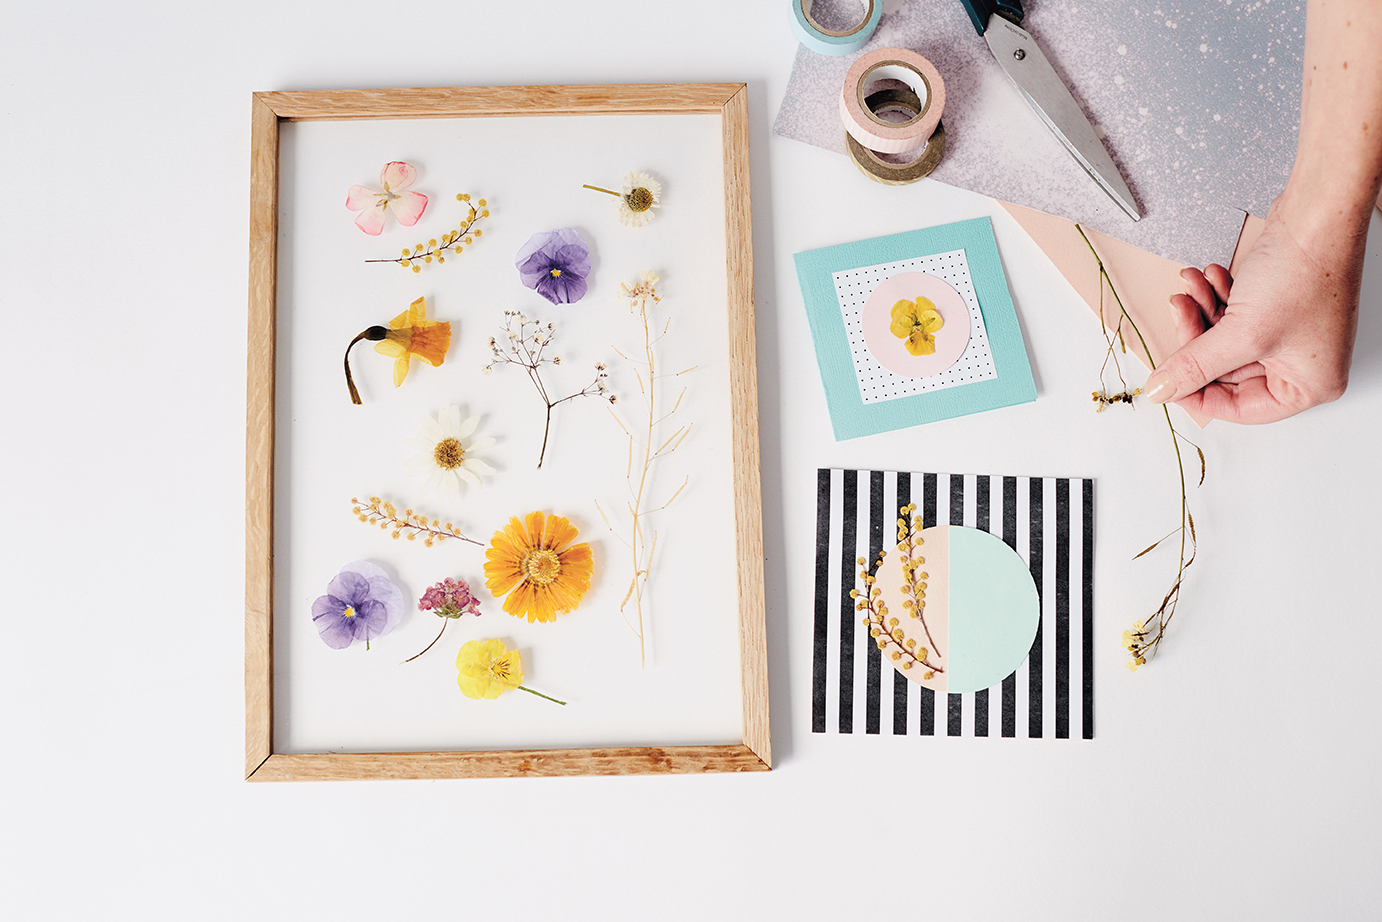
Adding pressed flowers to a handmade card or invitation adds a whimsical touch. You can also place pressed flowers between two sheets of glass and then frame them for garden-inspired wall decoration, as pictured here.
This gorgeous pressed flower tray made by Jessica Pezalla of Bramble Workshop is an unexpected and delightful project to make the color from your garden last.
And don’t forget about pressing flowers when next Easter comes around! Then you can use our tutorial for dried flowers on Easter eggs. The possibilities are limitless.
Another floral project I love is this DIY flower pounding on fabric. It makes such beautiful design and the way the flowers transfer their color is delightful.
If you use this tutorial to press flowers, I would love to see what you make! Share with us with the hashtag #LarsFlowerMonth.
You can purchase Sunshine Spaces here
Keep reading! See more of our book recommendations here.
Photography by Chris Middleton | Book by Beci Orpin


 YOU WILL NEED:
 Method 1: Pressing in a book

Comments