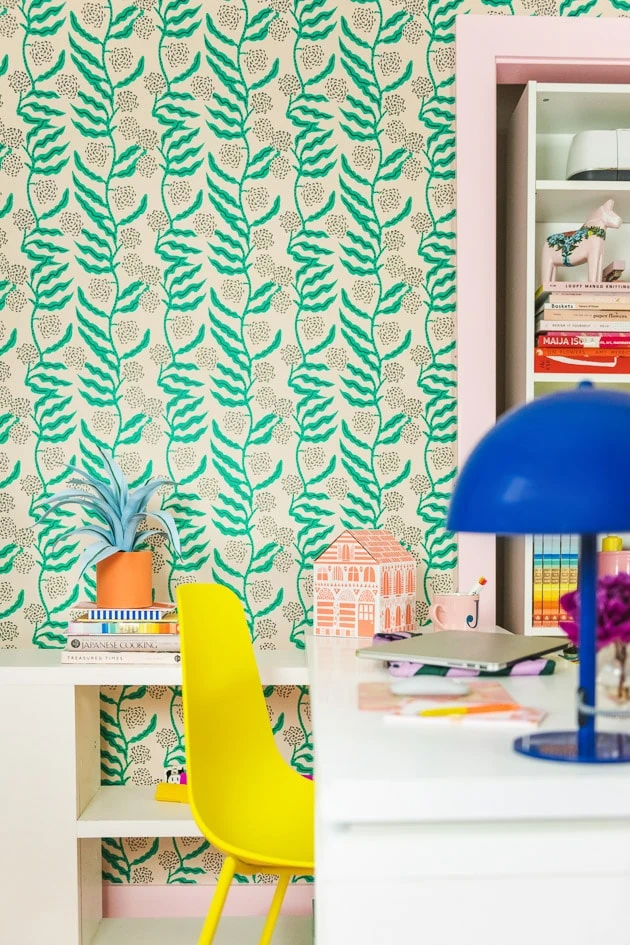
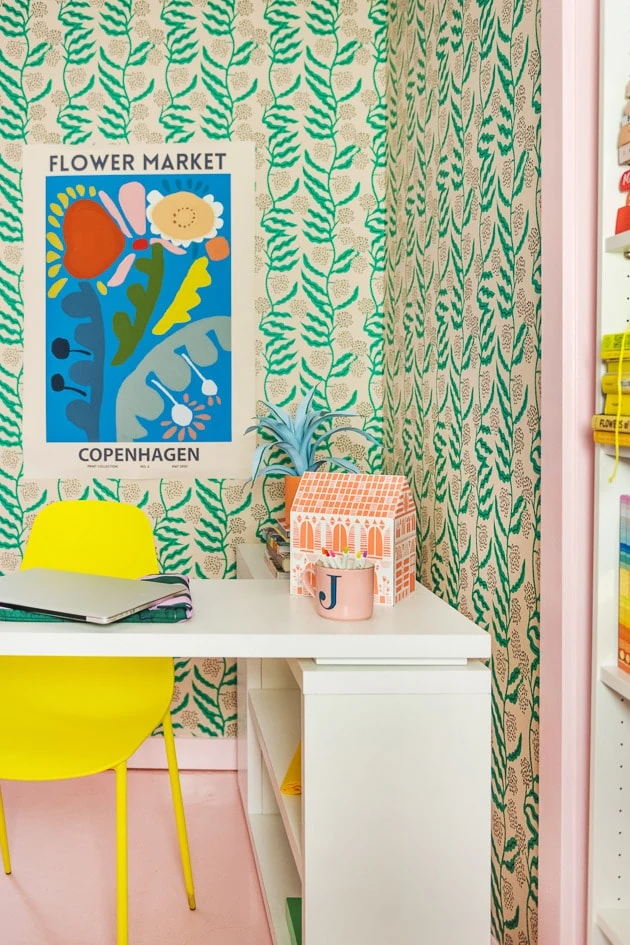
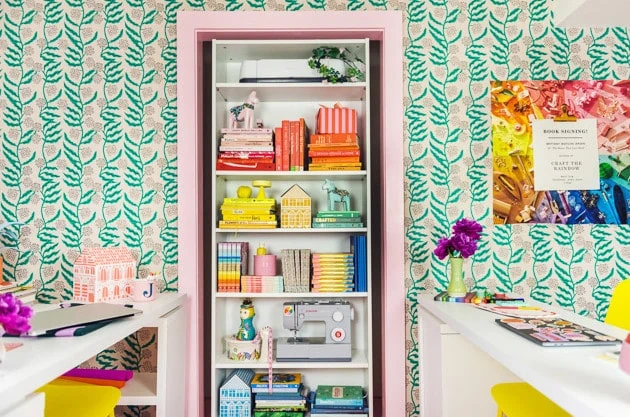
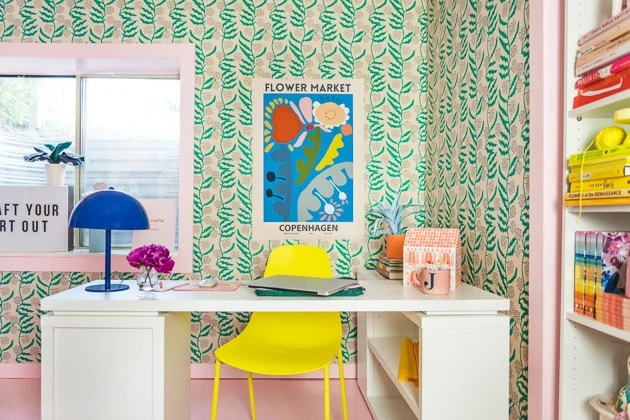
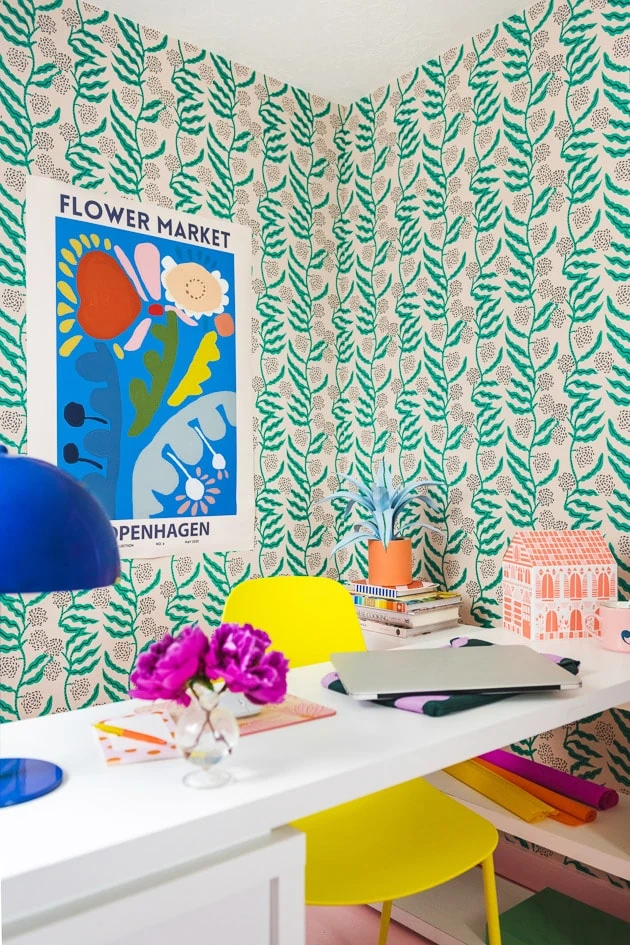
As you know, we love flowers (just a bit 😉) and boy have we had fun with them this year. From stickers to our Flower Drawing Course, we have it all! Well not quite all, our poor office spaces downstairs are still in need of some color and TLC after moving in from our old studio into my new house. Cue Spoonflower, one of our favorite ways to customize a home and one of our favorites to work with (remember my bedroom or how toDIY a lampshade? Or our most recent picnic blanket?). Spoonflower is home to hundreds of artists and designers whose work is represented on fabrics, wallpapers, and more. There were so many good designs to choose from, but we finally picked a favorite and LOVE how it turned out!
You’ve seen our house slowly coming together, but what about the teams’ office spaces? Fun Pink floors? Check. But along with those fun pink floors? Boring white walls. We knew we wanted some more pattern and color down here so that’s when we started looking at wallpaper. (Have you seen our studio mood board yet?)
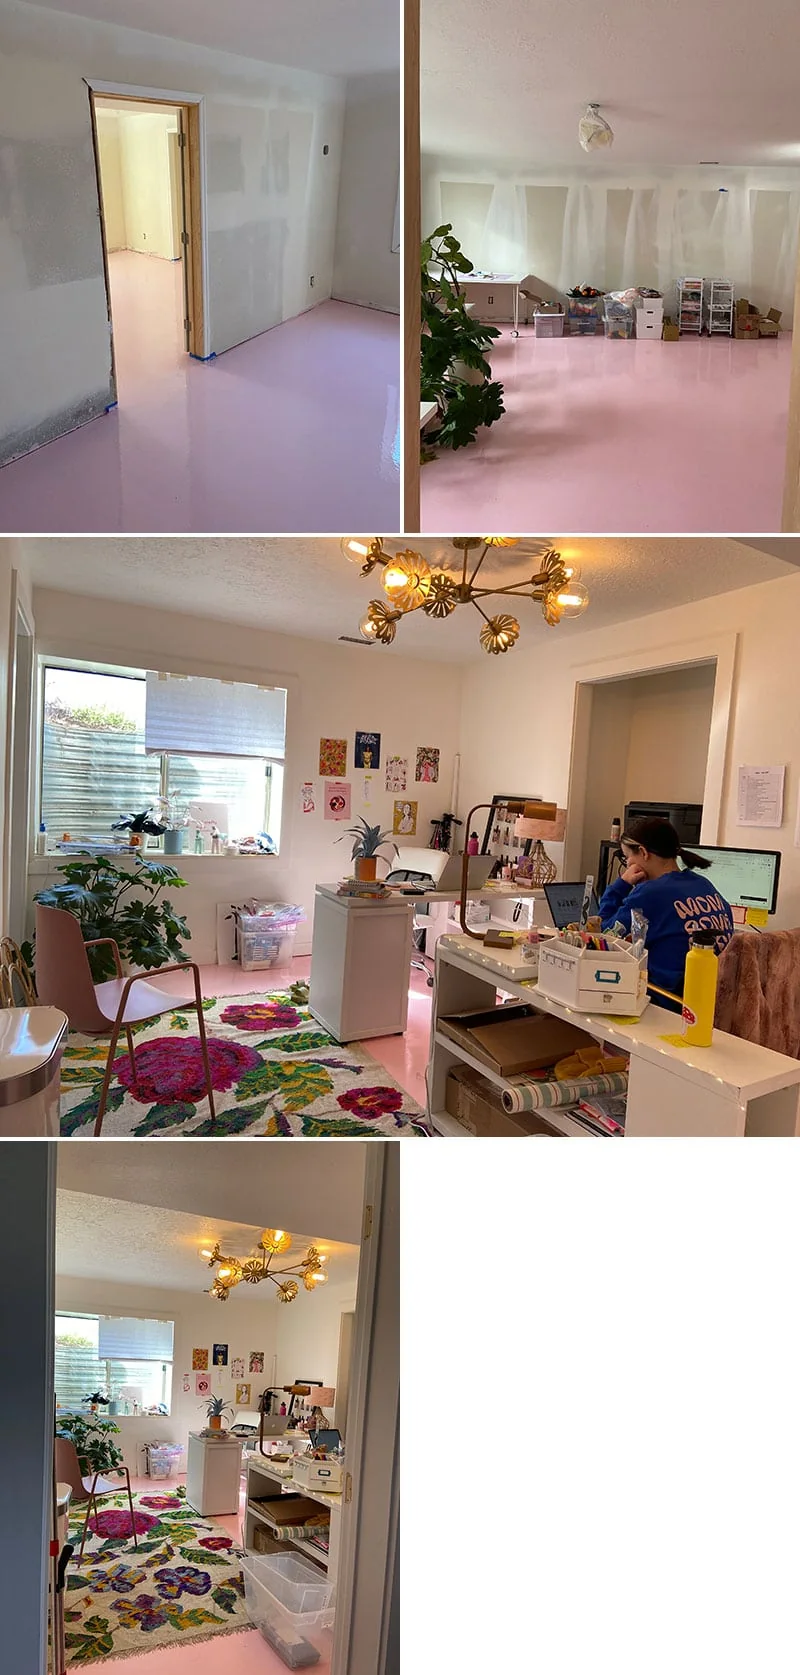
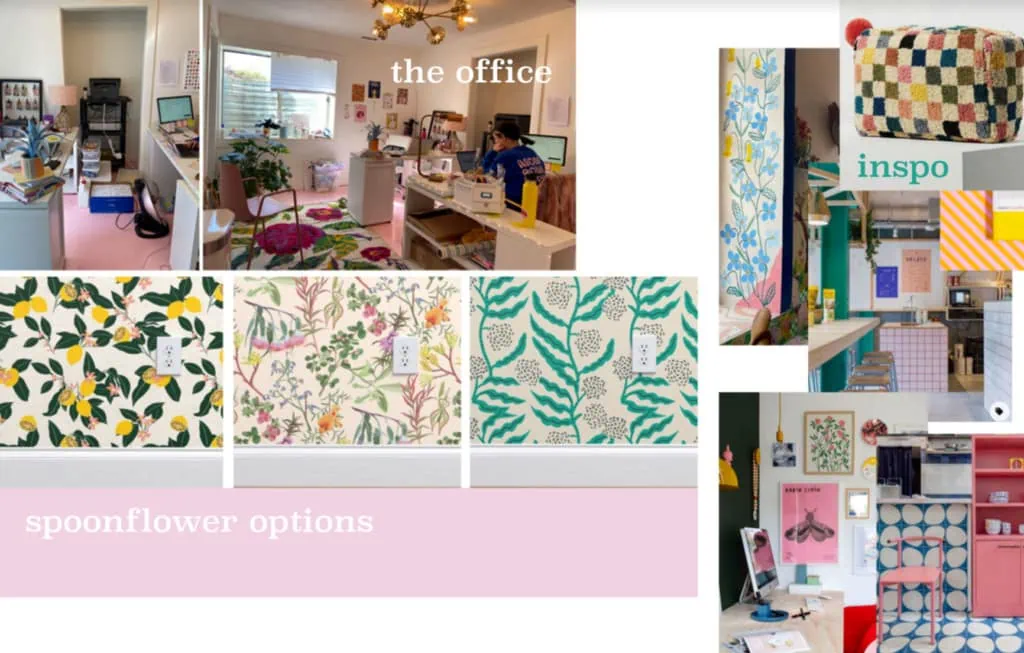
This is what we were starting from:
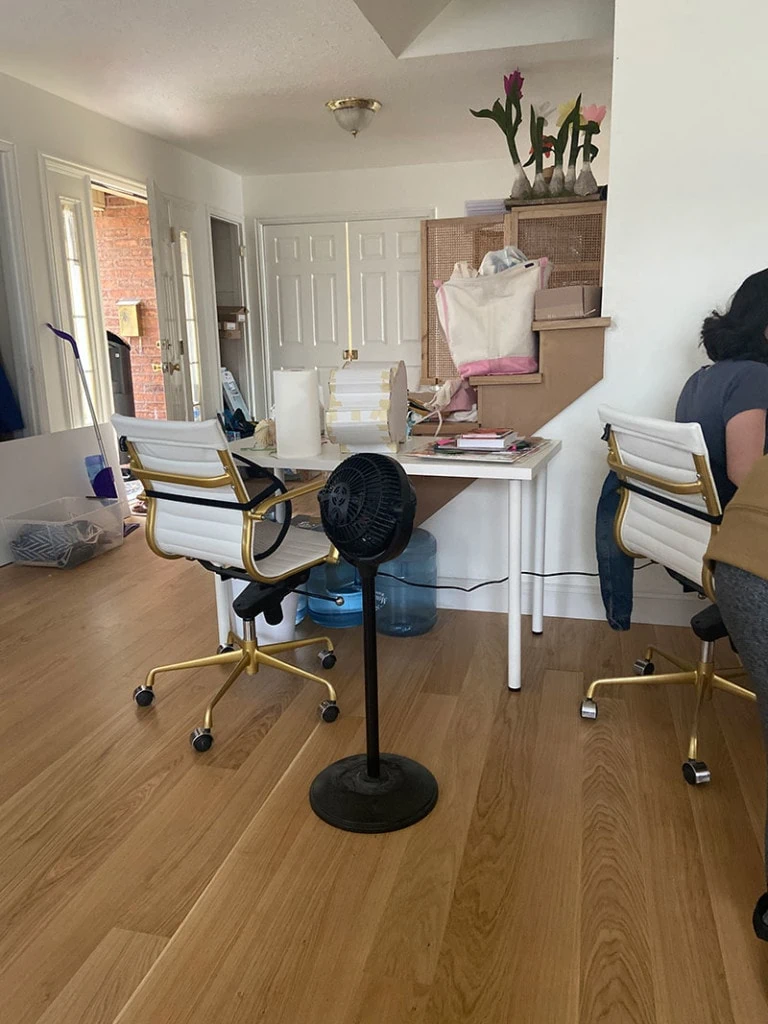
Well, first when we moved in, the pink epoxy floors took a week to dry and cure so we had to work from the living room of our house. NOT ideal! Here’s a little glimpse. Poor guys.
The foundation: Pink floors
Once the pink floors were in we could start moving everything down. A couple of months later though we added in baseboards and painted all the walls white. It became a nice white canvas.
The team added in some things we already had to make it feel better like the chandelier and floral rug that I got on sale from like 15 years ago.
Inspiration for the new office
This is what we sent over to Spoonflower to give the vibe of what we were going for:
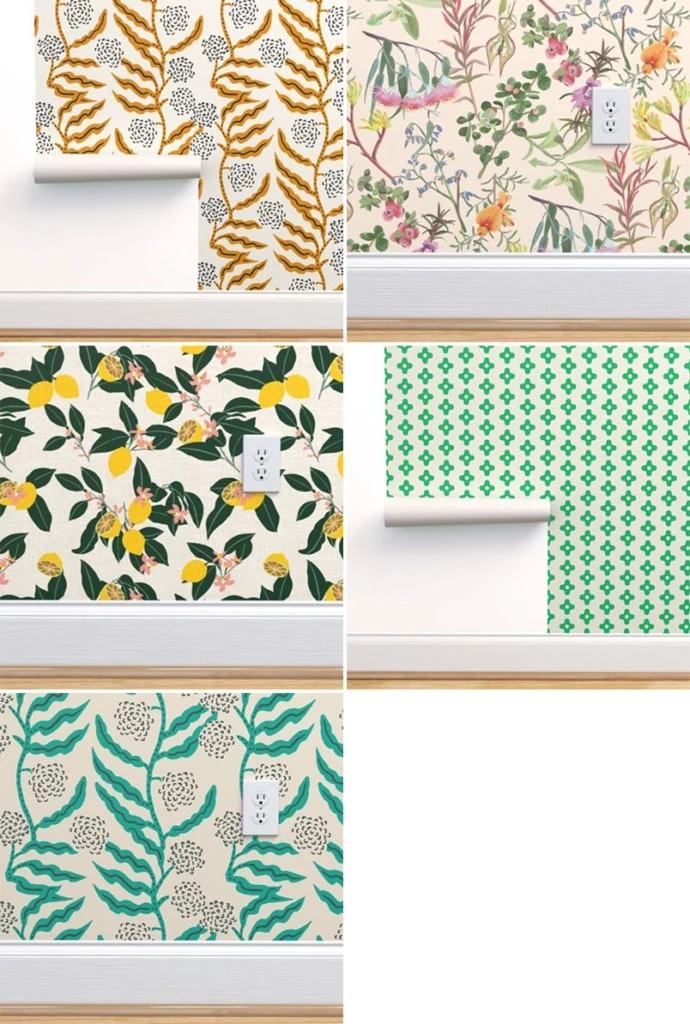
We ordered a few samples from various artists:
From top left
Wallpapers we considered
- Holli Zollinger vines in rust. I love this print and wanted it to work but thought it didn’t go great with the pink floors.
- I LOVED this floral print of native Australian flowers but it was a bit too romantic for the vibe we were going for. By Das Brooklyn
- The lemons by Holli Zollinger were super on brand but it felt a little too contrasty.
- Loved the simplicity of the green pattern by Holli Zollinger (big Holly Z fans here!). I love green and pink together!
- Vines in green by Holli Zollinger.
- You can see the rest of the patterns we debated over and still might use somewhere in our collection here.
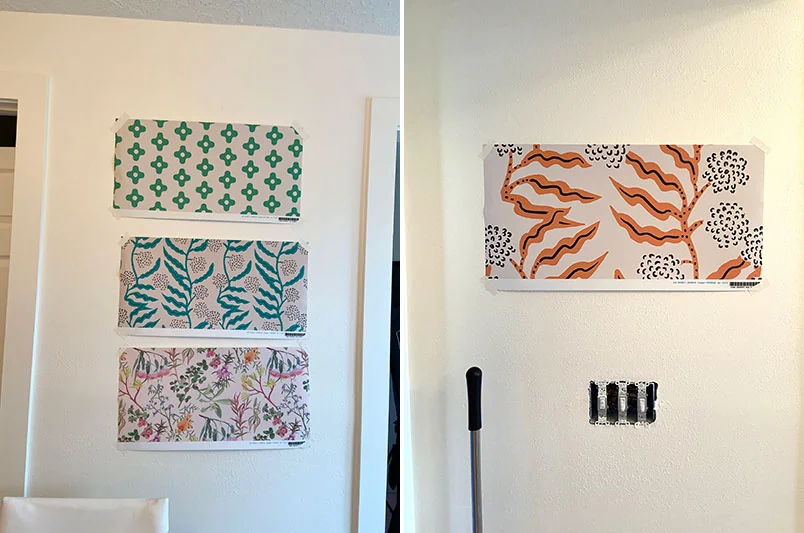
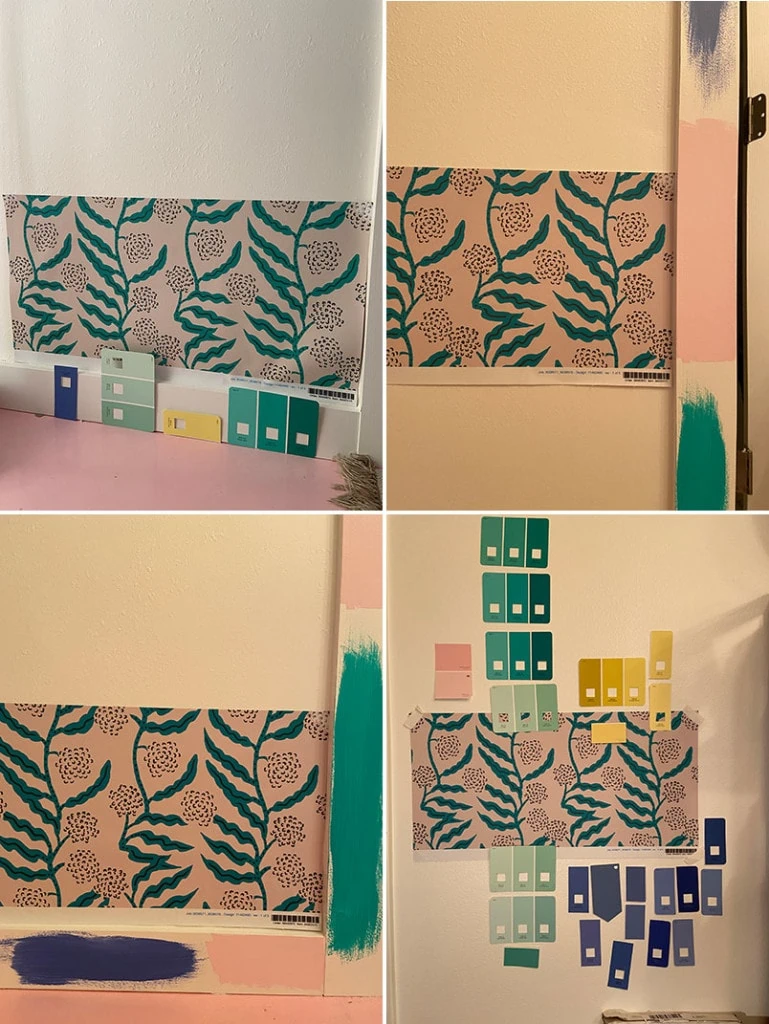
Once the samples arrived, we added them to the wall (they were peel and stick!) so we could think about them. We had a few factors to consider like the pink floors (everything must go with them!), scale, liveability (we didn’t want something so busy because Jane and Hailey work in there).
Foliage as a neutral
Our biggest limiting factor was, surprise surprise, our bubblegum pink floors. Who knew it would dictate so much of our design going forward, ha!
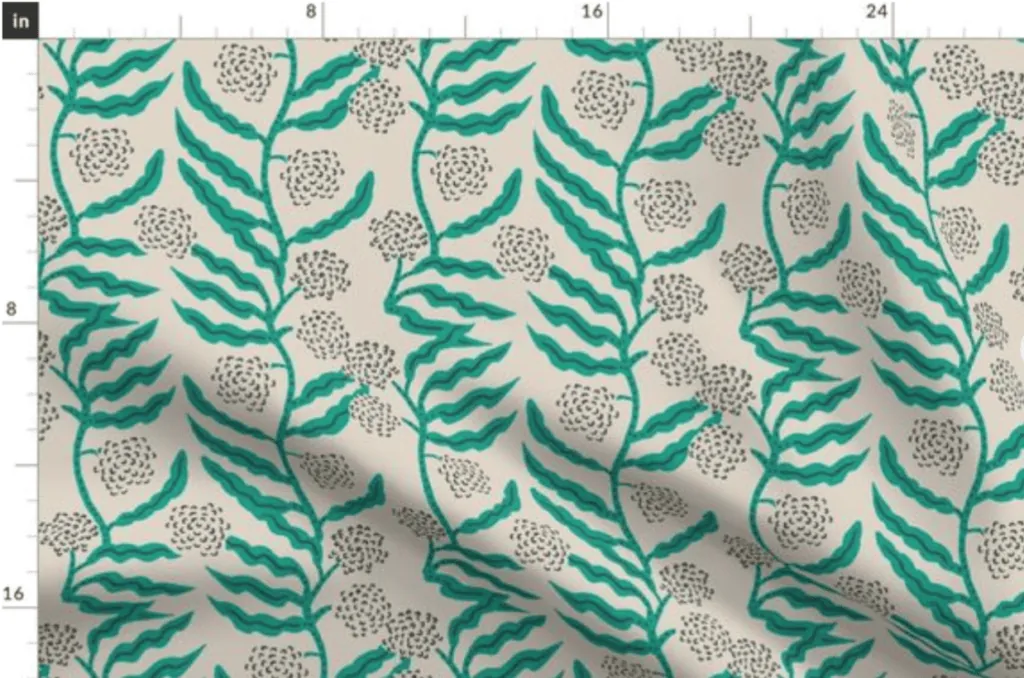
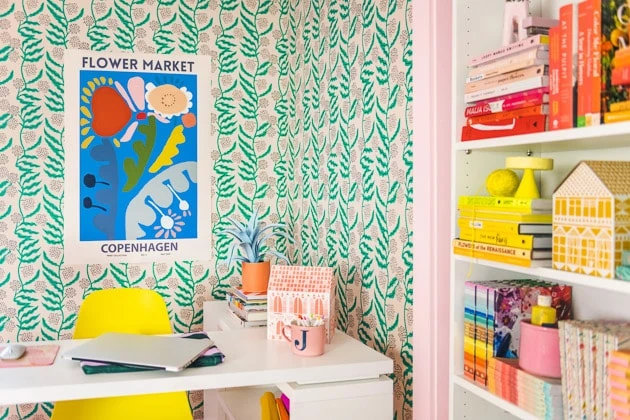
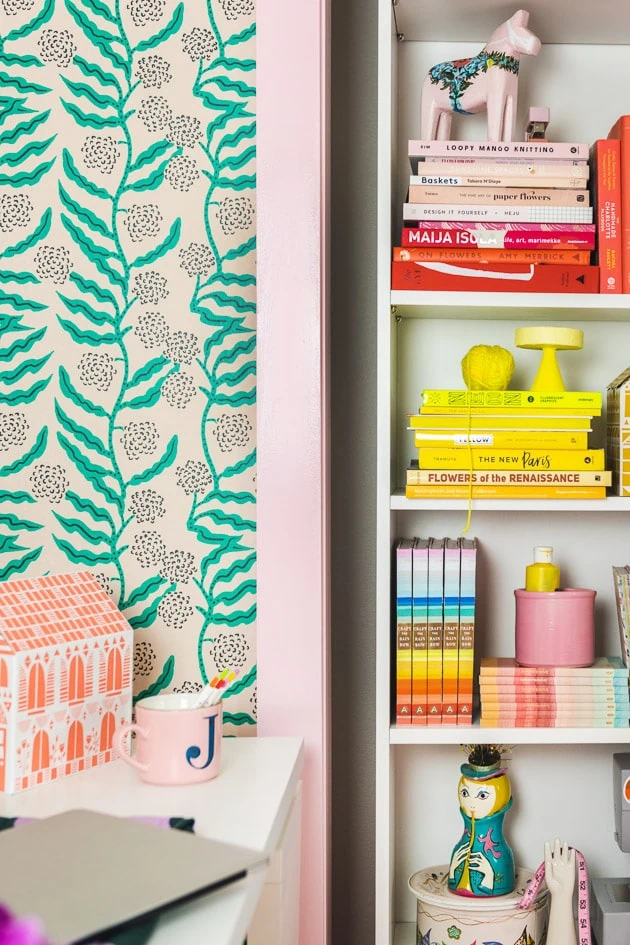
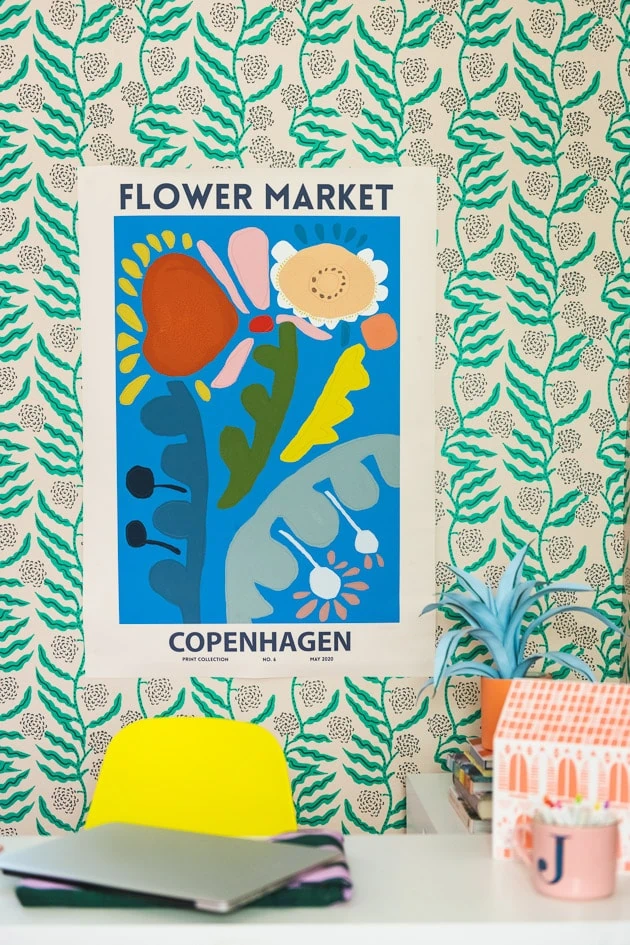
We decided on the Green Vines. Anything with green foliage tends to act like a neutral since it’s in nature, yet it was also interesting, modern, and whimsical. A good vibe all around!
Coordinating trim colors
Next, the tricky part was figuring out what to paint the trims. I knew I wanted a few colors going on but when working with color, you have to be careful not to go overboard. I picked out a palette of a blue, yellow, green, and pink with a dash of tomato red, which you can see in these photos here:
I literally tried out dozens and dozens of different colors and got a few samples to try along with them. As you can see, I did it all at night (the bad lighting!) so we evaluated the next day. I decided to keep it to the same pink as the floors so that it would feel simple.
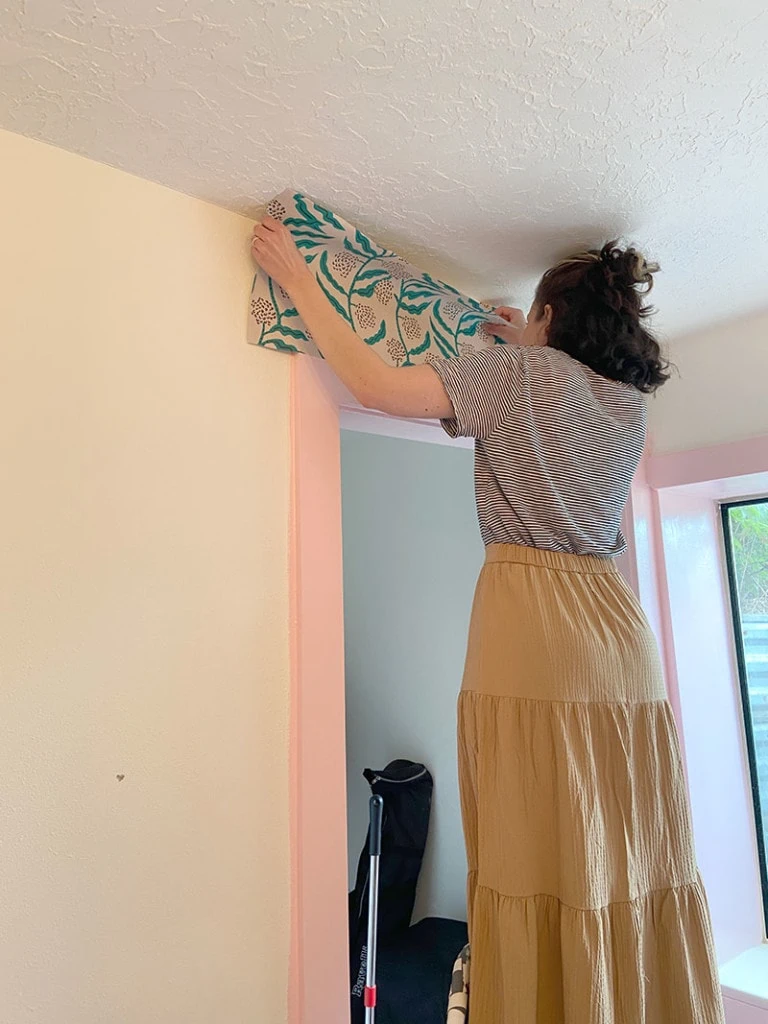
Hailey got to work putting it up and she did a terrific job!
Removeable wallpaper
The best part about this wallpaper? It’s removable! And I know we’ve all had bad experiences with removable wallpaper, but this isn’t the case with Spoonflower’s. It’s sturdy enough to not stretch when pulled on and it’s quite simple to apply.
Some of our application tips are shown below:
- line up 2 feet of the right edge first before working your way down. This prevents the piece from accidentally getting crooked.
- 2 is better than 1! Grab a partner!
- Always measure, then cut a couple inches extra before putting on the wall. When you’ve got it all lined up, use an Xacto knife to cut off the excess.
- Don’t pull off the entire backing or you are sure to get into a sticky sticky situation. Unroll it as you go.
If you’re looking for more help installing your peel and stick wallpaper, this video that Spoonflower made goes through all the details. Check it out!
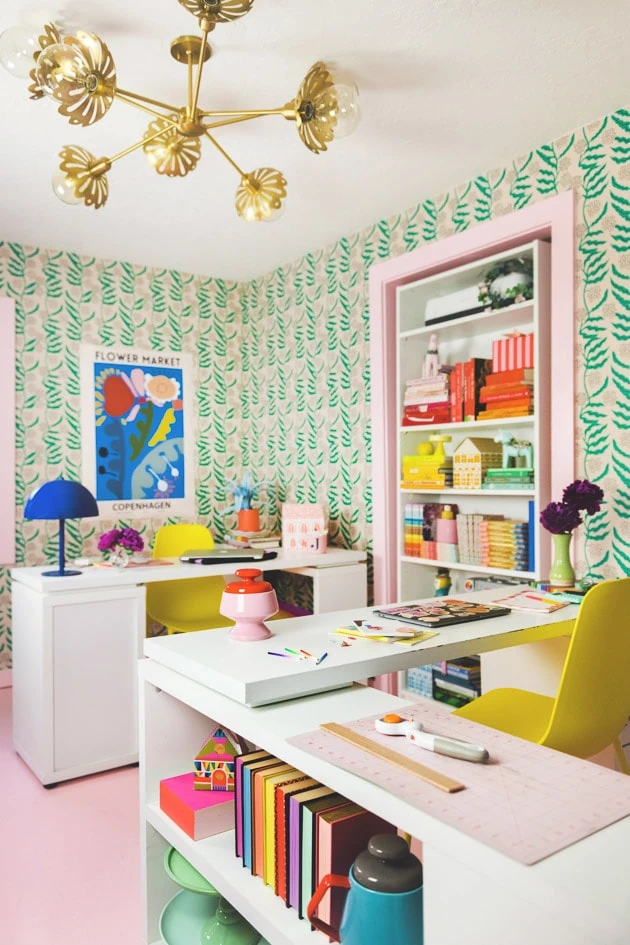
And there you have it! Some instant art and color in our offices, and we didn’t even need to call our wallpaper guy in!
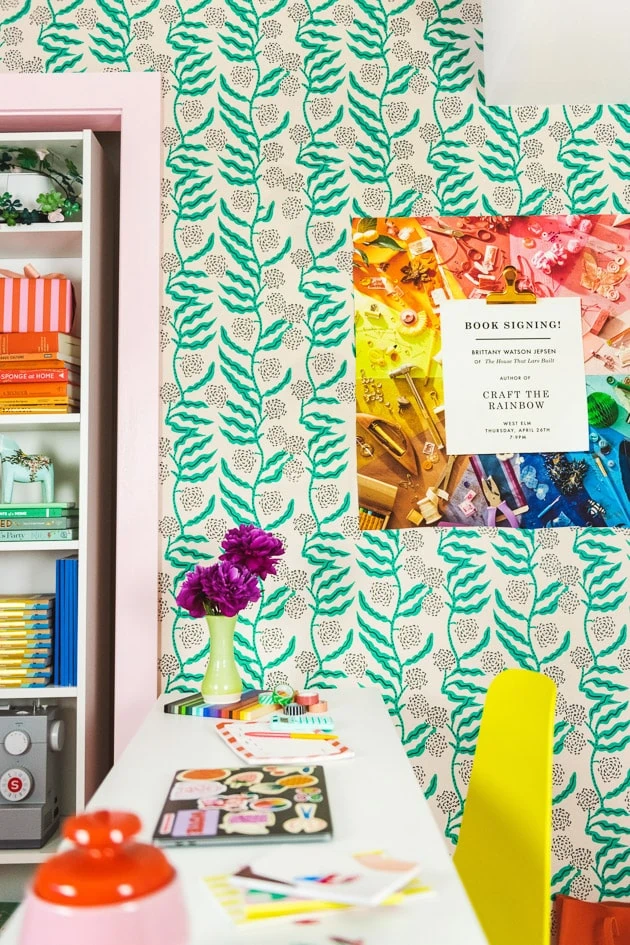
As relieved as I am to finally get another room in my house done, it doesn’t compare to my team’s relief of not having to work in a white walled office anymore, phew!
Thanks to our sponsor Spoonflower, for making this room happen! All opinions are my own.


