Welcome to the fourth week of our Sewing Basics series!
We know that many of you are already familiar with the sewing basics, but we also know that many of you have a lot you would like to learn. In order to bring everyone up to speed, we’ve decided to help you out with some essential sewing skills that will help you succeed at a wide variety of basic sewing projects.
This Sewing Basics series is designed to give you the basic skills you need to get sewing! It’s for sewing projects you’ve wanted to make but have been a bit intimidated by until now. For those who’ve already learned the basics at some point, it’s a great refresher. For those who are completely new to sewing, it’s the perfect place to start.
On week one, we learned how to thread a sewing machine. Then, week two, we learned how to choose the right fabric. On week three we learned how to sew mitered corners. Last week we learned how to sew buttons and buttonholes. This week we’ll teach you some basic stitches and how to use them. Let’s go!
The Essentials
If you’ve looked at any sewing machine, you’ll see a ton of stitch options, which can sometimes be overwhelming. The good news is, though, that you can sew almost everything with just two stitches! Today we’re going through the essentials of machine stitches. By the end of this tutorial, you’ll have the knowledge you need to sew most basic sewing projects (including any sewing project we have on our blog)!
First up: the straight stitch.
Straight Stitch
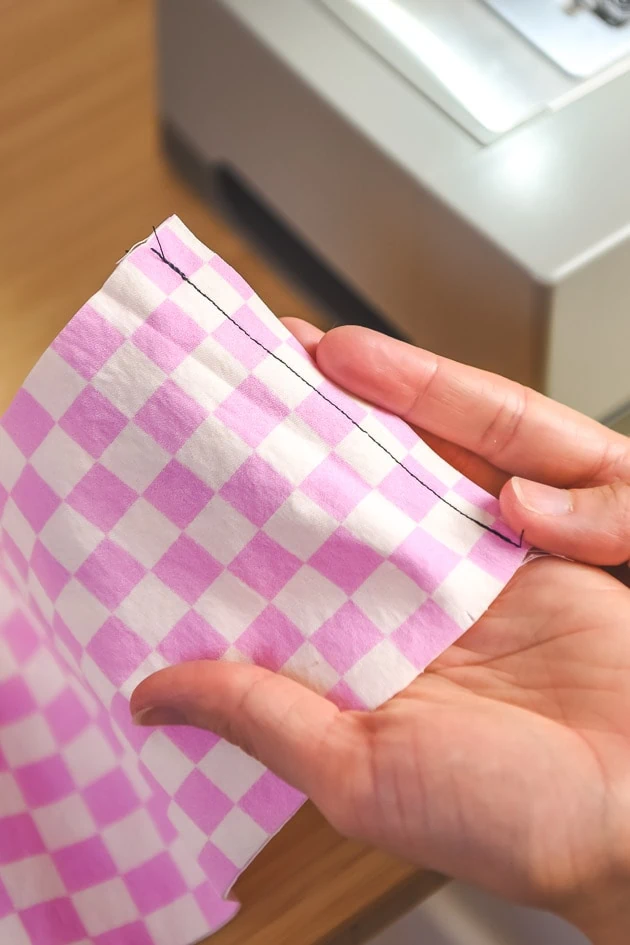
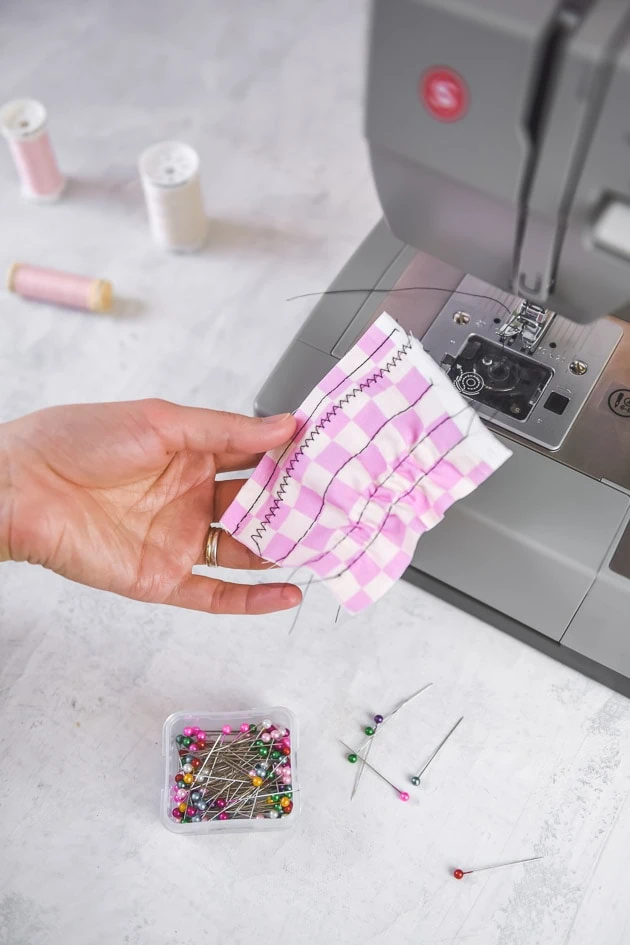
This is the most important stitch on your sewing machine, and one you’ll use most frequently. You’ll use it to sew seams on woven fabrics, hems, zippers, and more. By default, you’ll want the straight stitch length set to 2-3 to sew most seams.
Variations of the straight stitch
The two variations of the straight stitch are the ones you’ll use most frequently. They are:
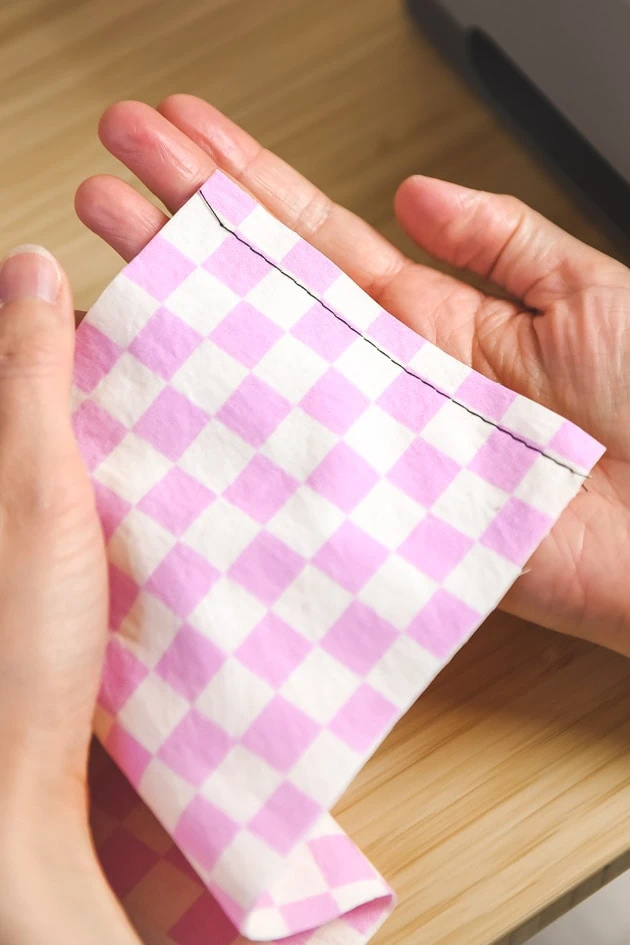
- The basting stitch. For this you’ll lengthen the stitch length to 4. You’ll use this to hold fabric in place without pins. Usually you’ll unpick a basting stitch later, so you want the stitches to be longer so they’ll come out easier. I love using the basting stitch when pins are bulky and more of a nuisance than a help to hold things together. It really helps to flatten and even out the fabric, making it easier to work with.
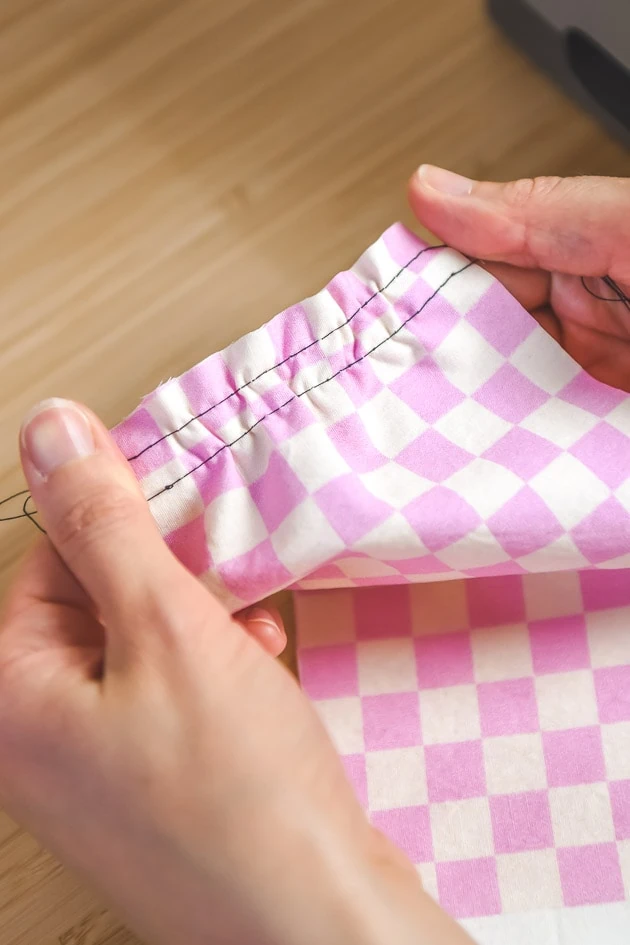
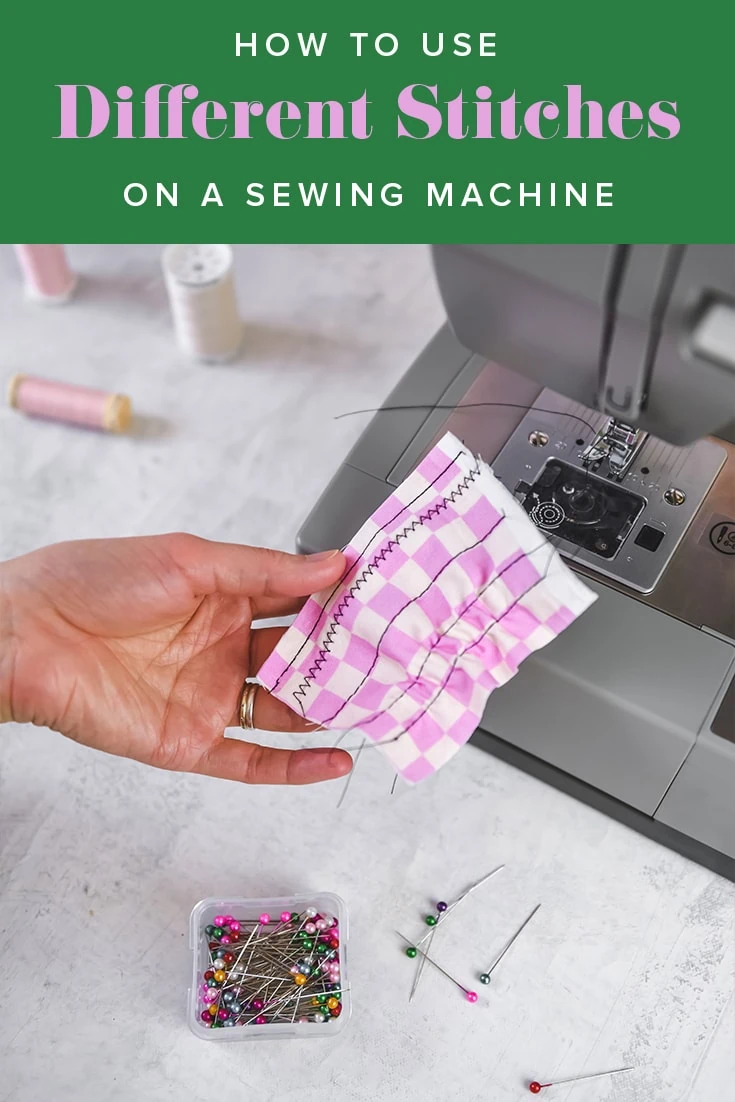
- Gathers. Technically, to make gathers, you’ll simply use the basting stitch. The difference is that you’ll sew two basted rows that are ¼” apart, then pull the top threads to cinch up the fabric and make the gathers.
Another thing you can do with a basting stitch is smocking (essentially, it’s a variation of gathers). We’re not going into the details in this post, but it’s fun to know what options are out there.
Zig Zag Stitch
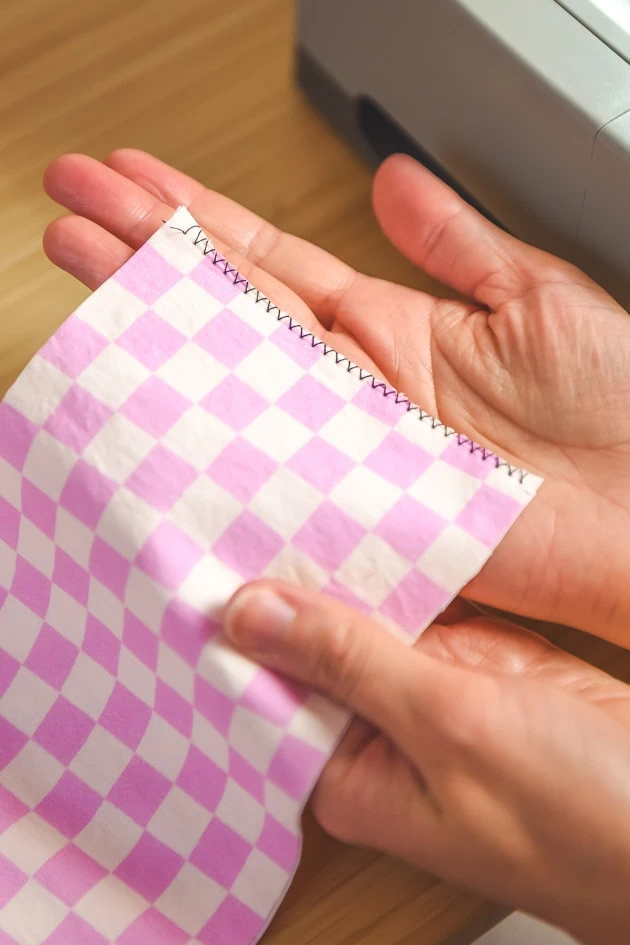
The next stitch we’re going to discuss is the zig zag. The most common application of this stitch is to finish your seams so they don’t fray. It’s especially helpful if you don’t have a serger. To sew a basic zig zag, set the width to 3 or 4 and the length to a standard 2 or 3.
You can also use the zig zag to sew on knits. This will help build some stretch into the seams so you don’t pop your seams when pulling them on or off. For sewing on knits, you’ll want to shorten the zig zag width to closer to 1.
Do you have more questions about basic stitches? What else do you want to learn about sewing? Let us know in the comments!
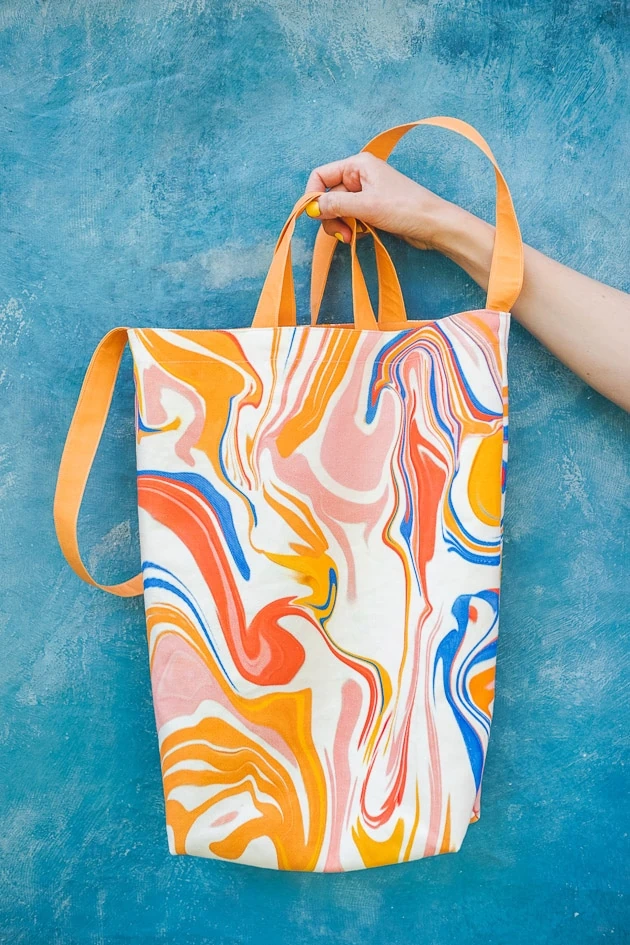
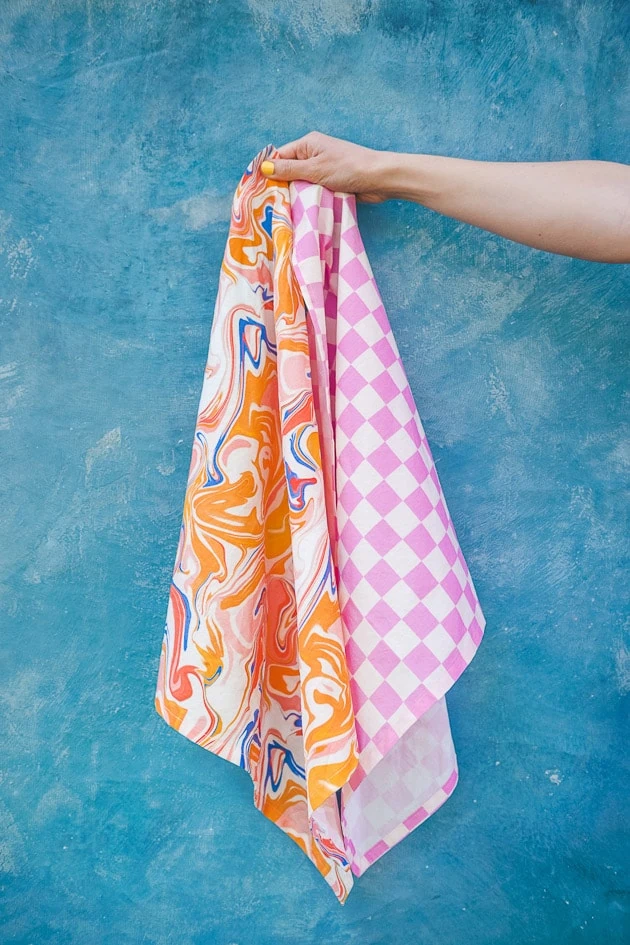
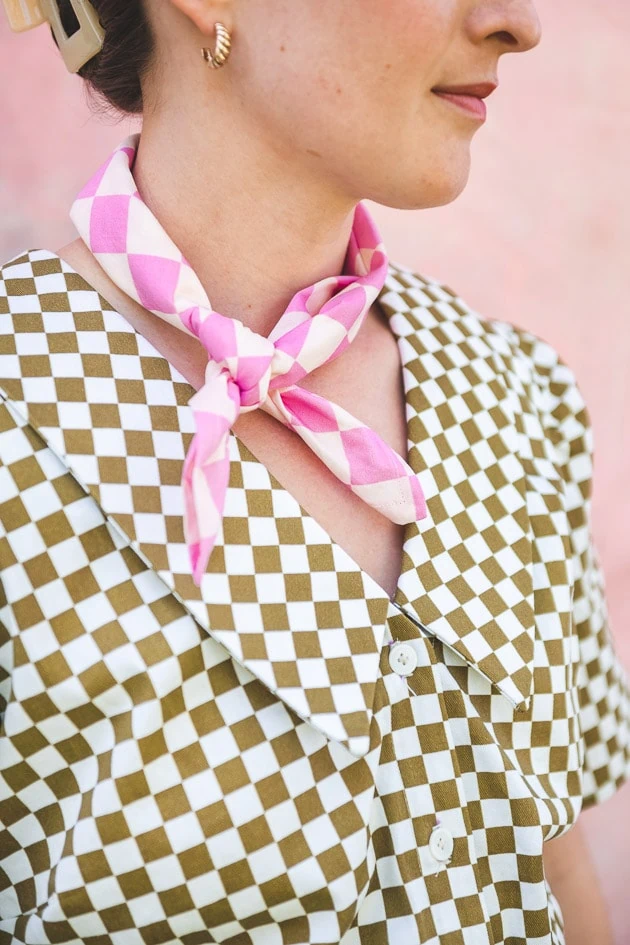
Here are some things you can make with your sewing basics skills:
More Inspiration
Interested in some projects to apply what you’re learning in our sewing basics series? Check out these past sewing projects: Easter outfits, Casetify inspired projects, shaped throw pillows, Mother’s Day apron, quilted shower curtain, quilted face mask, rainbow buttons, reusable lunch sack, and DIY beeswax wraps.


