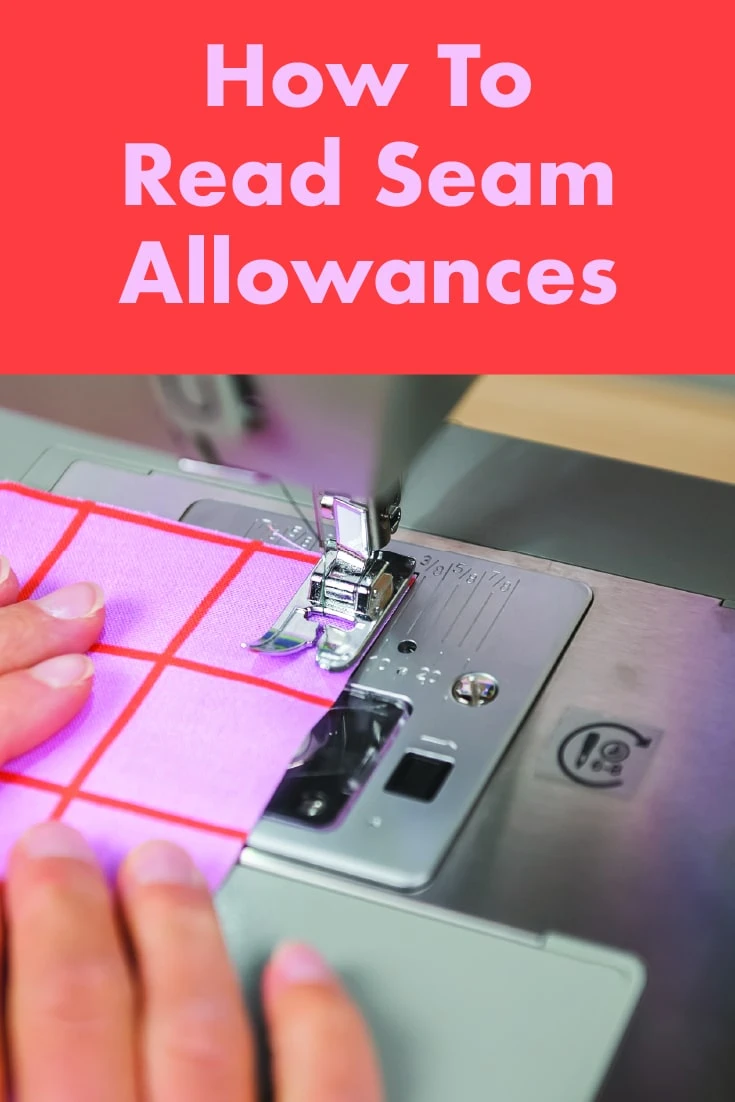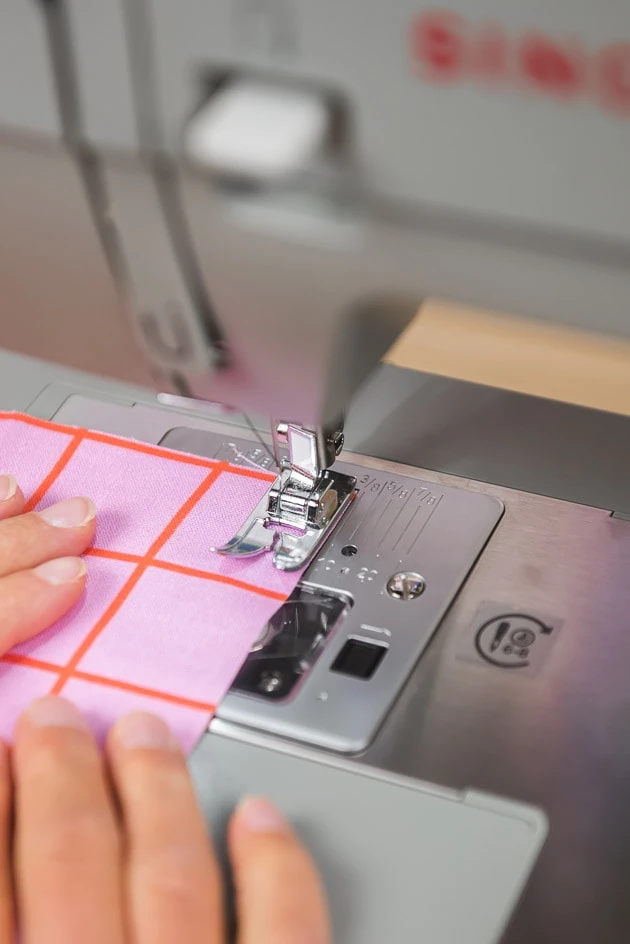
Welcome to another week of our sewing basics series! This week we’ll be teaching you how to read seam allowances and what they mean.
We know that many of you are already familiar with the sewing basics, but we also know that many of you have a lot you would like to learn. In order to bring everyone up to speed, we’ve decided to help you out with some essential sewing skills that will help you succeed at a wide variety of basic sewing projects.
This Sewing Basics series is designed to give you the basic skills you need to get sewing! It’s for sewing projects you’ve wanted to make but have been a bit intimidated by until now. For those who’ve already learned the basics at some point, it’s a great refresher. And for those who are completely new to sewing, it’s the perfect place to start.
For past Sewing Basics posts, click here.
What Is A Seam Allowance?
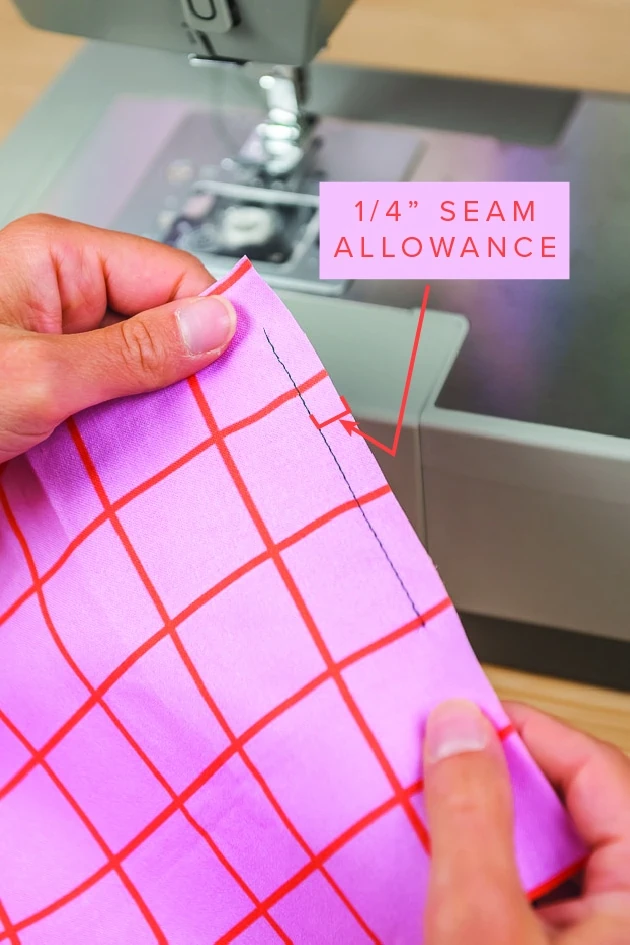
First of all, let’s just cover the basics so we’re all on the same page. In order to know how to read seam allowances you should know what a seam allowance is. What is a seam allowance? It’s the excess space between the stitching line and the raw edge of your fabric. When patterns are made, they first draft out the exact measurements of the project according to the stitch line. The last step is to add on the seam allowance. That ensures that your project will be precise, and all measurements of the finished piece correct.
Seam Allowance Sizes
The size of the seam allowance varies depending on the pattern company and the project itself. Back in the day, most pattern companies had standard seam allowances, pattern markings, and layouts. Vogue, Butterick, and McCalls are all good examples of this. ⅝” seam allowances were standard unless otherwise indicated. Now, with so many new pattern companies popping up all over, it’s not so universal. Generally, though, seam allowances range anywhere from ⅜” to ⅝” (1-2 centimeters).
How to Read Seam Allowances
It can be confusing to know exactly how to read seam allowances in order to get the right seam allowance for your pattern. Here are some simple steps to walk through:
- First, check the pattern’s instructions. It will always indicate the standard seam allowance for the pattern. In addition, it will usually tell you when a different seam allowance is required. Sometimes the seam allowance for collars, necklines, or other specific details of your project will be slightly different than, say, a basic side seam. The pattern will always tell you if that is the case.
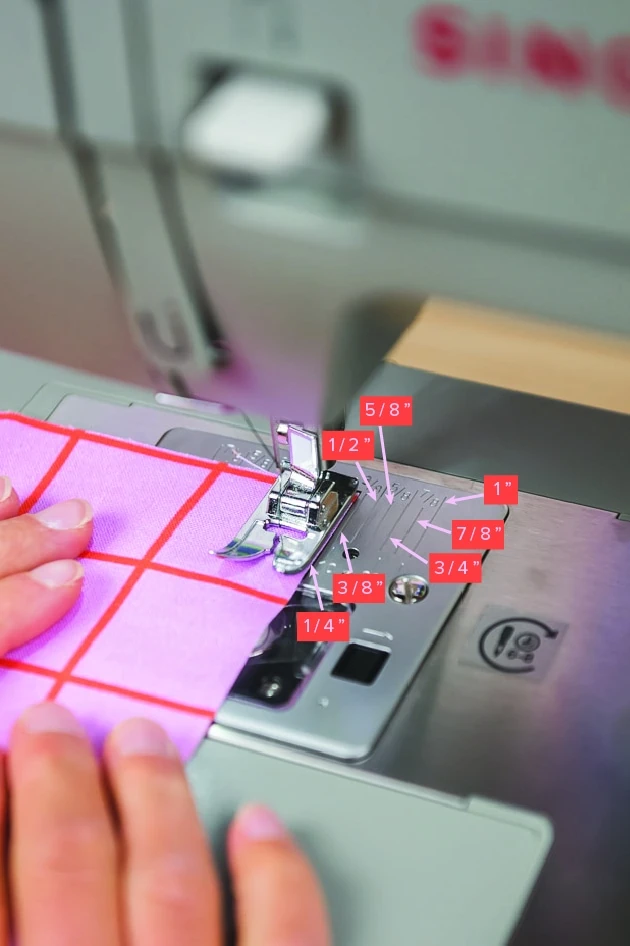
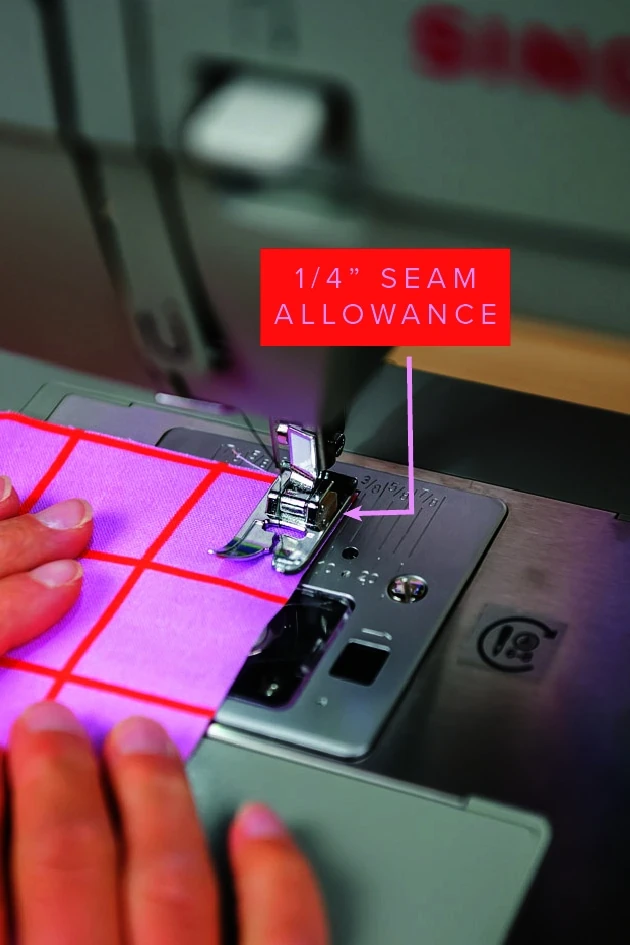
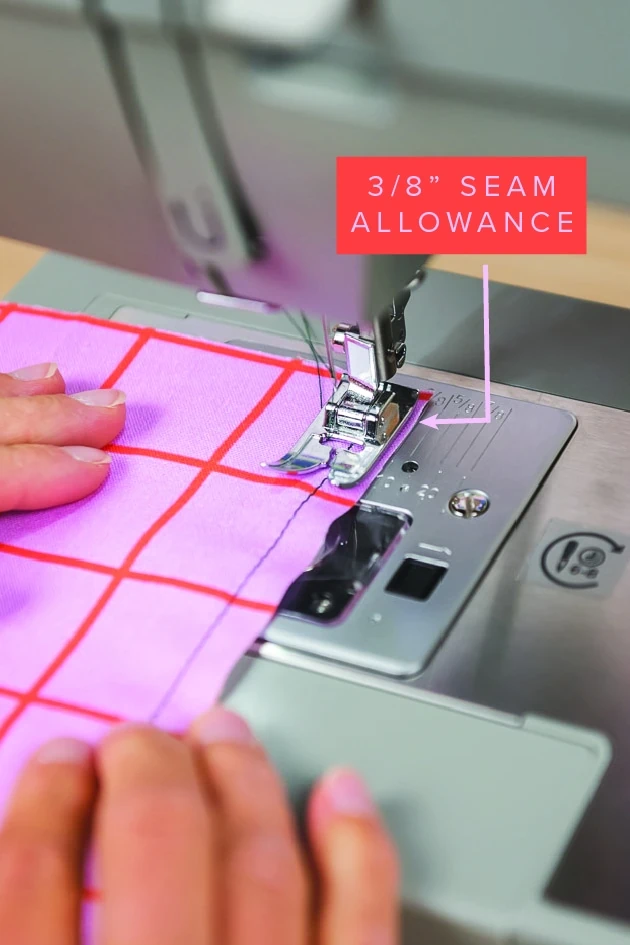
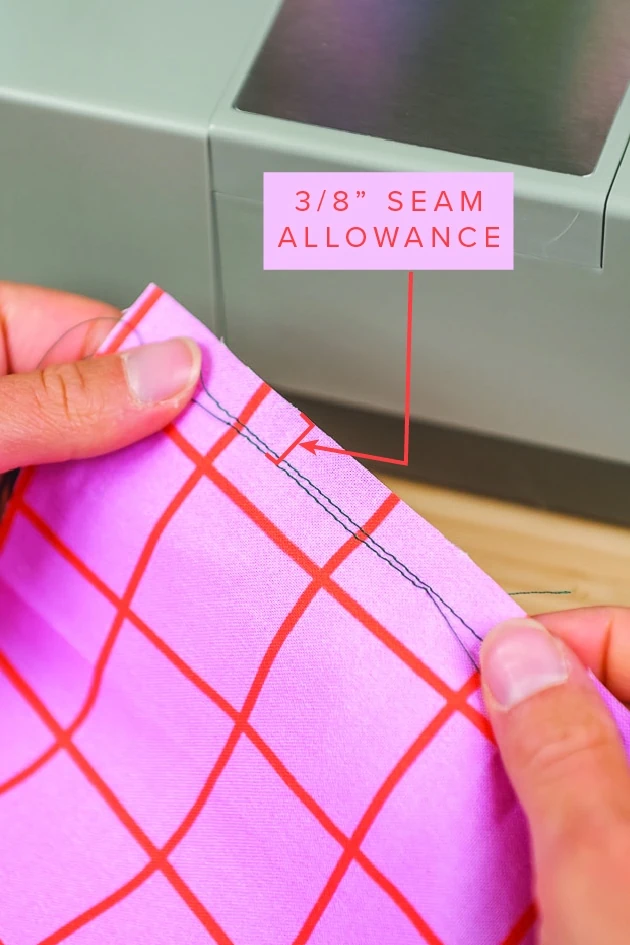
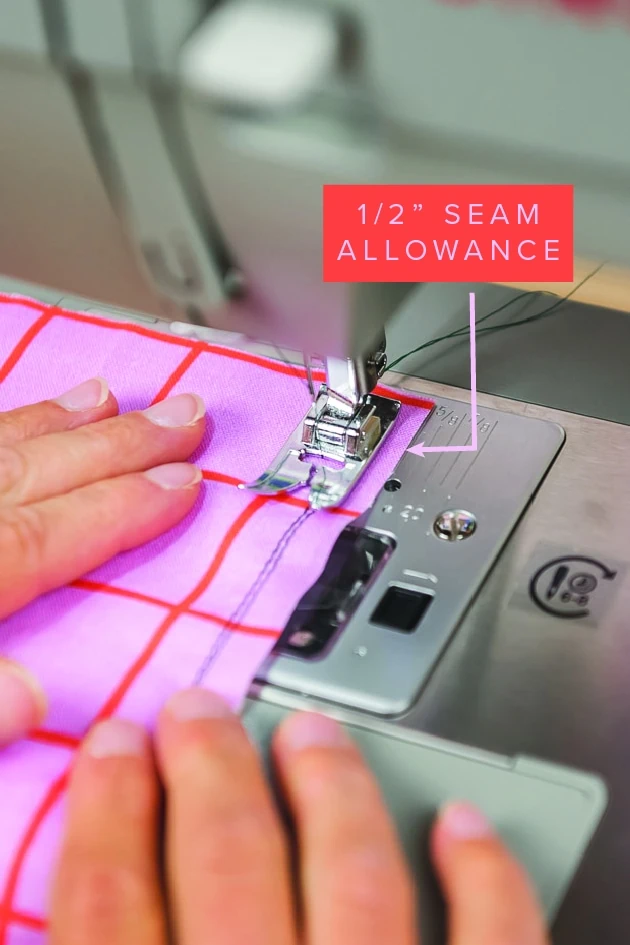
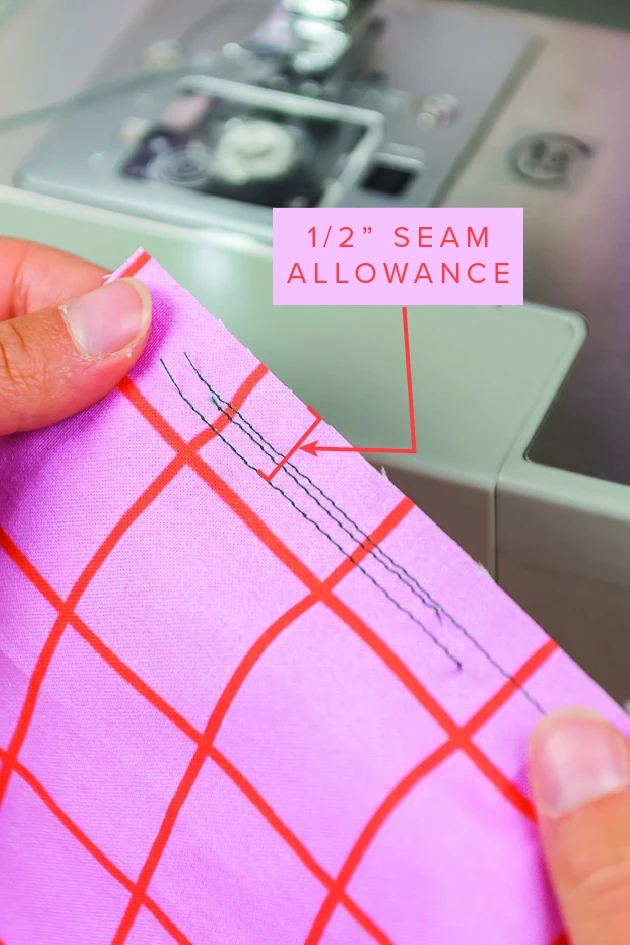
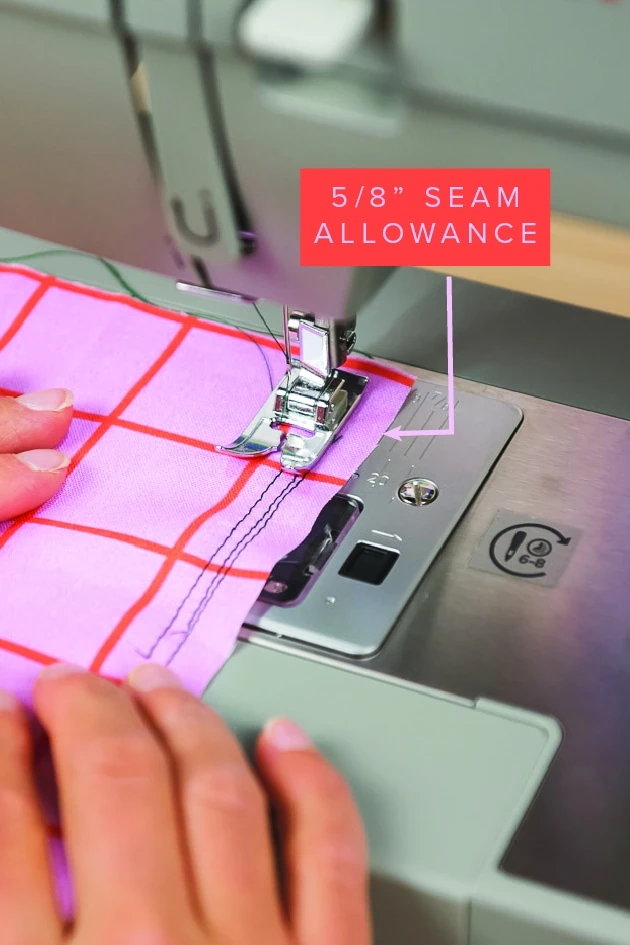
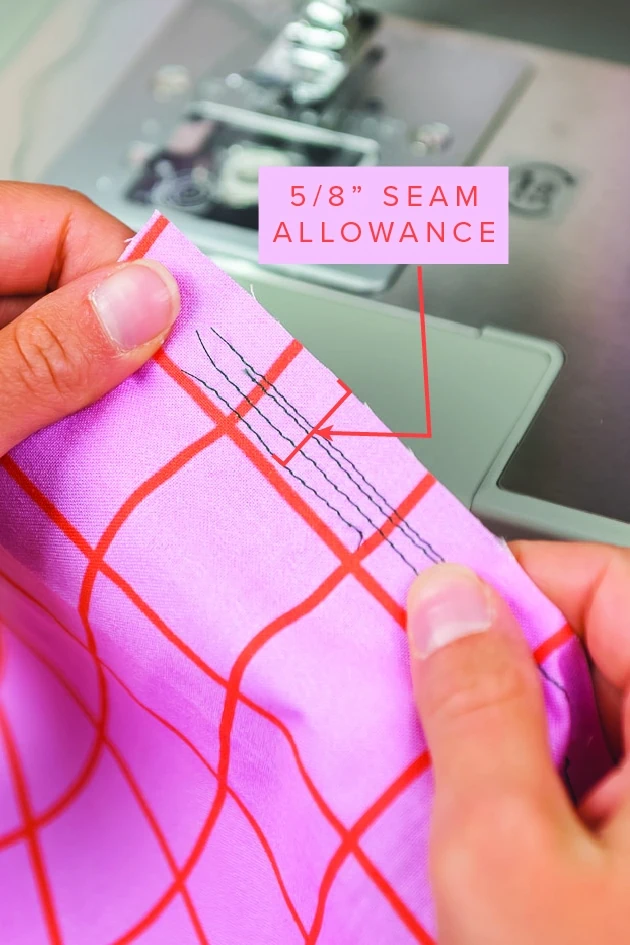
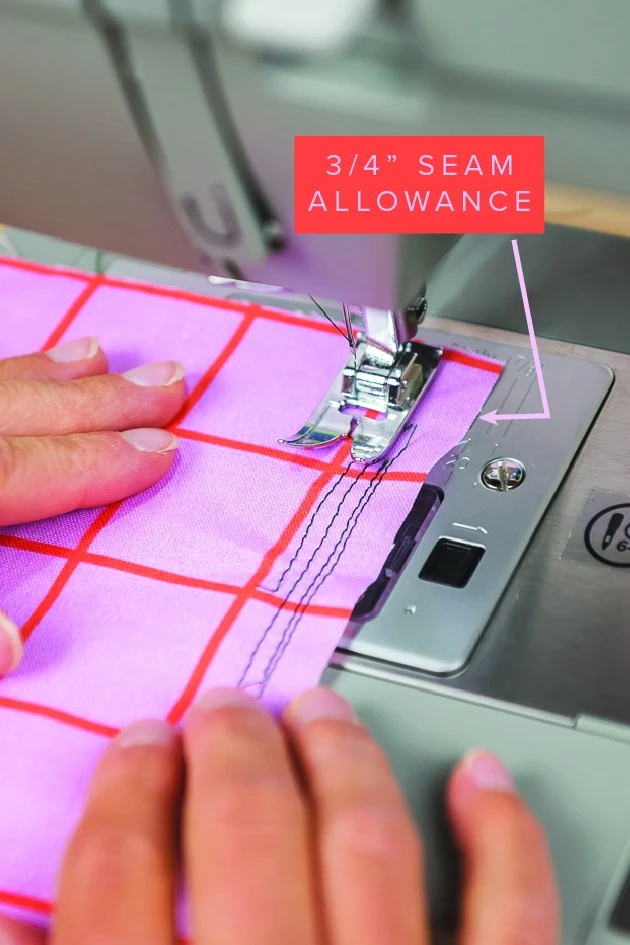
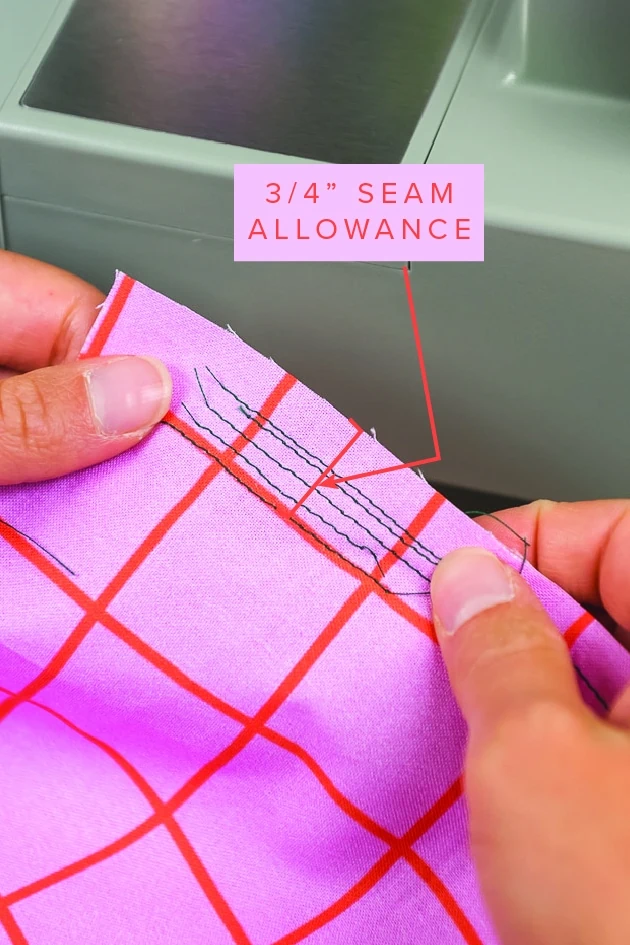
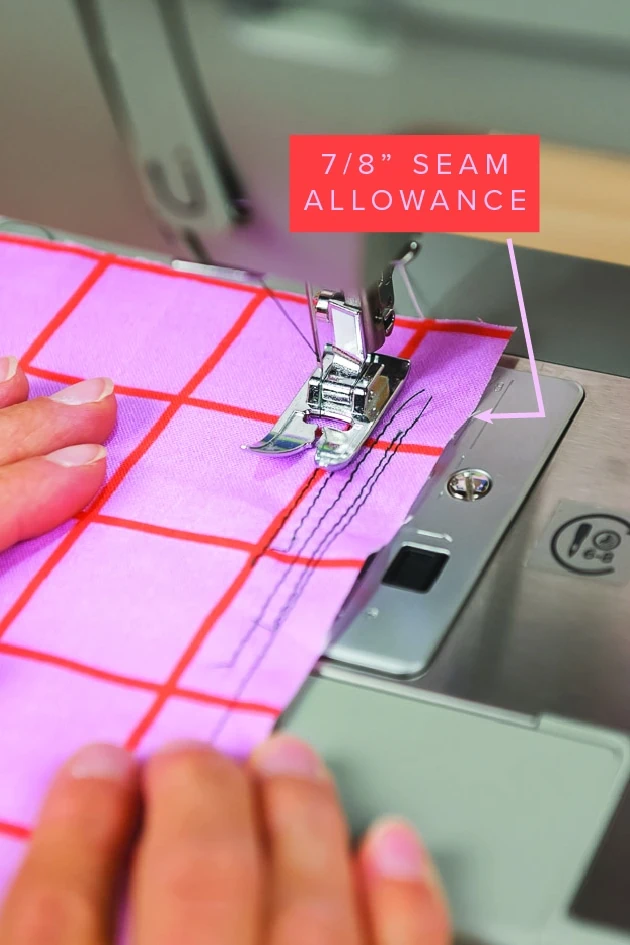
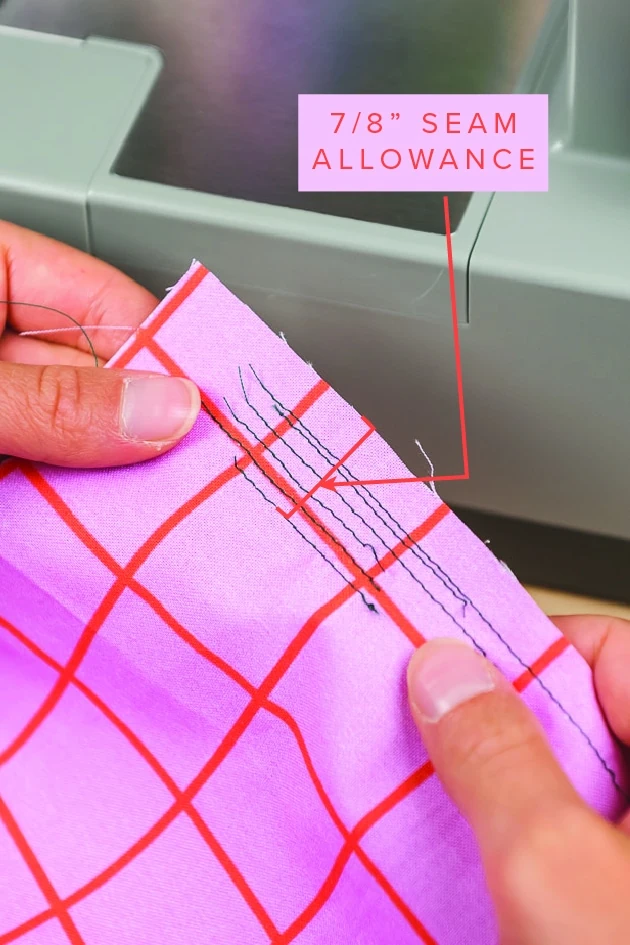
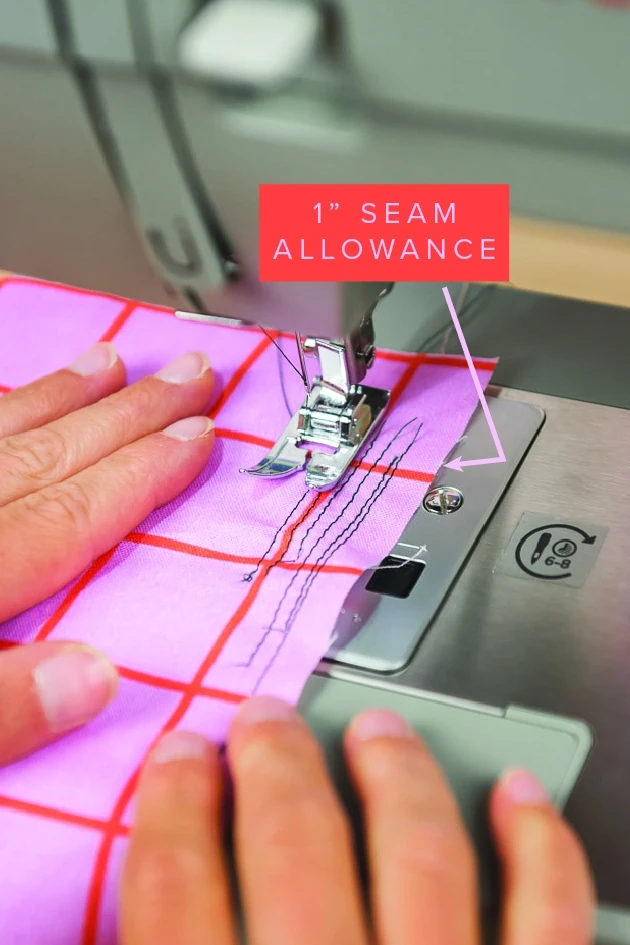
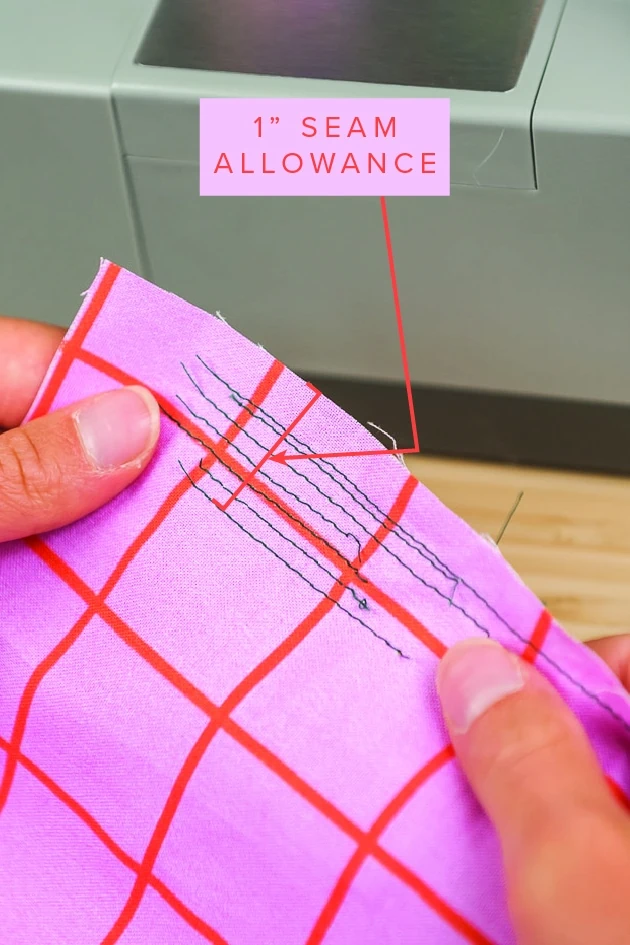
- Next, line up the seam allowance indicated on your pattern with the seam allowance markings on your sewing machine. On our sewing machine, these markings are labeled, which makes it nice and easy! But some machines don’t have all the seam allowances labeled. Easy trick: sew a ¼” seam allowance by lining the edge of the fabric up along the edge of the presser foot. From there, the markings are about an 8th of an inch apart: ⅜”, then ½”, then ⅝”. The markings continue after that, but the main ones to know are the ones we just mentioned.
That’s what you need to know! Now we want to know: how did it go? Have questions or other thoughts? Drop them in the comments below!
More Inspiration
Loved this post on how to read seam allowances and want more sewing content? Step right this way! Check out the rest of our Sewing Basics series here. You won’t want to miss this DIY Fanny Pack or these cute DIY pencil cases, either! Also, see our past sewing projects: New Team Outfits, Easter outfits, Casetify inspired projects, shaped throw pillows, Mother’s Day apron, quilted shower curtain, quilted face mask, rainbow buttons, reusable lunch sack, and DIY beeswax wraps. Last but not least: check out our shop for lots of sewing templates! And stay tuned for future sewing basics posts, released on Tuesdays!


