Welcome to another week of our sewing basics series! This week we’ll be teaching you how to take measurements for yourself and for others.
We know that many of you are already familiar with the sewing basics, but we also know that many of you have a lot you would like to learn. In order to bring everyone up to speed, we’ve decided to help you out with some essential sewing skills that will help you succeed at a wide variety of basic sewing projects.
This Sewing Basics series is designed to give you the basic skills you need to get sewing! It’s for sewing projects you’ve wanted to make but have been a bit intimidated by until now. For those who’ve already learned the basics at some point, it’s a great refresher. And for those who are completely new to sewing, it’s the perfect place to start.
To see past Sewing Basics posts, click here.
Finding the Perfect Fit
If you’re interested in sewing clothing, either for yourself or for others, knowing how to take measurements is a must. It makes all the difference! Instead of worrying about which size will fit, you can simply take your measurements, look at the size chart, and figure out exactly what size is ideal for your body. And if you’re in between sizes? If you’re shopping for finished clothes, you either have to size up or down. But not so when you’re the one sewing! The main perk of sewing clothing by hand is that you can adjust the pattern–if there’s something that’s a little small or large in one area, you can tailor it to your measurements and it will fit like a glove. But in order to do that, you need to know how to take your measurements correctly. Let’s go!
Differences Between Mens’ and Womens’ Measurements
First, let’s talk about how to take measurements for women. Did you know taking womens’ measurements is different than taking mens’ measurements? Yep. That’s because mens’ and womens’ bodies are shaped differently, and the size charts are made with those differences in mind. Men generally have less of a difference between their waist and hip measurements, for starters. They also have different shaped chests and wider shoulders, proportionally. All of that needs to be taken into account when measuring!
How To Take Measurements For Women
The following measurements are important for women to take when making clothes. They’re also generally useful for buying clothes when you aren’t sure of your size!
Note: When measuring, make sure to remove bulky clothing. Ideally measuring against the skin will give you the most accurate measurement. If that’s not possible, measure with one thin layer of clothing, like leggings and a thin undershirt. Also, it’s nice to have someone else with you to help take measurements because it will make things more accurate. Now let’s learn how to take measurements for women!
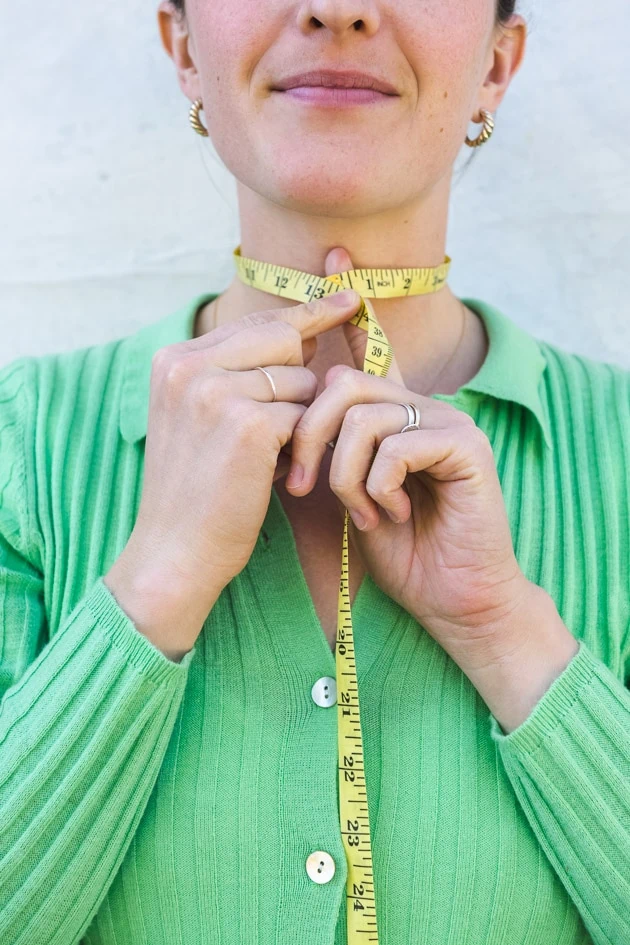
Neck
The first measurement to take is the neck. This isn’t required for all patterns, but it’s useful to have on hand. To take the neck measurement, simply measure around the neck. Leave a finger width of slack so you don’t choke yourself with a too-small neck opening.
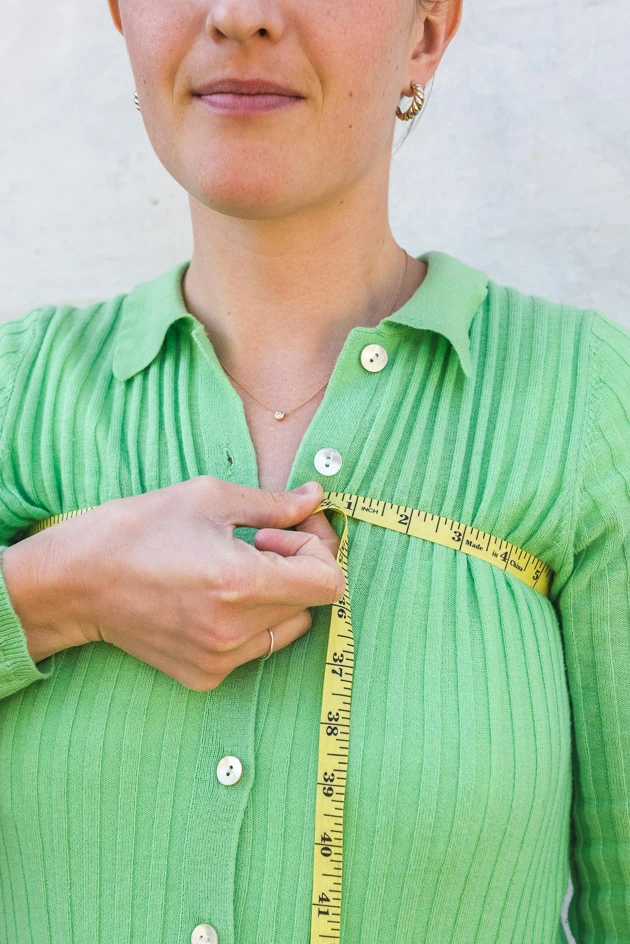
High bust
This measurement isn’t necessary all the time, either, but it can really come in handy if you’re trying to be as precise as possible. To take the high bust measurement, wrap the measuring tape snugly around the torso underneath the armpits. It’s generally most accurate if both arms are outstretched, parallel to the floor.
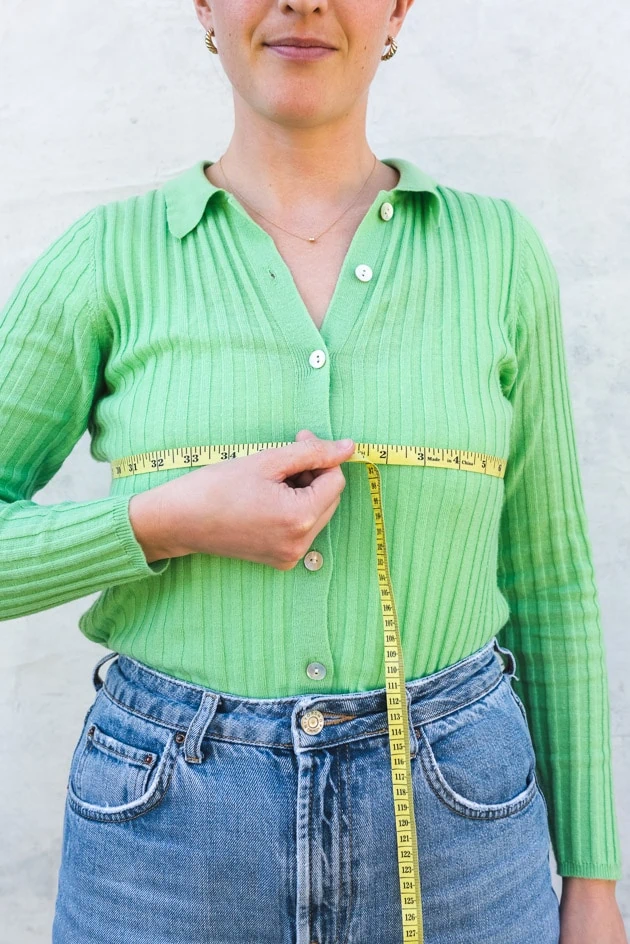
Bust
This is one of the most standard and useful measurements you’ll take, along with the waist and hips. How to take a bust measurement? First, stand with arms out and parallel to the floor. Now wrap the measuring tape around the fullest part of the bust. This is usually in line with the nipples. Don’t pull it too tight, just gently fitted. Also make sure to wear a thin fitted bra–not sports bra (that will squish your ladies!) or a padded pushup (that will give you an inaccurately large measurement).
Underbust/band
This is basically your ribcage size and, along with bust measurement, is the measurement needed to figure out bra size. To take measurements of your underbust, simply wrap the measuring tape around your ribcage just below the bust. Make sure it’s snug but not too tight.
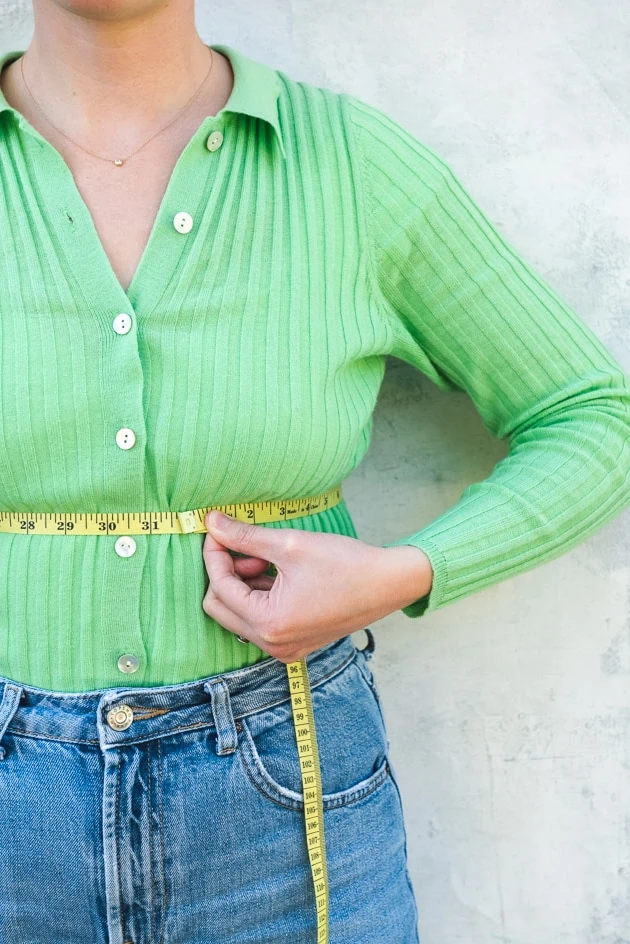
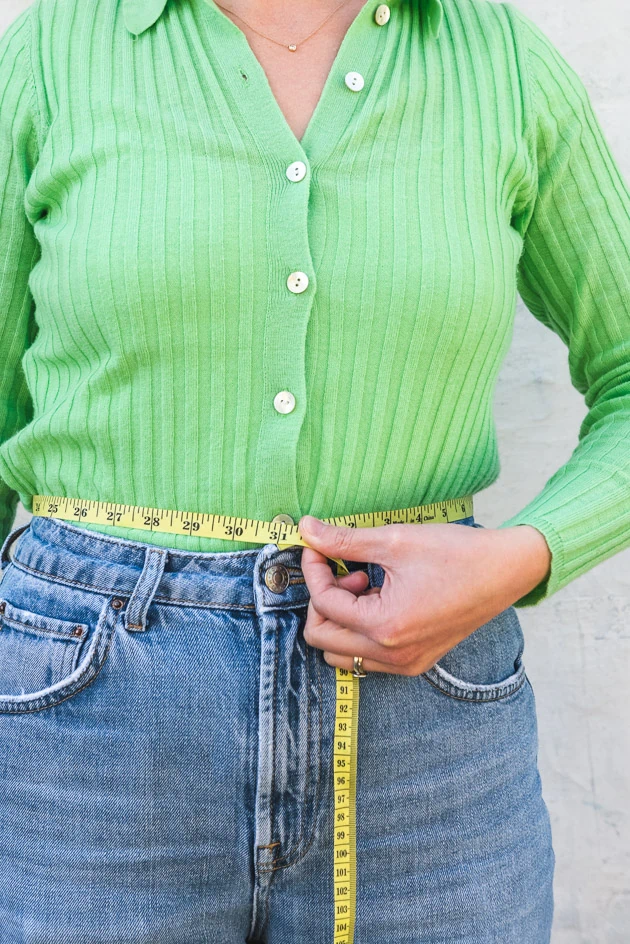
Natural waist
You’ll also want to know how to take measurements of the natural waist. This is where your torso bends when you lean to the side. For this measurement, wrap the measuring tape snugly but not too tightly around the natural waist. Leave a little slack so you can breathe in your new outfit later.
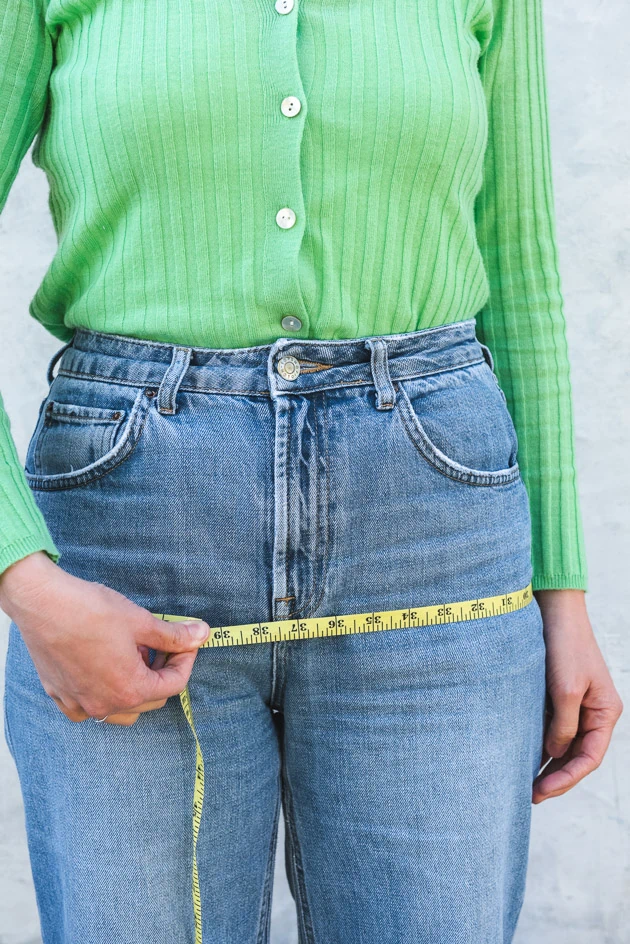
Hip
Next up: the hips. It’s important to note that the hip measurement is taken at the fullest part of the butt. Basically, you want the widest measurement you can find here so you don’t end up with something disproportionately tight on your booty. To measure, wrap the measuring tape around your hip. Again, don’t wrap too tightly, but avoid slack, too.
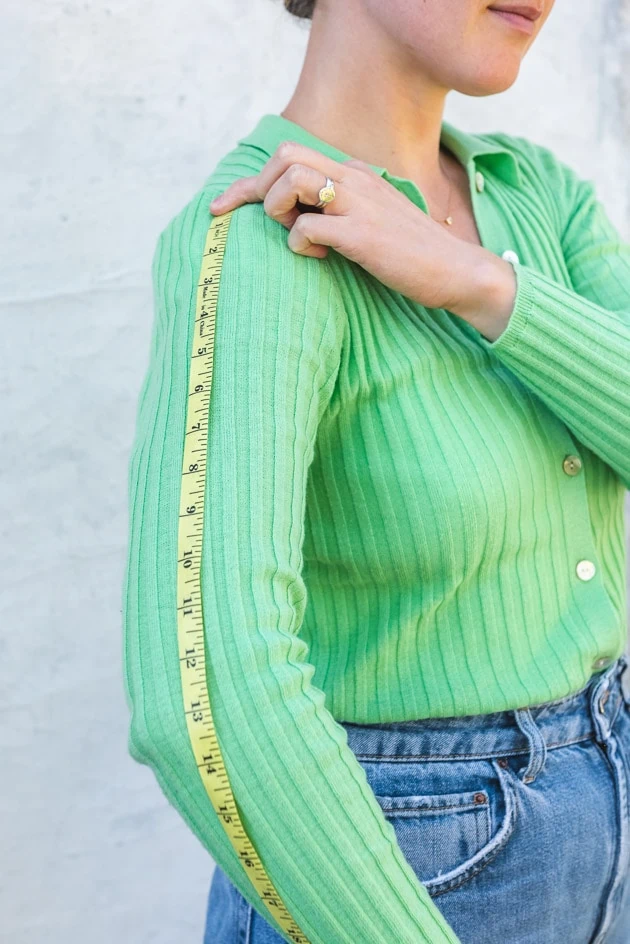
Sleeve length
The sleeve length is a bit less common, but nonetheless helpful when sewing. You want those sleeves to hit just at the wrist, rather than dangling over the hands or ending up halfway down your arm. To find the sleeve length, measure from the tip of the shoulder to the wrist with the arm bent.
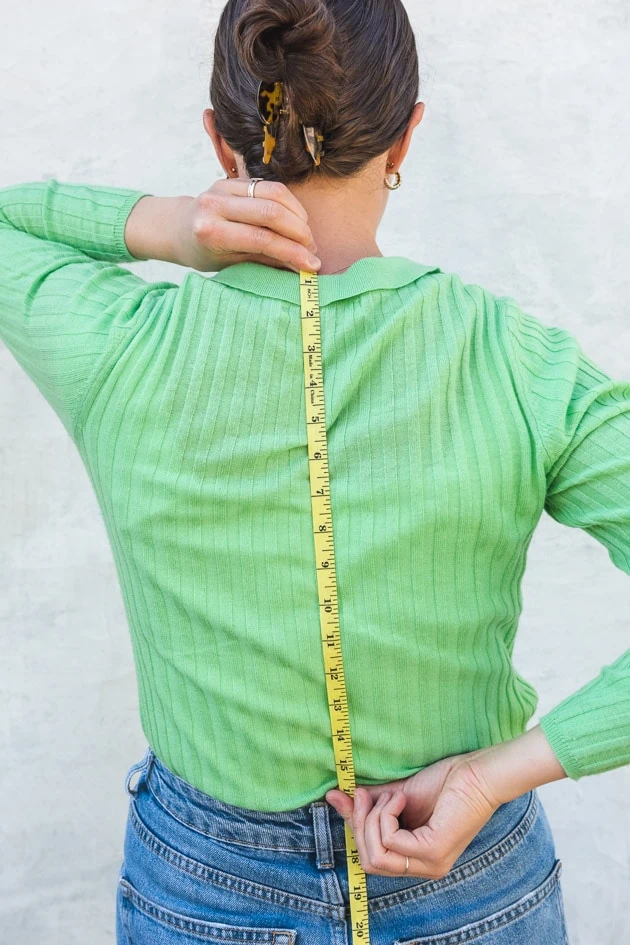
Back neck to waist
This measurement is less common but useful to have, especially if you have an unusually short or long torso. To take this measurement, start at the nape of your neck (on your back) and extend the tape down to the natural waistline.
Inseam
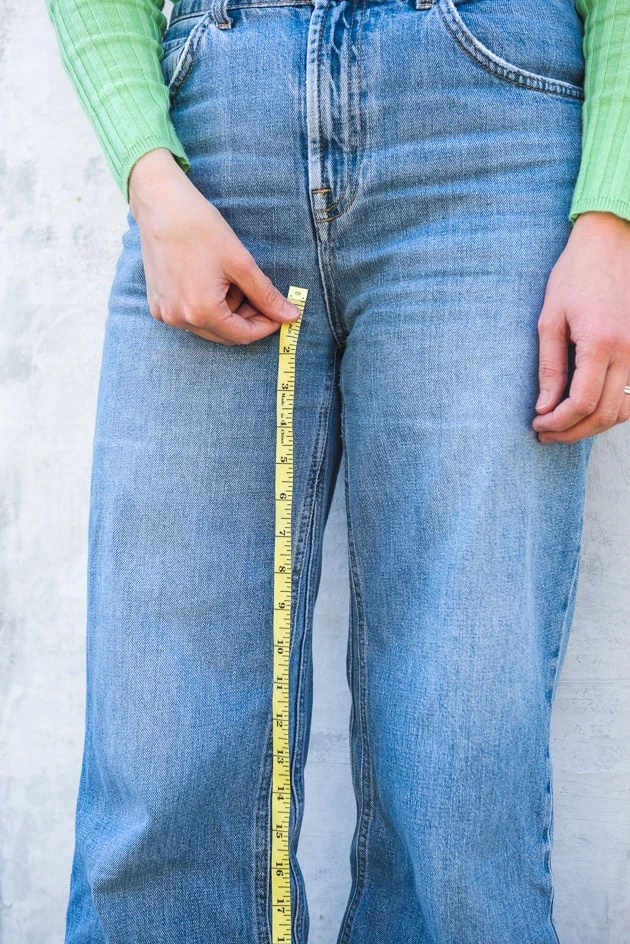
You’ll also want to know how to take measurements of the inseam. The inseam is a really useful measurement to have when buying or making pants. To find it, measure right at the top of the inside of the leg, up against the crotch, all the way down to the floor.
Outseam
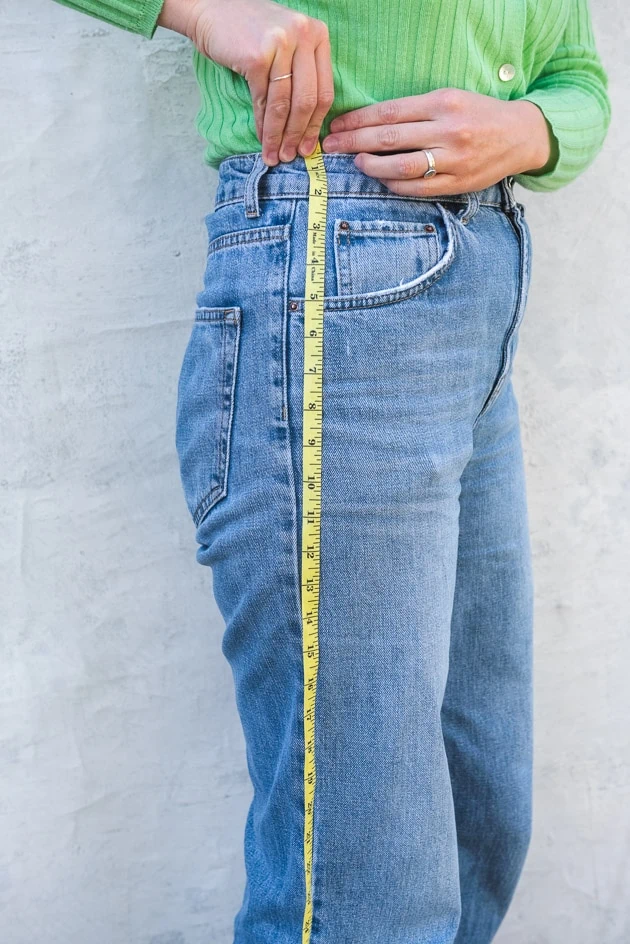
The outseam is also useful for pants, skirts, and dresses. For the outseam measurement, go from the natural waist all the way to the floor, this time on the outside of the leg.
Shoulder
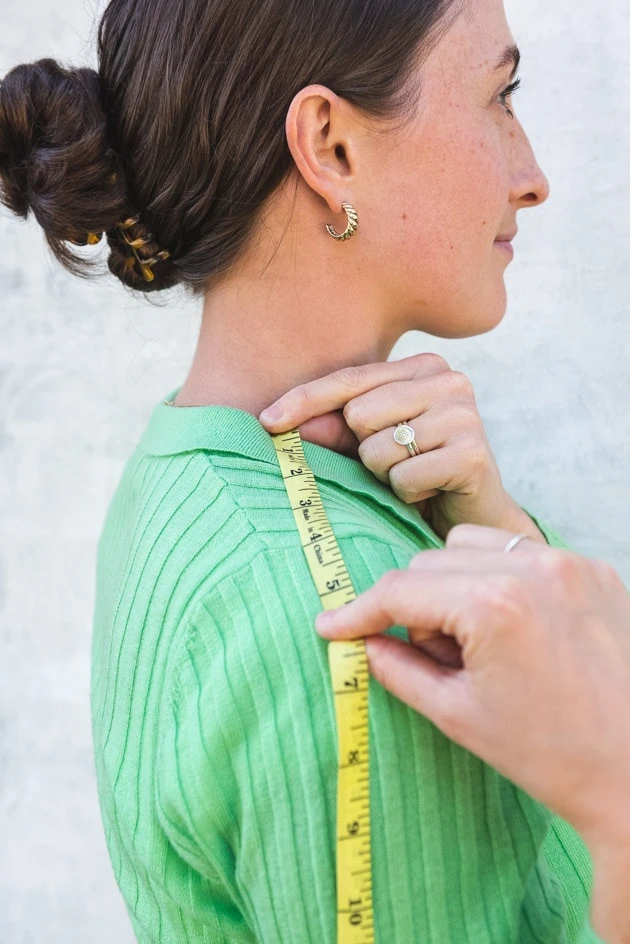
It’s nice to have the shoulder measurement, too. Especially if you have a blouse or shirt that you want to hit right at the top of the shoulder. You can take each shoulder measurement individually, or the full shoulder width. For individual measurements, start at the end of one shoulder and go to the nape of the neck on the same side. Repeat for the other side. The full width is from one end of the shoulder, all the way across the back, to the other end.
How To Take Measurements For Men
The key measurements for men are a bit different than that of women. They’re especially useful if you need to buy a suit or dress shirt. Here are the most important measurements to take for men:
Neck
It’s essential to know how to take measurements of the neck! If you’ve ever wanted to surprise your husband, brother or dad with a nice new dress shirt then you’ll know it’s nice to know the neck size. To find the neck size, use the same technique as women.
Sleeve
Taking a man’s sleeve measurement is a bit different than for women. Instead of going from the top of the shoulder, go from center back. Then go around a bent, raised elbow all the way to the wrist.
Chest
Next up: how to take measurements of the chest. Similar to the bust measurement for women, have him stretch both arms out parallel to the floor. Then measure around the fullest part of the chest after he takes a breath in (so it’s a bit fuller).
Waist
The natural waist measurement is the same as for women. Take it where your torso bends when you bend to the side. Unlike women, it’s also nice to take a low waist measurement for reference. That’s where most mens’ pants generally sit. It probably won’t be much different than the natural waist, but it’ll vary a little depending on body type and weight.
Hip
You’ll also want to know how to take measurements of the hip! This is also similar to female hip measurements. You’ll simply measure around the fullest part of butt, snugly, but not too loose or tight.
Inseam
Last up for men is the inseam. This is also similar to female inseam measurements. Simply measure from crotch to ankle. Tip: if you’re measuring someone else and don’t love the idea of sticking your hand right in their crotch to get the measurement, not to worry. Measure instead from the wrist bone down to the floor on the outside of the leg. That will give you almost exactly the same measurement.
Well, that’s a wrap! Questions or comments? Drop them in the comments below!
More Inspiration
Loved this post on how to take measurements and want more sewing content? Step right this way! Check out the rest of our Sewing Basics series here. You won’t want to miss this DIY Fanny Pack or these cute DIY pencil cases, either! Also, see more past sewing projects: New Team Outfits, Easter outfits, Casetify inspired projects, shaped throw pillows, Mother’s Day apron, quilted shower curtain, quilted face mask, rainbow buttons, reusable lunch sack, and DIY beeswax wraps. Last but not least: check out our shop for lots of sewing templates! And stay tuned for future sewing basics posts, released on Tuesdays.


