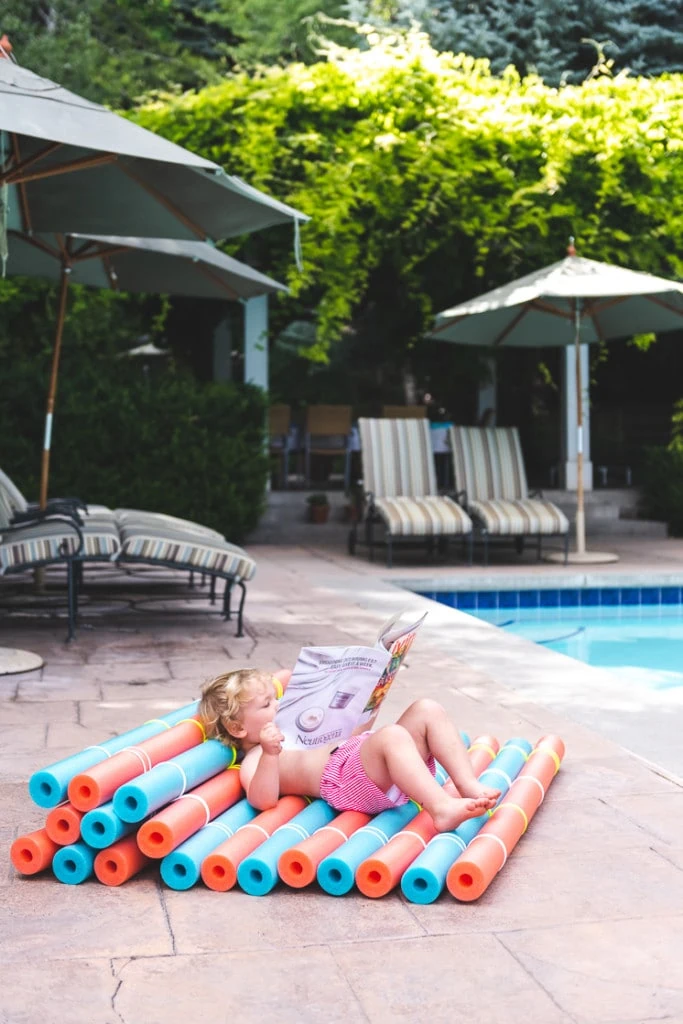
If this photo of Jasper to the left isn’t a MOOD then I don’t know what is.
Not gonna lie, I am a pretty indoors-y person. Besides when it comes to English gardens and an occasional pool day, I don’t mind spending my days in the comfort of my home. But all of the stress of 2020 had me turning over a new leaf. I go on walks all the time now, and I have been soaking up all the sunshine I can get. You’ve probably noticed already, since my new found love of my backyard is turning into posts like this one about how to select outdoor furniture. Or this lengthy list of outdoor activities for the whole family.
It’s time for another outdoor summer resource, and this time it is a project! Get your hands busy with this DIY recliner made out of a class summer staple – pool noodles!
Materials:
How to make your own pool noodle recliner
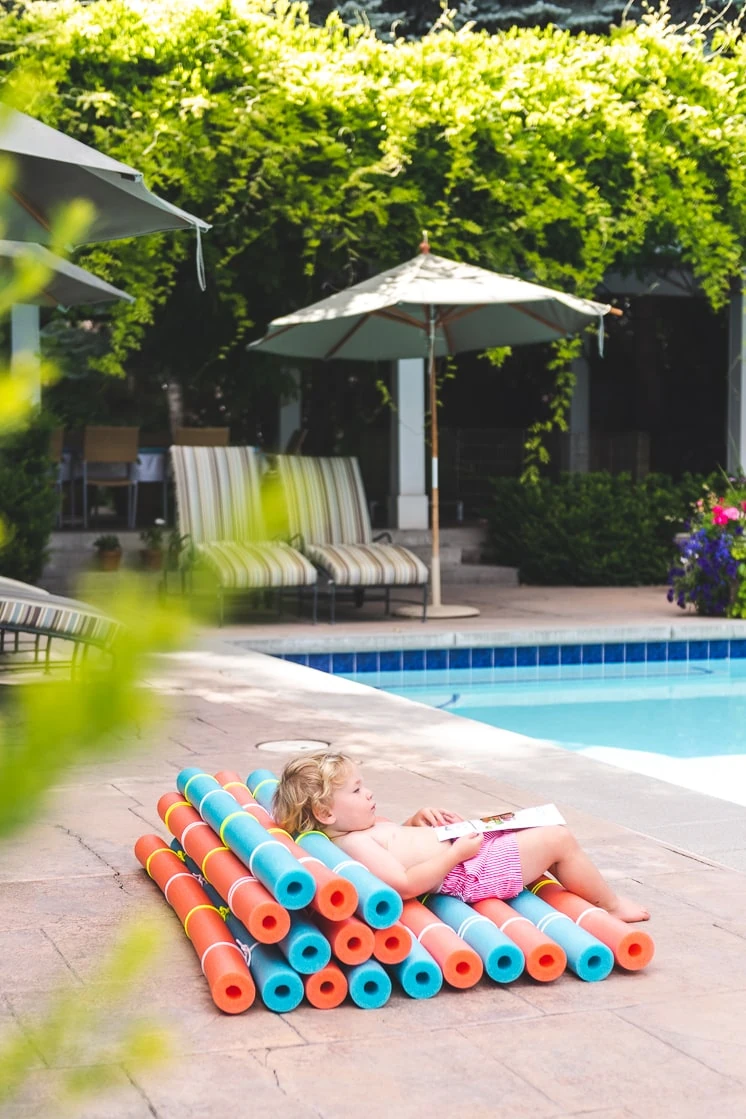
We made this DIY recliner for a comfy way to rest poolside all summer long. It is incredibly simple to make, but so fun to personalize! Now you won’t have to worry about the kids spilling melting popsicles on your nice outdoor chairs.
When completed, this recliner lays out flat. So you can enjoy a nap or work on your tan. Or bundle it up anyway you like to create the way you prefer to rest. Stack just a few of the noodles at the end and make yourself a bed for an outdoor movie! Or stack up a full back rest. So you can sit back, relax, and enjoy your favorite magazine – just like Jasper.
Supplies:
Pool noodles – We used 17
Parachute cord – 128 feet total. We used 2 alternating colors.
Instructions:
- Line up your pool noodles. You can use alternating colors, or 3 or more colors to create any pattern you like! See the best color options we found here!
2. Cut your cord into 16 ft lengths. Fold one of the 16 ft lengths of rope in half. Take the loop end & lay it under the noodles, then pull the two loose ends through the loop to secure it around the first noodle.
3. Lay the length of the secured rope under the noodles. Fold another 16 ft length of rope in half and lay it on top of the noodles, tying it to the secured loop on the first noodle.
4. Weave the noodles together by taking the top and bottom lengths of rope and weaving them above and below the noodles, through the loops made by each rope. (The top rope will go below the noodle & bottom rope will come above the noodle, they will intersect & the two strands of one rope will go between the two strands of the second).
5. Continue weaving in this way all the way to the end & secure all 4 ties to the final noodle with a loop or a knot.
6. Weave 4 rows of rope to secure the noodles, with two 16 ft lengths of rope used to make each row.
7. After each row is secure, prop the noodle chair up against a wall or bend it in half to create a stable back. Enjoy your new outdoor pool noodle recliner!
Check out our similar tutorials
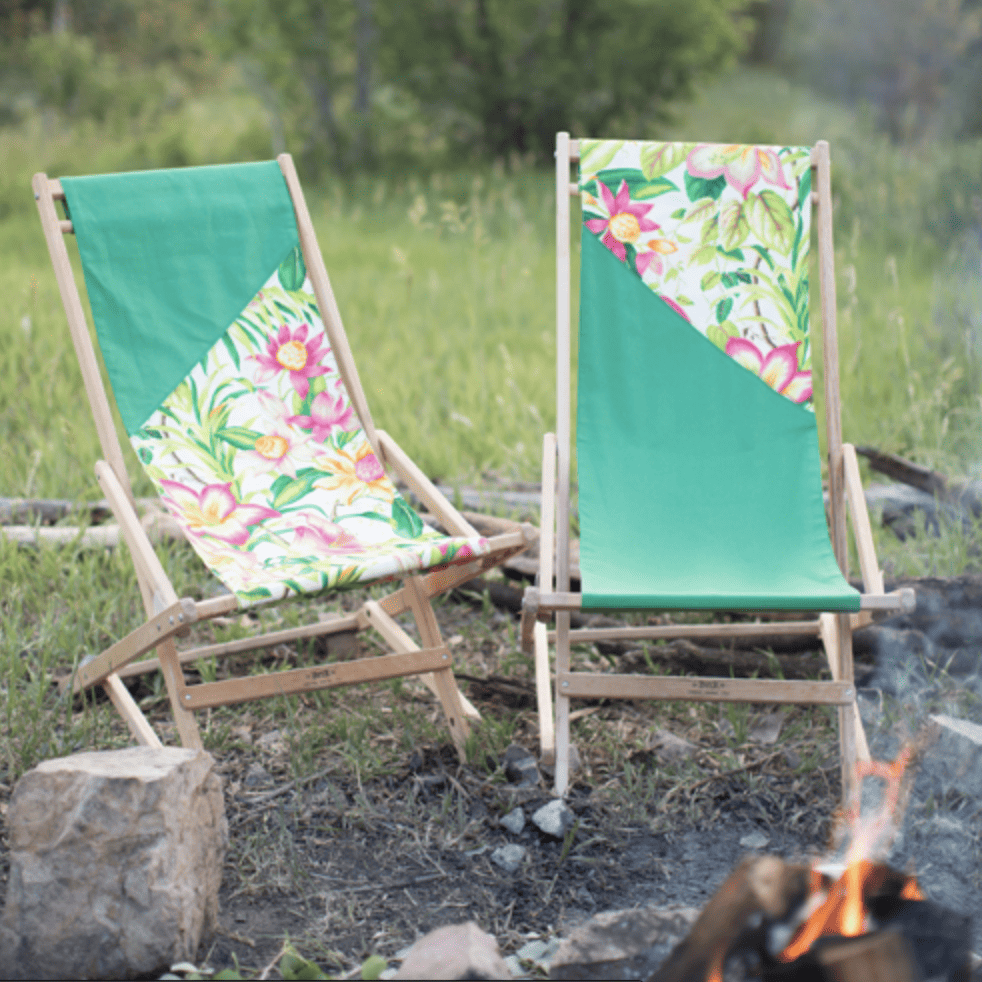
Here are some other comfy seating tutorials from Lars days past. Including our rainbow floor pouf, DIY camp chairs to level up your GLAMPING game, and how to choose outdoor furniture.
Other summer staples
No pool? No problem! Check out our favorite pool floats here. And our full summer style guide here!


Comments