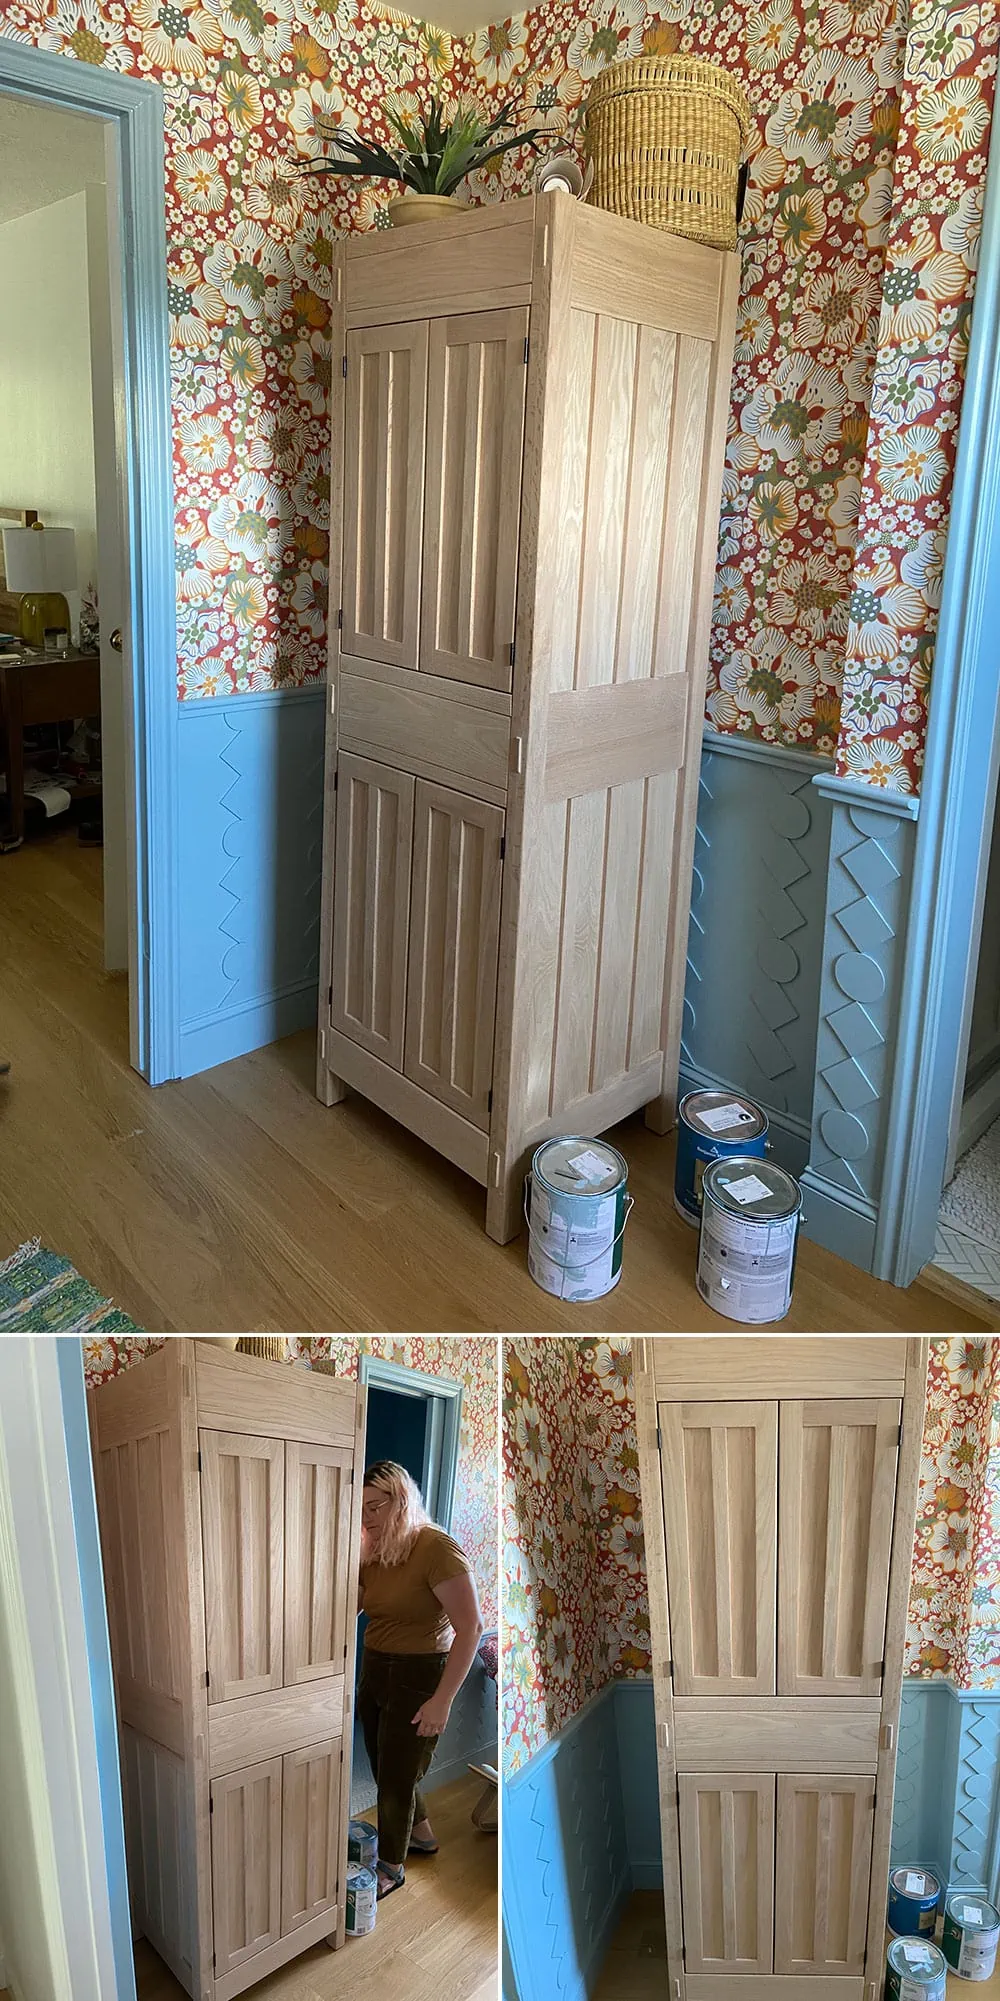
A Scandinavian wedding cabinet has been on my wishlist for ages. So when I spotted an unfinished wood linen cabinet on Signature Hardware I got major excited vibes for our main bathroom. I knew exactly what I was going to do with it. Gwen, the maker on our team, took this project on and she came up with some tips to help you achieve the folk art decorative painting style.
Cabinet for extra storage
Because our house was gutted when we bought it, there was absolutely no storage. Part of the plan from the beginning of the renovations was to add in as much storage as possible. Having an extra storage space in the main bathroom means we have a great place for our medicine cabinet, toilet paper, towels, and more. It’s been so helpful! You can see the full bathroom renovation here. This lead the way to painting in the decorative folk art style.
How to paint folk art style cabinet
While the unfinished cabinet was beautiful on its own, I knew there was so much potential to make something customized to the space. You know I’m a glutton for color and pattern and I tend to think that it’s always possible to make it work so I had to try it out in the folk art style.
Scandinavian Wedding Cabinet
When I lived in Denmark I got to spend a lot of time going through antique stores and their museums learning about their folk art (all thanks to not being able to get a job for awhile–it had some perks ;). I fell in love with the traditional Scandinavian wedding cabinets where the couple would paint the year on the cabinet. Here’s a couple of beautiful examples from The Tolstoy Edit.
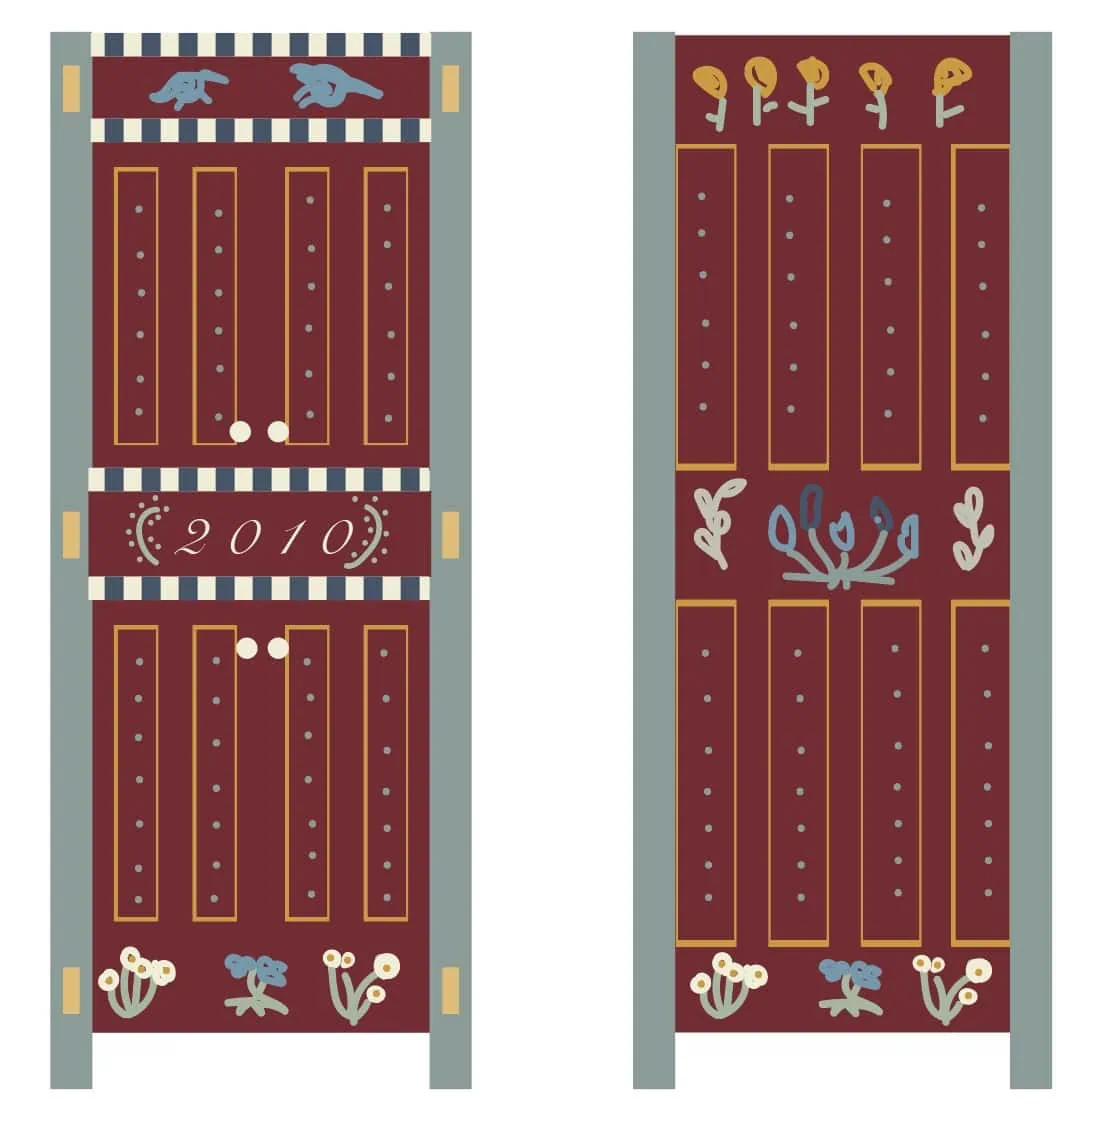
With that in mind, Gwen made a sketch inspired by these wedding cabinets in the folk style and also taking into mind the existing Mission style of the cabinet itself.
The plan was to add the date on. We tried it, but it wasn’t quite working for me. Thanks to the power of paint, we could easily repaint over it.
Selecting a color palette
Working with an already busy wallpaper, a green vanity (also from Signature Hardware), there was already a strong color story going on. I wanted to use a palette that worked with the dark green of the vanity but also brought some depth.
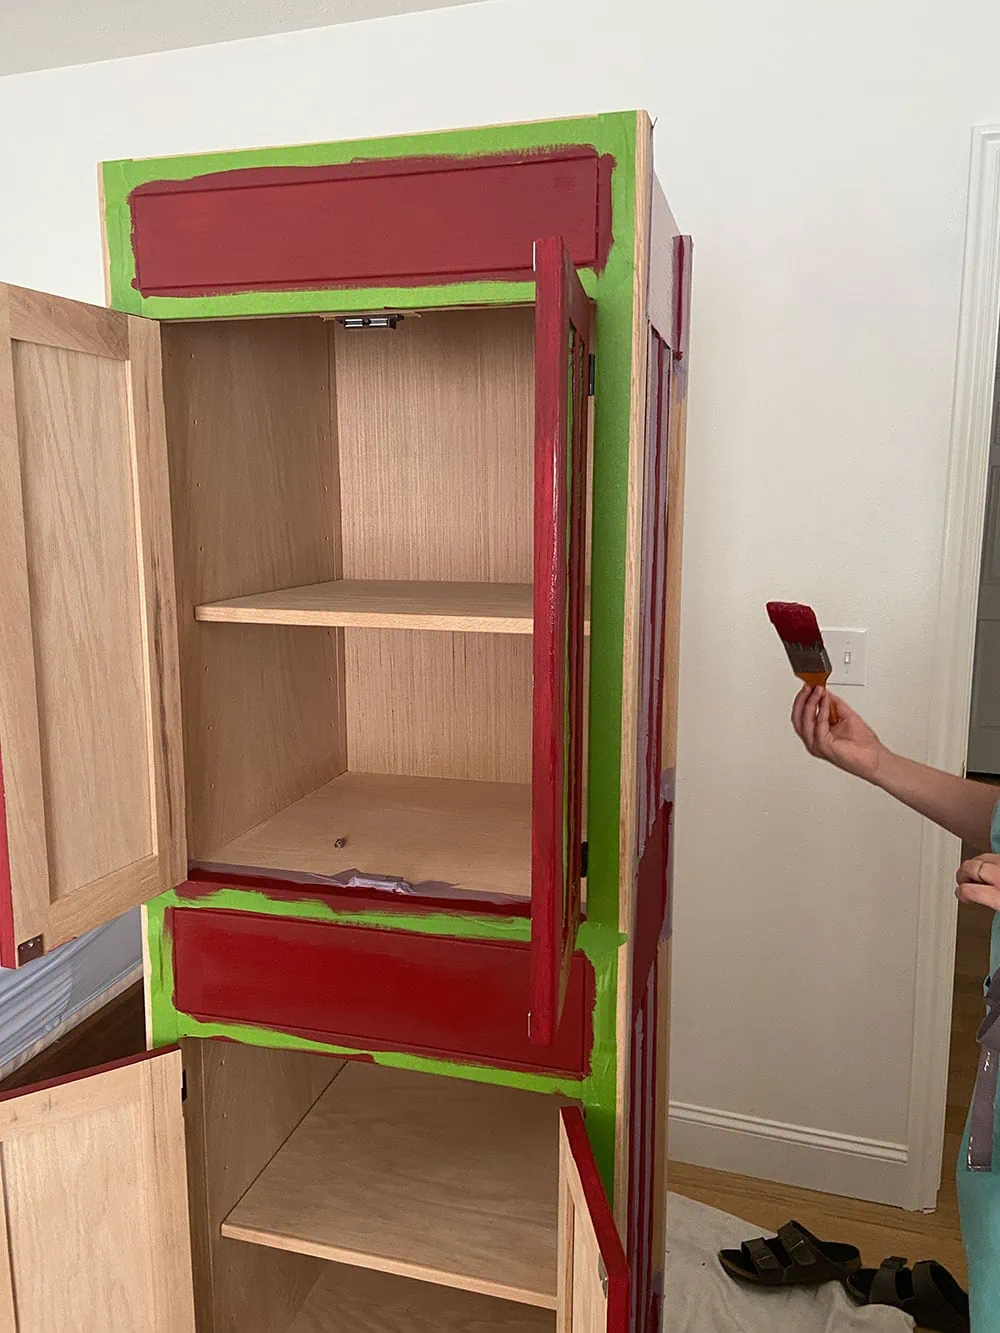
At first we selected a brighter red that I can only describe as cranberry, but it was a little too close to the wallpaper red but not different enough.
Re-painting your cabinet
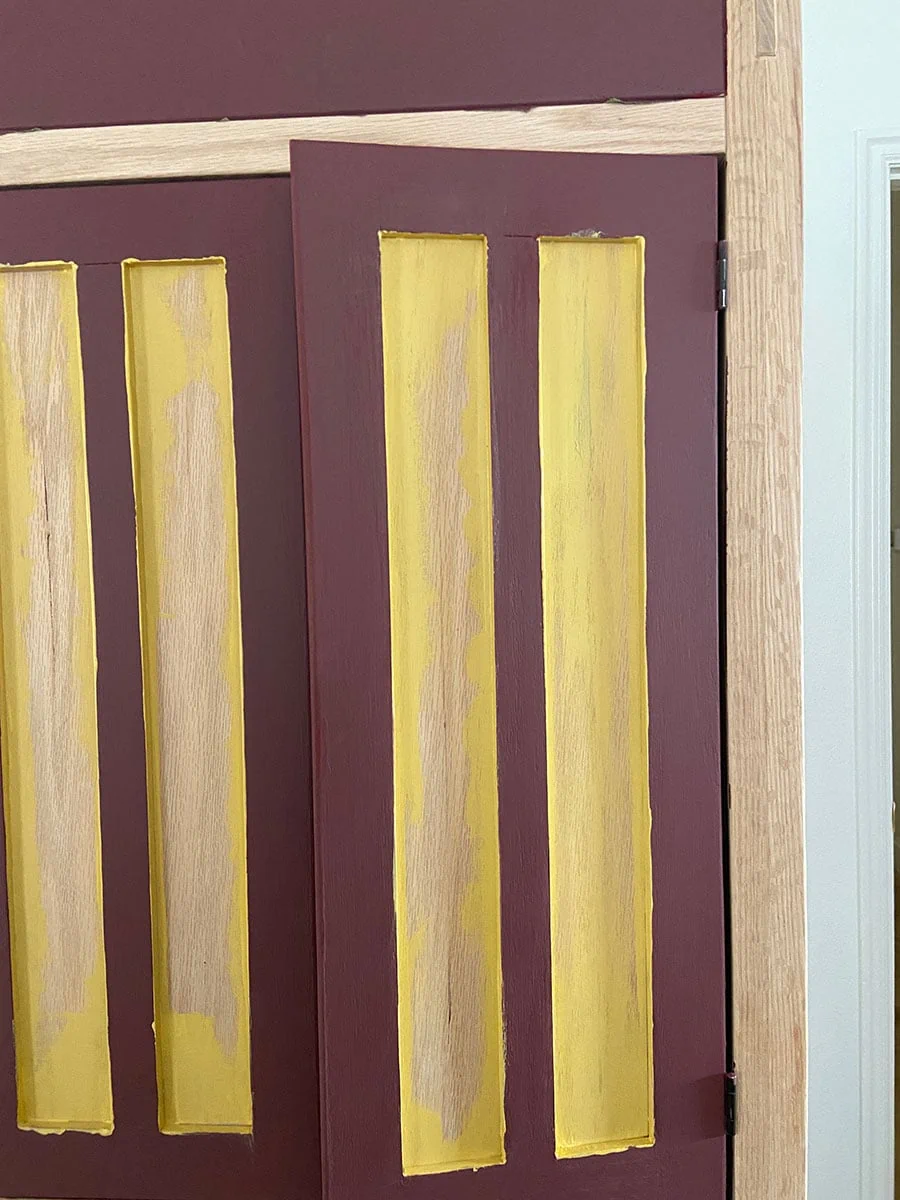
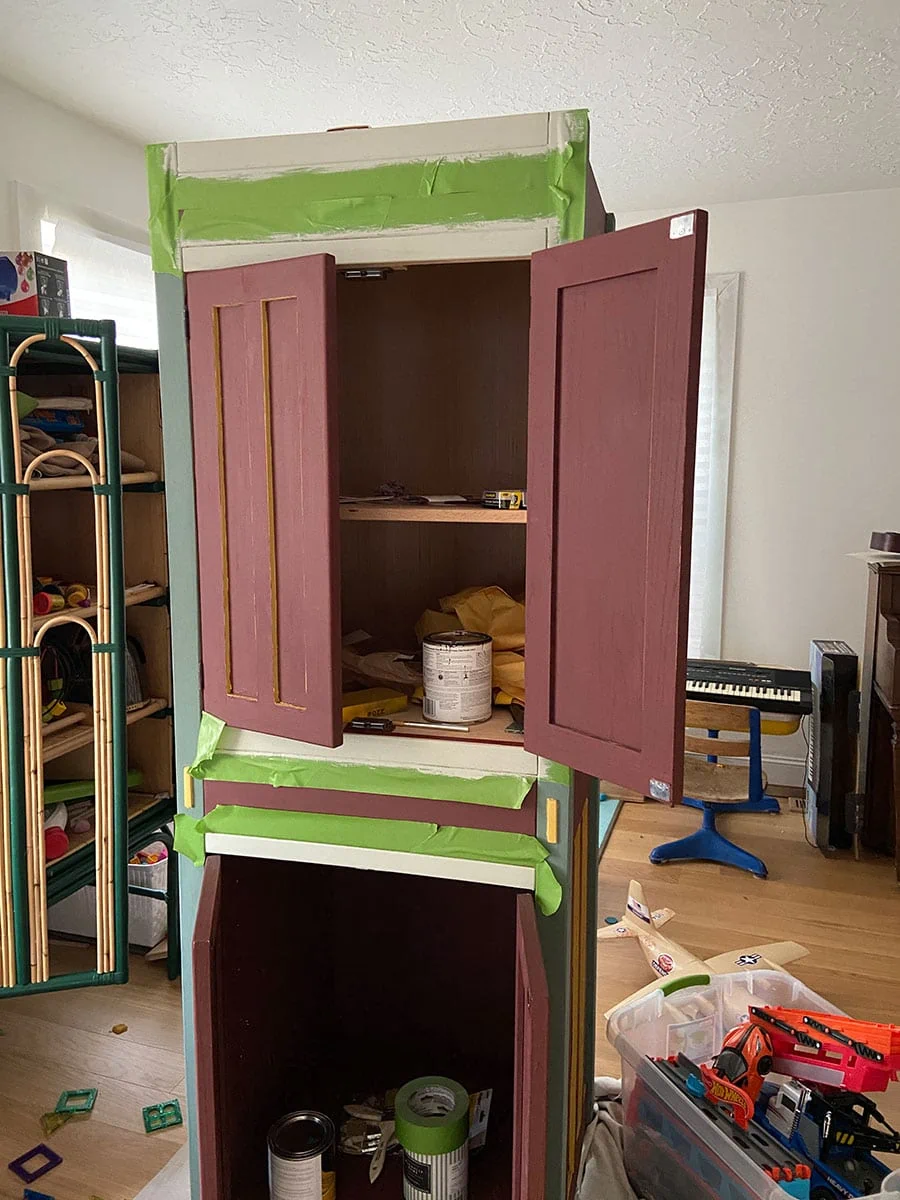
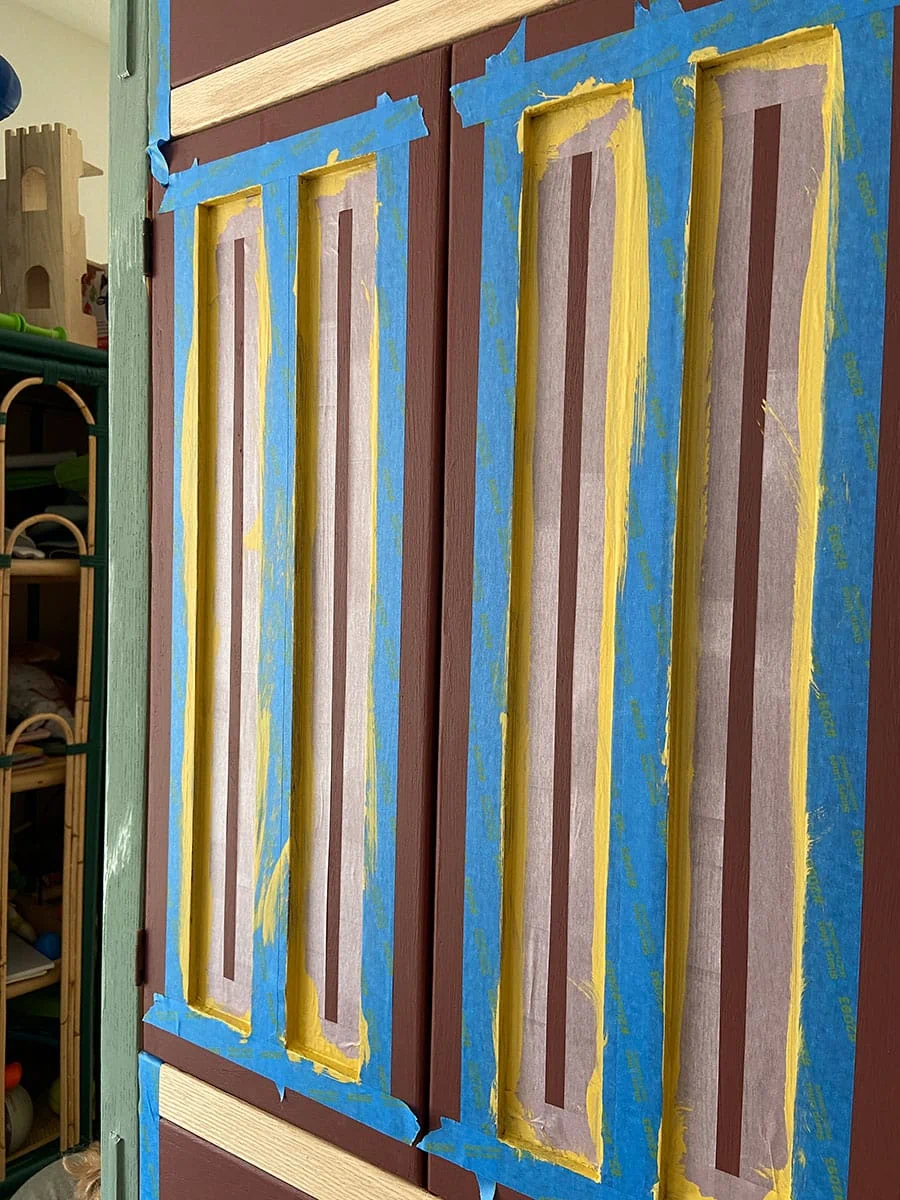
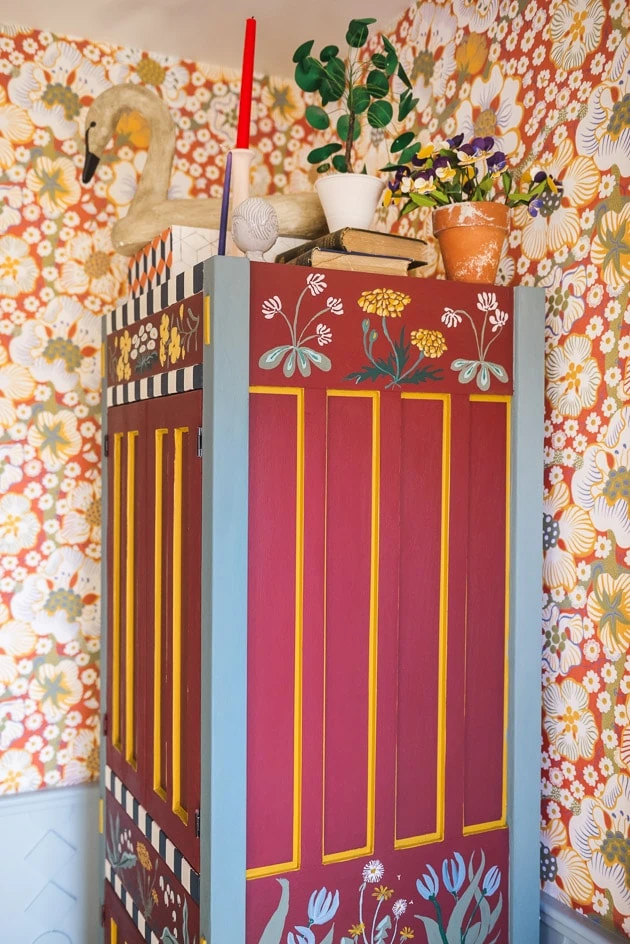
We painted the whole thing before we discovered that it wasn’t really working SO, we tried out something deeper and we ended up a color that had some purple in it. We added in a yellow to the inside of the wood panels. I’m the one who took over the paintbrush at this point. I knew we could repaint anything so I was super sloppy, but take my advice and don’t do this–try and be as clean as you can while you go. You could go into a never ending state of painting and repainting.
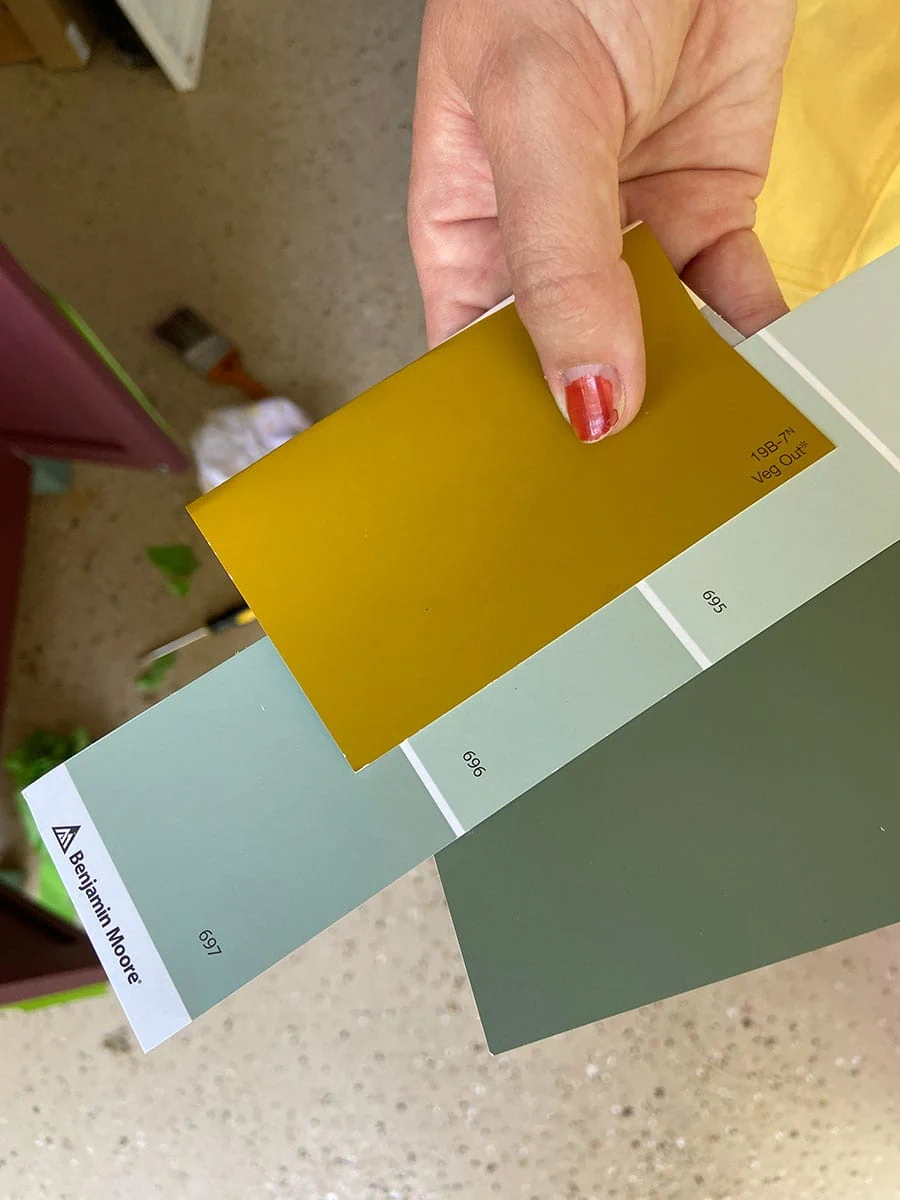
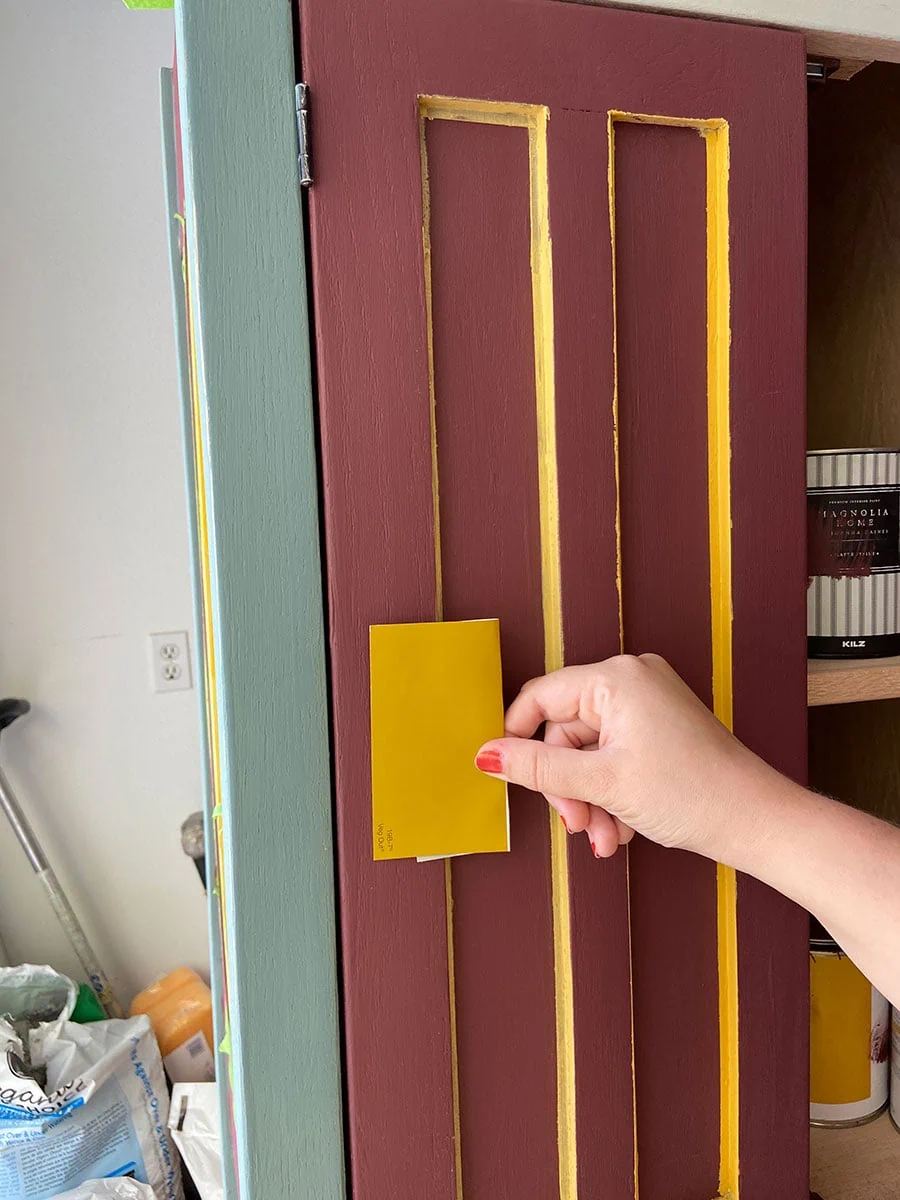
THEN, I decided that the yellow wasn’t quite working either so we had to try a few other yellows out and finally settled on something with more mustard in it.
Paint your own antique-inspired decorative cabinet
We learned a lot from painting this cabinet in the Scandinavian folk art style. It took A LOT of time and honestly, there’s a lot of details to clean up. BUT, Gwen is sharing what she learned.
Painting tips and tricks
- If you’re starting with already-painted furniture, prime it before adding more paint.
- If you’re starting with untreated wood furniture like us, just make sure it’s smoothly sanded and dusted before you start.
- Make a plan! Sketch out the colors and designs before you get started, either on paper or in illustrator or a similar software.
- Choosing colors–establish a color palette before starting and stick to those colors.
- Tape tape tape! Use lots of tape and make sure you get a good seal. Make sure you read the instructions to your brand of tape.
- Don/t be afraid to repaint things–and if the paint is too layered, sand it down first.
- We used flat or matte paint so that there would be no gloss at all.
How to add paint perfect dots
We thought about adding in some dots down the vertical panels. I think there’s still hope to it but I think there would need to be more of them and they’d need to be closer together. What do you think? Well, I think something could go there, not sure if it needs to be polka dots exactly. We used a
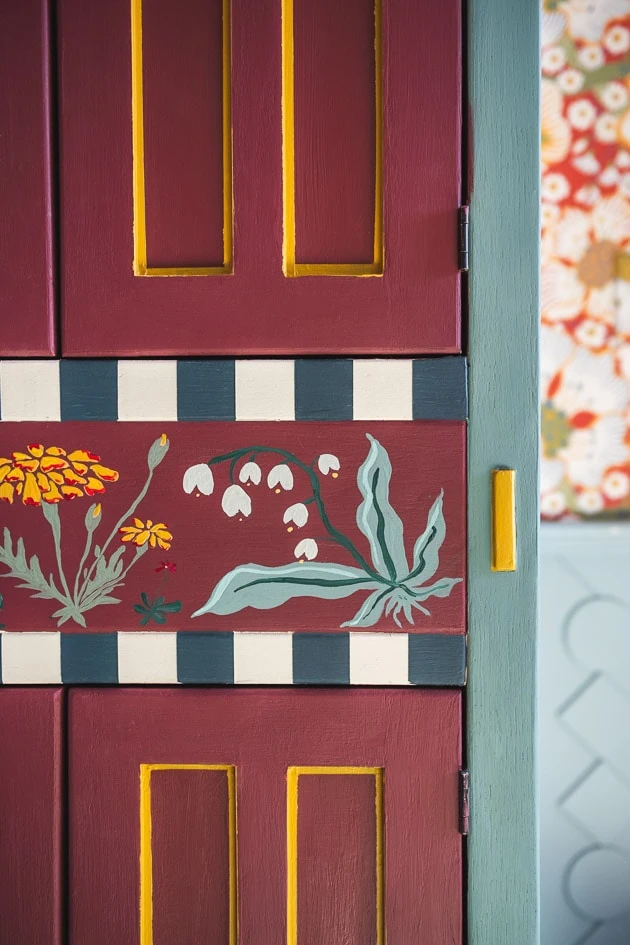
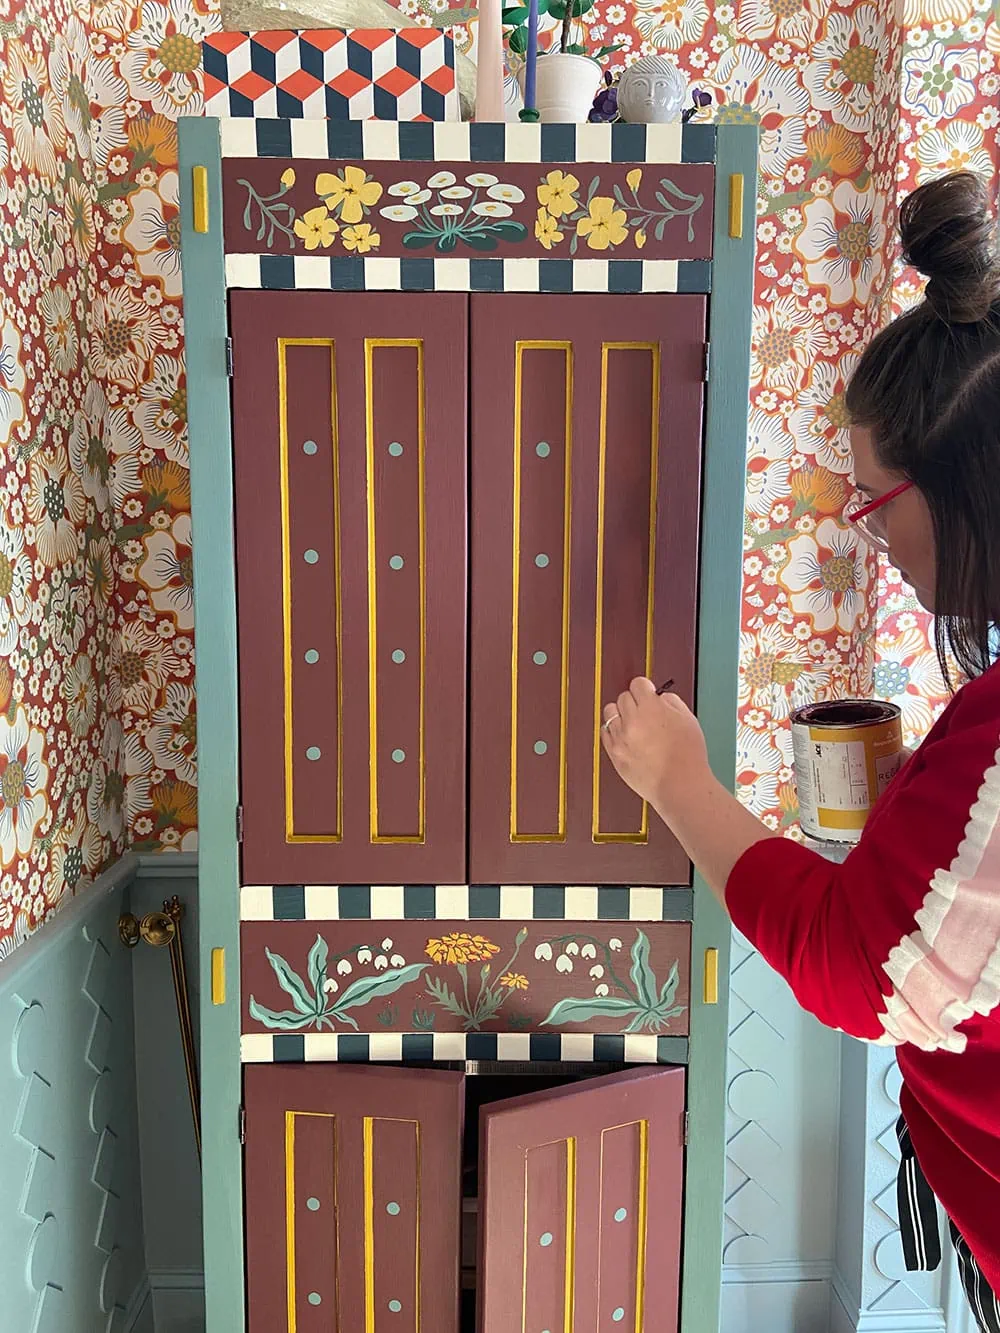
To achieve the perfect dots, we used a circle sponge paintbrush. It was perfect! Maybe a little too perfect? I’m even wondering if I’d like it better if they felt more handpainted. Maybe with a contrasting shadow? I don’t know!
Painting folk art decorative flowers
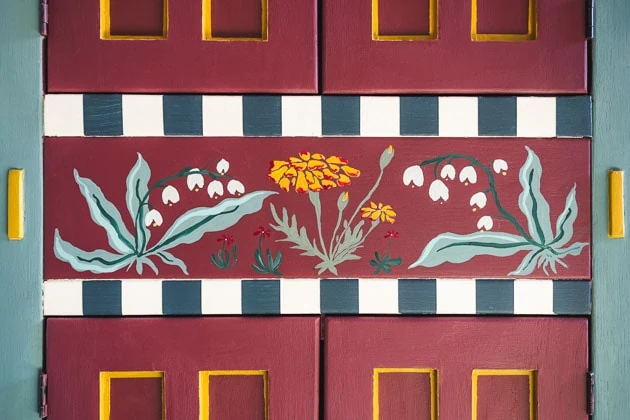
Gwen added in some loose flowers to the larger panels and I love them! She added in a contrasting shadow element for each plane of color and it was the perfect amount of detail.
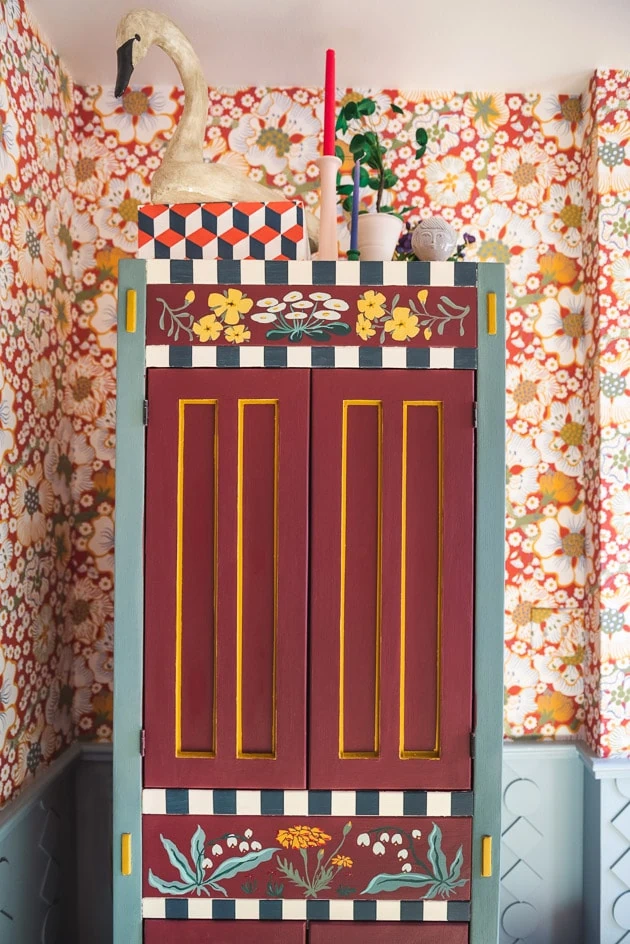
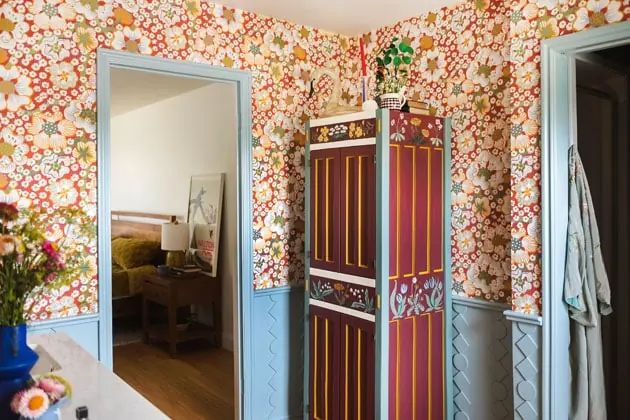
I love how the cabinet turned out. It’s still missing knobs so I do need to figure that out. It definitely needs some because the magnets are seriously so so strong that you can’t open it otherwise.
Our home renovations
If you want to see more of the house renovations check out these posts:
I’d love to hear your adventures with decorative painting in the folk art style. Let me hear your tips!




Comments