


Have you’ve ever looked up and wondered why your ceiling resembles cottage cheese, popcorn, or an orange peel? It took me awhile to realize that textured ceilings were once the hallmark of a “finished” home. In fact, only the visible rooms in my house received the textured ceilings back in the 90s when my home was built. I’m guessing it was a luxury finish at the time. To me, they feel dated and I’ve been trying to figure out a way to get them smooth ever since we moved in. Leave it to Pat to figure it out! She’s now done quite a few rooms in the house and has some tips to share with you today!
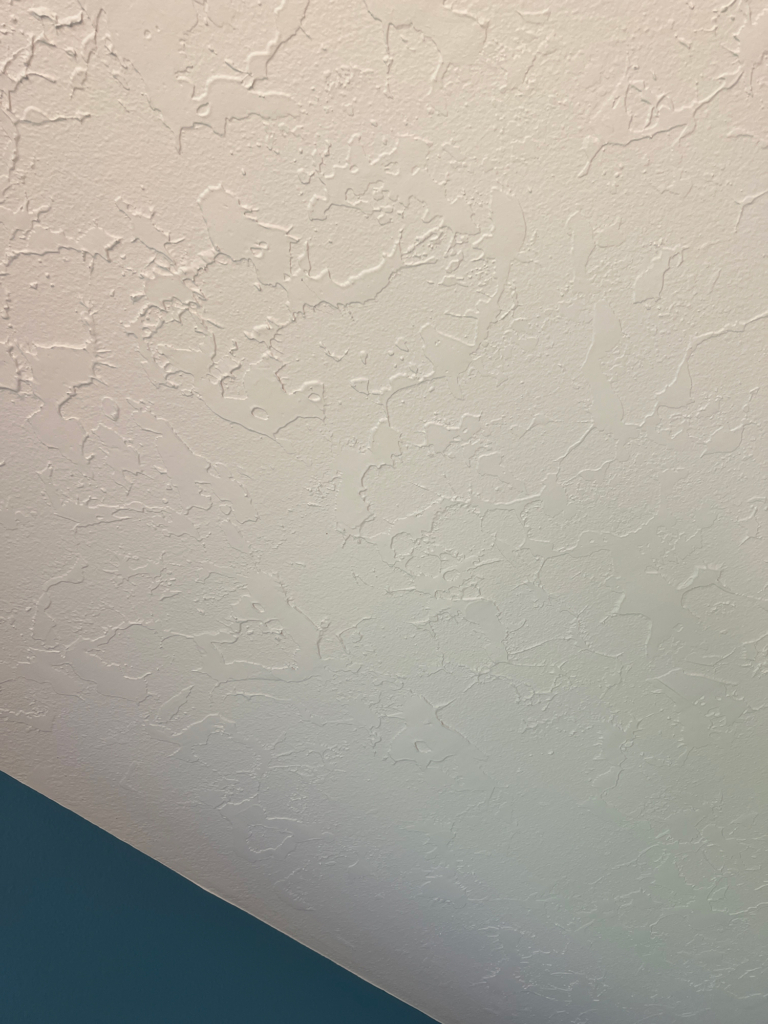
When we started renovating our home, smoothing the ceilings wasn’t initially on the priority list. It felt like one of those behind-the-scenes projects that no one would notice. But after finishing the first room, I couldn’t believe the difference. Suddenly the walls looked taller, the light reflected more beautifully, and the entire room felt calmer and more intentional. It’s one of those projects that quietly transforms a space.
If you’ve been considering tackling textured ceilings yourself, here’s everything you need to know.
Why Smooth Your Ceilings?
While there’s nothing inherently wrong with textured ceilings, removing the texture offers several benefits:
- Creates a brighter, more modern feel.
- Makes rooms appear larger and taller.
- Allows architectural details and light fixtures to become the focal point.
- Makes repainting easier in the future.
- Gives your home a cleaner, more cohesive appearance.
It’s amazing how much visual “noise” ceiling texture adds until it’s gone.
First: Determine What Kind of Texture You Have
Not every textured ceiling is created the same.
Popcorn Ceiling: Soft, chunky texture that was common from the 1950s through the 1980s.
Orange Peel: A finer, slightly bumpy finish resembling the skin of an orange.
Knockdown Texture: A heavier texture that has been flattened with a trowel.
Note: The removal process varies depending on the finish and the age of your home.
Important Safety Note
If your home was built before the mid-1980s, have the ceiling tested for asbestos before disturbing the texture. Popcorn ceilings installed before asbestos was phased out may contain hazardous materials. Professional testing is inexpensive compared to the health risks.
How to smooth out your textured ceiling
Difficulty:
BeginngerTime:
Depends on the sizeMaterials
Instructions
Smooth out the ceiling
-
This is the least glamorous part and to be honest, I don’t do much prep here but if you are worried about the floors, cover up!

- Remove Loose Texture. If your ceiling has popcorn texture, you may be able to scrape much of it away after lightly misting it with water.
-
If you have orange peel or knockdown texture, you’ll typically skim coat directly over it rather than trying to remove it completely.

-
Apply a Skim Coat. Using a wide drywall knife, spread a thin, even coat of joint compound across the ceiling. Start with a 6″ putty knife while you work your way up to an 8 or 10″ putty knife, like the pros. You will build arm and hand strength and be able to move up to something larger.
The goal isn’t perfection on the first pass.
Think of it like frosting a cake—you’ll inevitably leave ridges or lines. Those can be corrected with additional coats.
Allow each coat to dry completely before applying the next.
Most ceilings require two to three skim coats for the smoothest finish.
-
Sand. Once everything is dry, sand the ceiling until it feels smooth.
A bright work light held at an angle is incredibly helpful here because it reveals every ridge and imperfection.
Take your time. This step determines the final result.
- Prime. Fresh drywall compound absorbs paint differently than the surrounding surface, so primer is essential. Apply one coat of drywall primer before painting. Skipping primer can result in uneven sheen and flashing that becomes noticeable once the paint dries.
- Paint. Choose a high-quality flat ceiling paint for the most even finish. Flat paint helps disguise minor imperfections while reflecting light beautifully. Two coats typically provide the best coverage.


Is It Worth Doing Yourself?
If you’re comfortable with drywall finishing and don’t mind a little mess, absolutely. It’s labor-intensive more than technically difficult.That said, ceilings are physically demanding. You’re working overhead for hours, and your neck, shoulders, and arms will definitely let you know the next day.
Pat says to make it a marathon, not a sprint. Plan on 2 hours a day, that way you don’t wear yourself out.
A Few Lessons We Learned
After smoothing multiple ceilings during our renovation, here are a few things we’d do every time:
- Use bright side lighting while you work.
- Mix your joint compound until it’s creamy and easy to spread.
- If you let putty on the floor, it’s a quick and easy clean up.
- Multiple thin coats always look better than one thick coat.
- Don’t rush the drying time.
- Accept that perfection comes from patience—not the first pass.
The Before-and-After Difference
The funny thing about smooth ceilings is that most people won’t immediately notice them.
Instead, they’ll say things like: “Your house feels so bright” or “This room feels bigger somehow.” or “Everything looks so fresh.”
That’s because smooth ceilings quietly improve every other design decision in the room. The paint colors feel richer, the lighting feels softer, and your furniture gets to shine instead of competing with a busy ceiling texture. It’s one of those renovations that’s easy to overlook but incredibly satisfying once it’s finished.
If you’re updating an older home, smoothing the ceilings may not be the flashiest project on your list—but it just might be one of the most impactful over time.