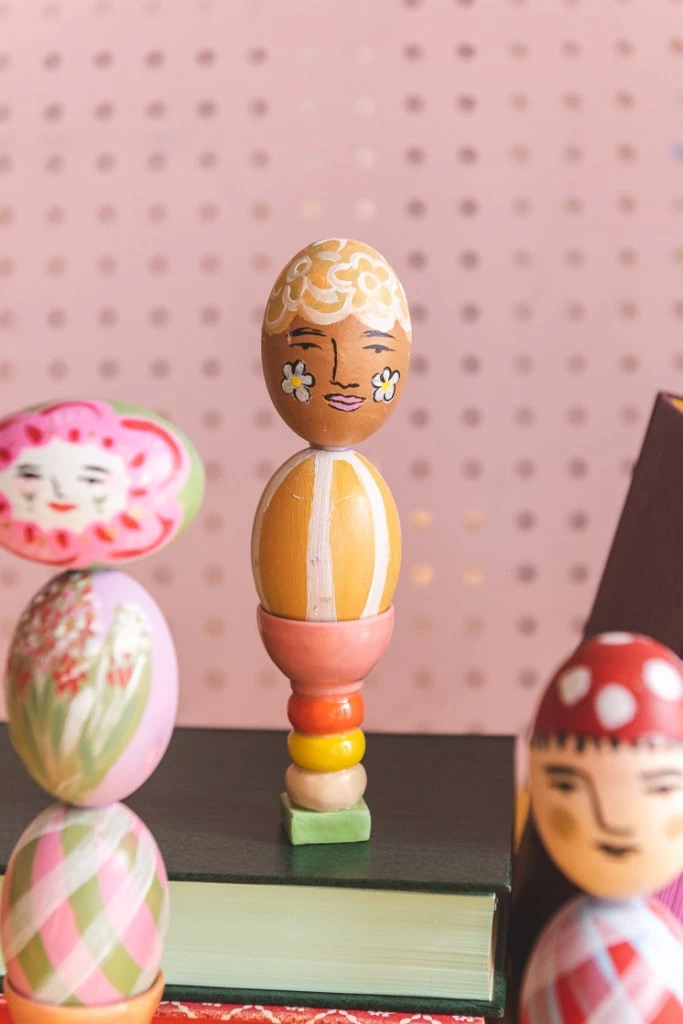
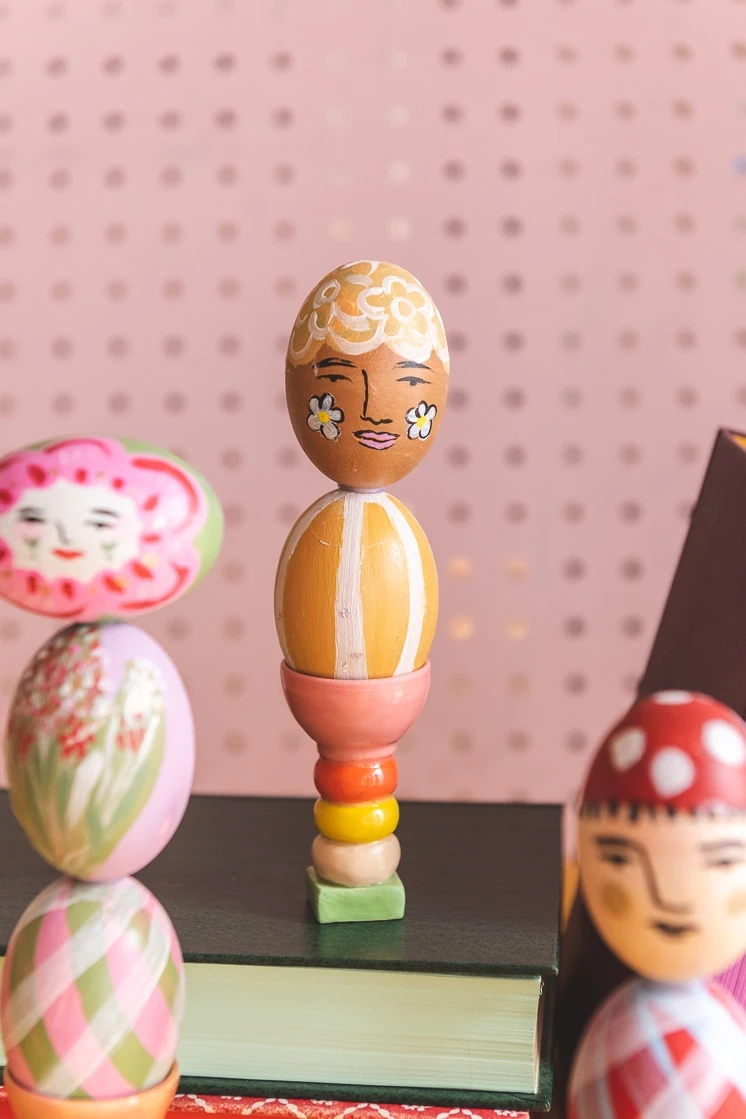
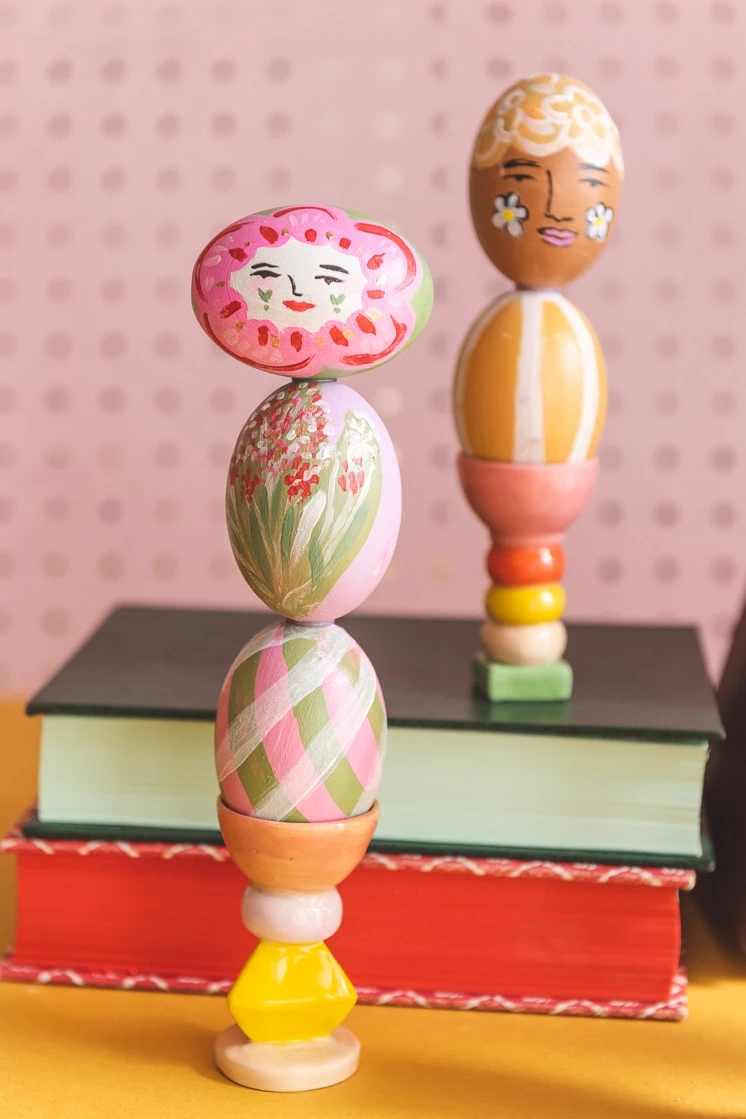
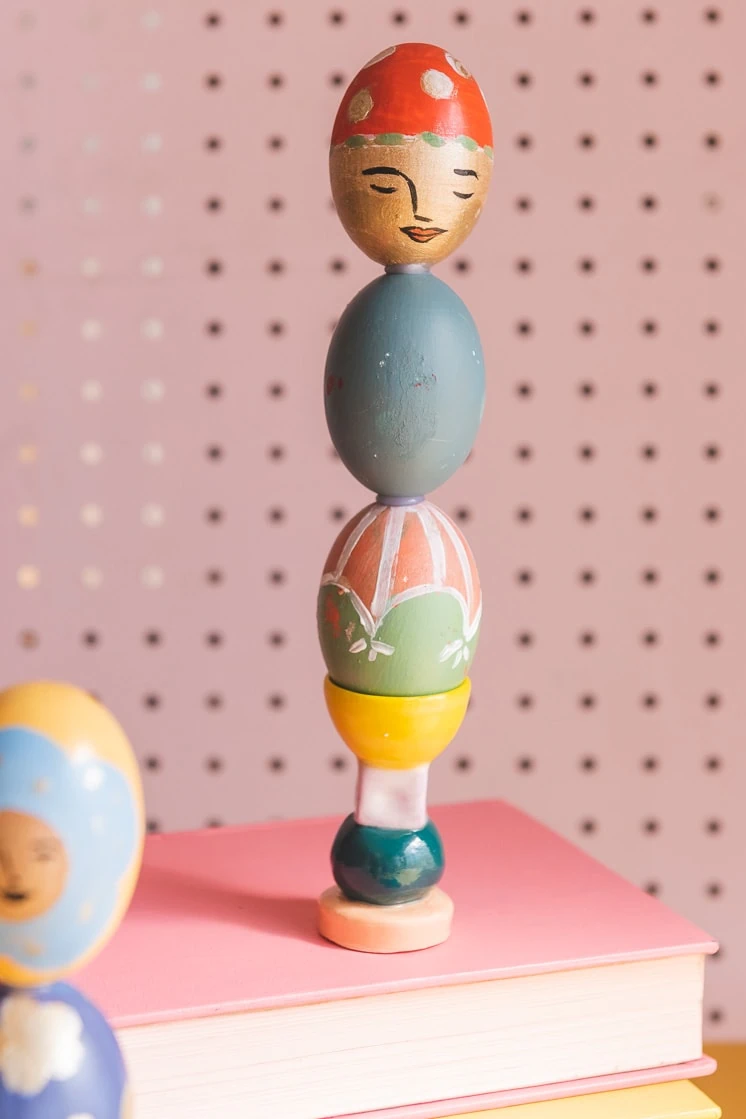
If you’ve been following Lars for a while, you’ve probably seen some of my past collaborations with My Little Belleville. Michelle Christensen, who created the adorable shop, has a whimsical signature style that I’ve been loving for years. I have a ton of her products (jumpsuit, sweatsuit, kids toys!). We’ve worked on many projects together in the past and this year she created these Easter egg column faces, which would be so fun to make. I’m excited to decorate my Easter table with it this weekend. Here’s how to make them!
Materials:
I love working with Michelle from My Little Belleville. We have worked together on painted pumpkins for Halloween (twice!), printable Halloween cards, and nativity puppets for Christmas, as well as an illuminating artist interview! You also may have also seen some of her Valentine cards in our shop. Her work has such a playful, painterly feeling that keeps us coming back for more. The House that Lars Built and My Little Belleville fit together like Easter and eggs.
For this painted Easter egg project, Michelle sent me wooden easter eggs that she had painted with faces and patterns. Can you even believe the personality that all her little faces have? We’re in love. We stacked them up and voilà! Painted Easter egg columns!
These make an excellent Easter table decoration because they add interest and height without getting in the way of your sight lines. There’s nothing more awkward than sitting down to a meal and not being able to make eye contact with the person across from you!
Make Your Own painted Easter egg columns
Materials
To make your own you will need
- wooden eggs,
- template for faces (in the style of My Little Belleville)
- acrylic paint,
- a paintbrush or two,
- a hot glue gun,
- hot glue sticks,
- and egg cups to display your finished columns in
Instructions
- Paint all of your wooden eggs in solid background colors, then let them dry.
- Set aside a few eggs that will be the heads. It’s nice to vary the columns in height, so leave 1-3 non-head eggs per head.
- Paint faces on the eggs you set aside. Consider adding facial expressions, hats, cheeks, makeup, etc. Individuality is the goal!
- Paint patterns on the remaining eggs. Flowers, dots, stripes, and plaid patterns all look great.
- Let all the eggs dry completely.
- Put a pea-sized dollop of hot glue on the tops of the pattern eggs. Immediately after placing the glue, hold the eggs together so that the glue can set. Repeat for all your eggs.
- Set up your painted Easter egg columns in egg cups. If you like, you can secure them with a dot of glue (make sure that it will be able to come off your egg cup completely so that you can use it again later).
We would love to see your painted Easter egg column tablescapes! If you make this project, tag us with #EasterWithLars.
If you liked this post, you might also like
DIY paper Swedish Easter tree
Swedish Easter Wall Hanging
Honeycomb Easter Eggs


