Lighting fixtures are such a fun element in any space! They don’t take up floor space or wall space, and for that reason work in any size room. Yet, they still carry some major visual weight. If you’ve ever wandered through the lighting section at Home Depot or Ikea, you’ll agree with me – designers have their most fun when working on new lighting fixtures. Unfortunately, that can mean lighting is expensive! If you are looking to spice up your space, try making your own DIY Lampshades! Below are three awesome budget-friendly projects made out of recycled materials.
Sustainable crafting has always been a joy of ours! A couple of our favorite recent projects using recycled materials can be found here and here. Since gathering our favorite sustainable and eco-friendly items, we have been been looking for new ways to give our craft materials more than one life too! It is so fun to take something that might normally get overlooked and turn it into something new and more beautiful than ever! The lampshades below are made out of recycled materials from around the house that you wouldn’t expect to make a great new lighting fixture. Keep reading to learn how to upcycle things like your old fabric scraps, paper, and even plastic plates and cups!
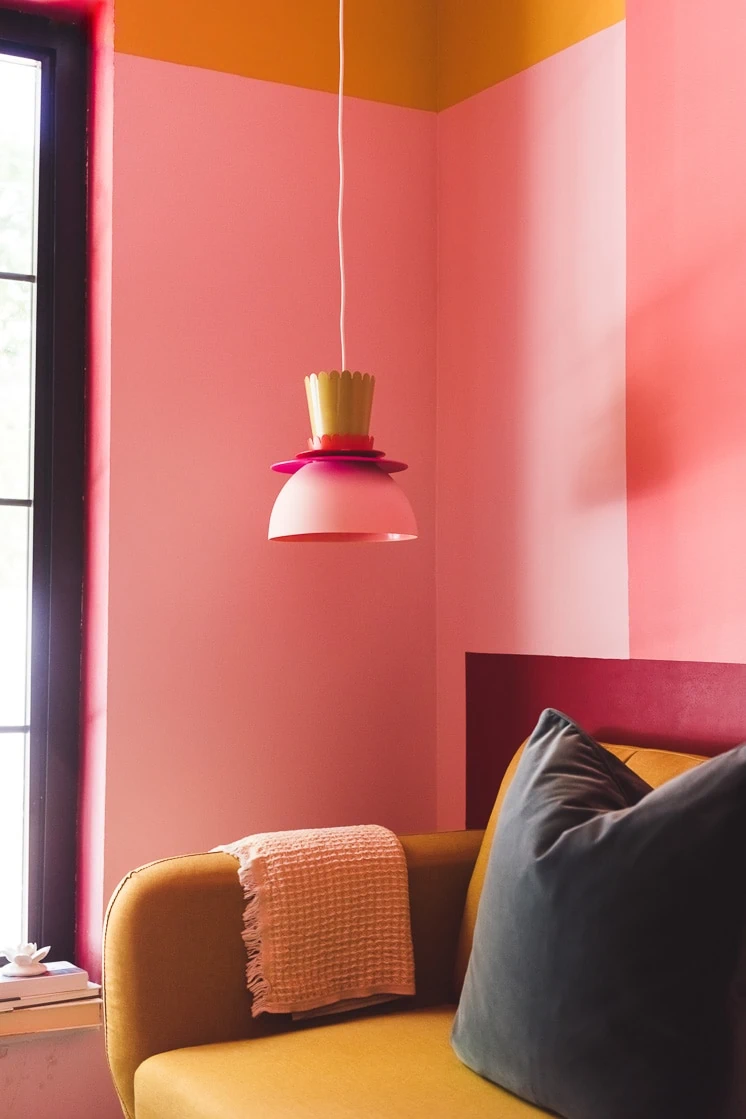
Next, DIY Louis Paulsen Pendant Light Fixture
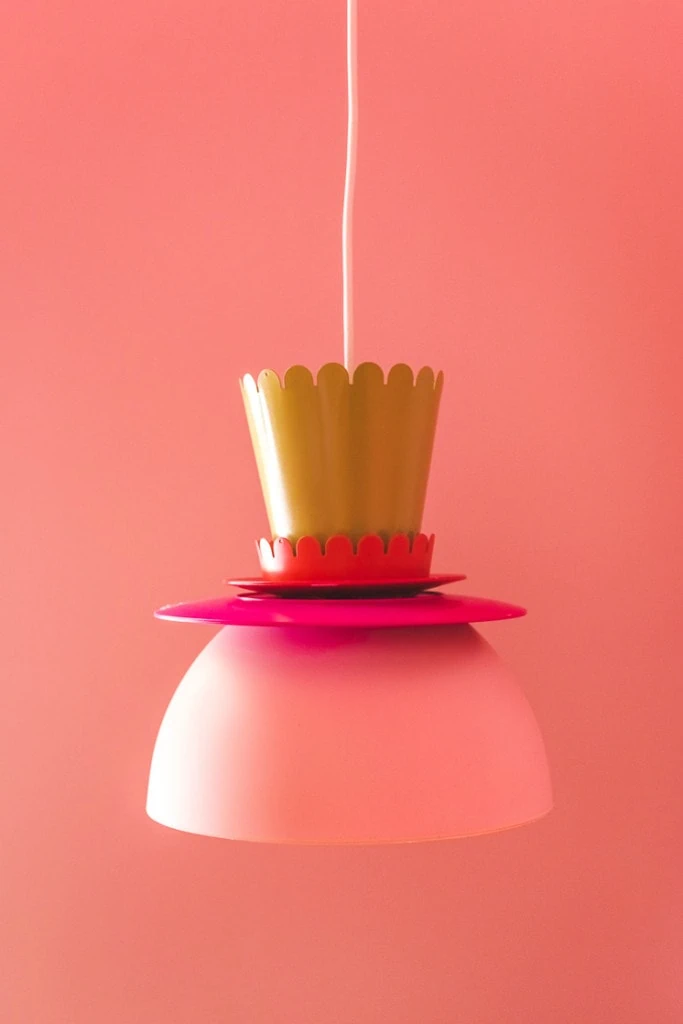
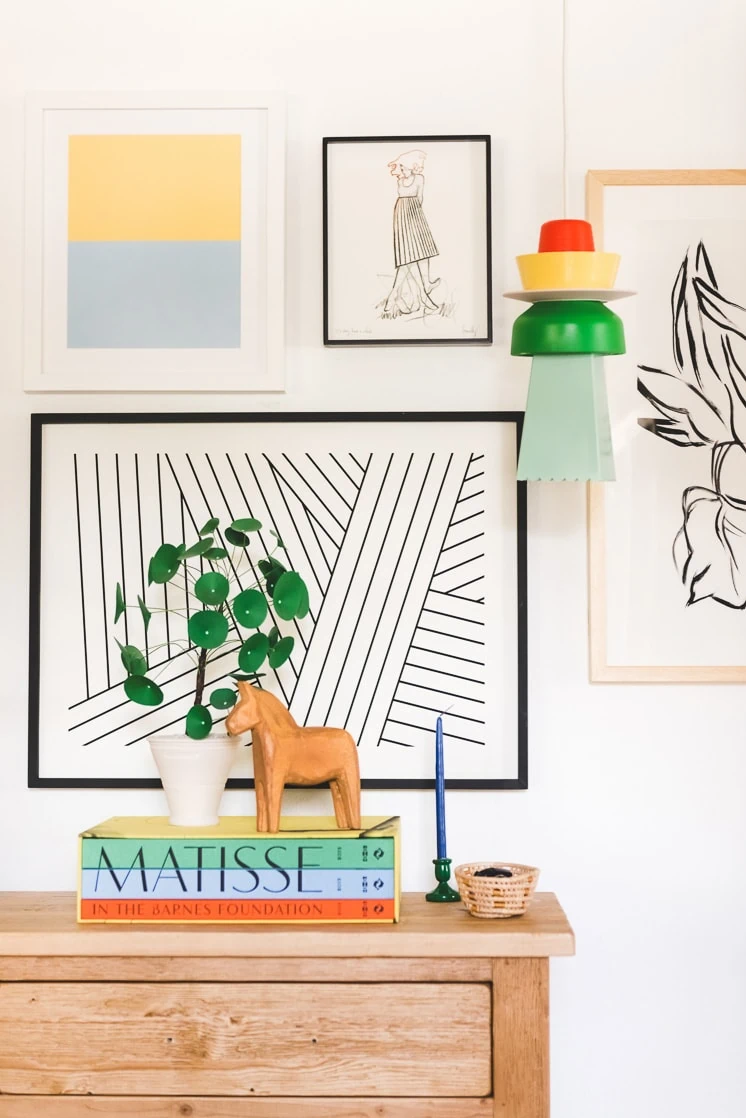
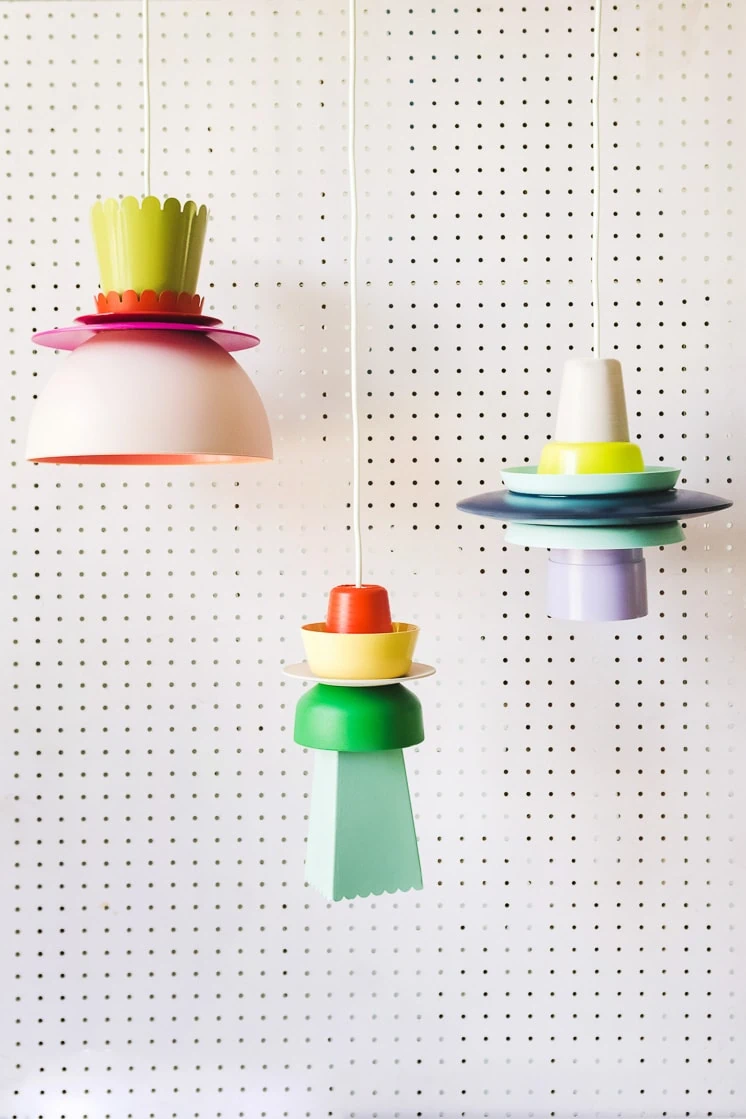
Years ago I came across a classic Louis Paulsen pendant. You know the one. We noticed that the pendants could totally be made out of tableware! Yes, tableware, as in all things plates, bowls, and cups. Cue the DIY Lampshade. Originally, we thought to use paper plates but then realized that they didn’t offer us the interesting shapes we were hoping for. So we decided to take a chance and use melamine and plastic plates for our crafting. The variation of shapes is endless, not to mention inexpensive. Each one of our lampshades were made for under $20! Major score!! With the help of a drill, spray paint, and a glue gun, these fixtures came to life, and I’m not going to lie…I absolutely love the outcome!
Materials:
- Plastic plates, bowls, cups (we got ours from here!)
- Drill
- Craft knife
- Hot glue gun
- Spray paint (this brand is the best for our purposes!)
- Hanging light cord (we got ours from Ikea but you can find them here)
Instructions:
- Play with variations of tableware to plan what your fixture to look like.
- Then pick a color palette.
- Assign colors to the individual pieces of the figure.
- Drill or cut (using the craft knife if the plastic is soft enough) a rectangle big enough to pull the light cord through.
- Next, spray paint the individual plates, cups, bowls, etc to the correct colors, you will probably need to apply multiple coats of spray paint and let dry.
- Once pieces are dry string the first piece of your fixture to the base of the cord.
- Cut a small piece of cardboard, cut a slit in it and wedge the cord into that space to secure the cord. This is an important step, because it will help balance your fixture and help it hang straight.
- Hot glue the cardboard to the dinnerware piece so the cord is centered in the rectangle. (This can be repeated periodically if you feel that the fixture needs to be stabilized)
- Add the second piece of the fixture and apply hot glue to secure it to the first piece of the fixture.
- Finally, repeat step 9 until your DIY Lampshade is assembled correctly!
You can find the original tutorial with more photos here.
DIY Fabric Lampshade
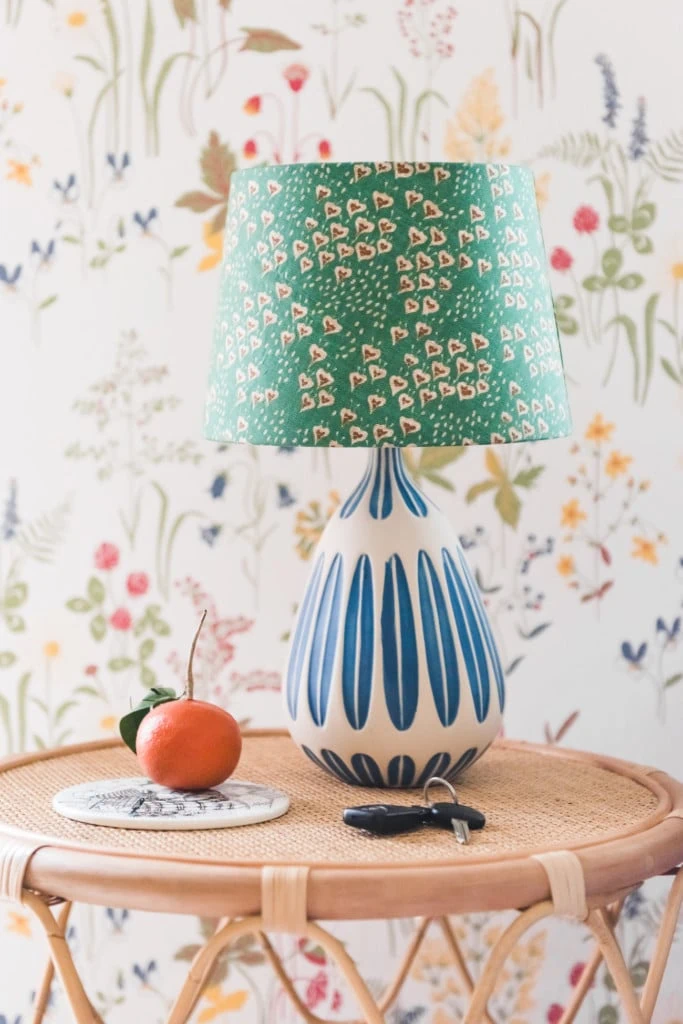
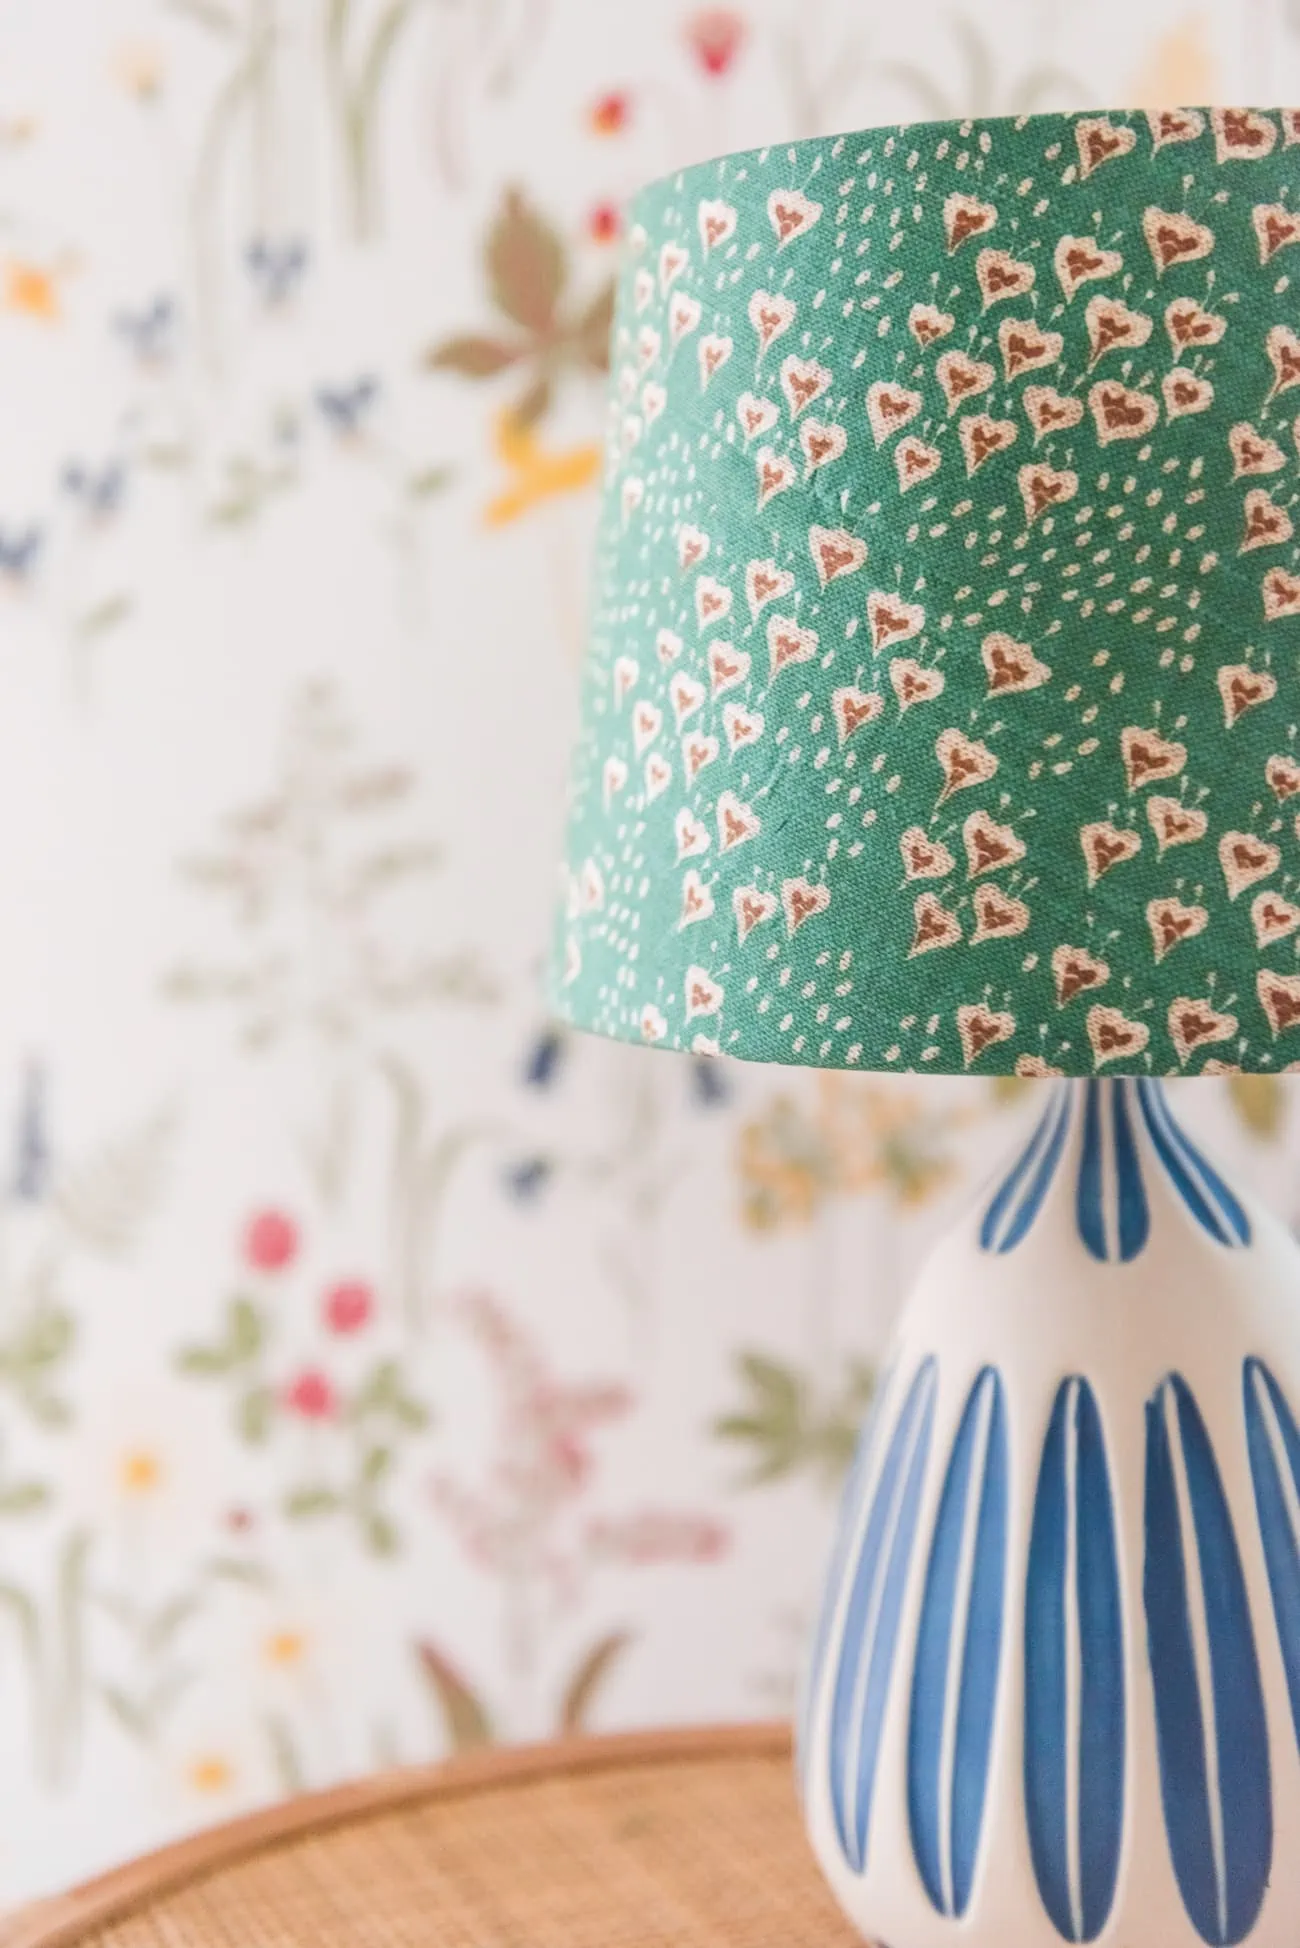
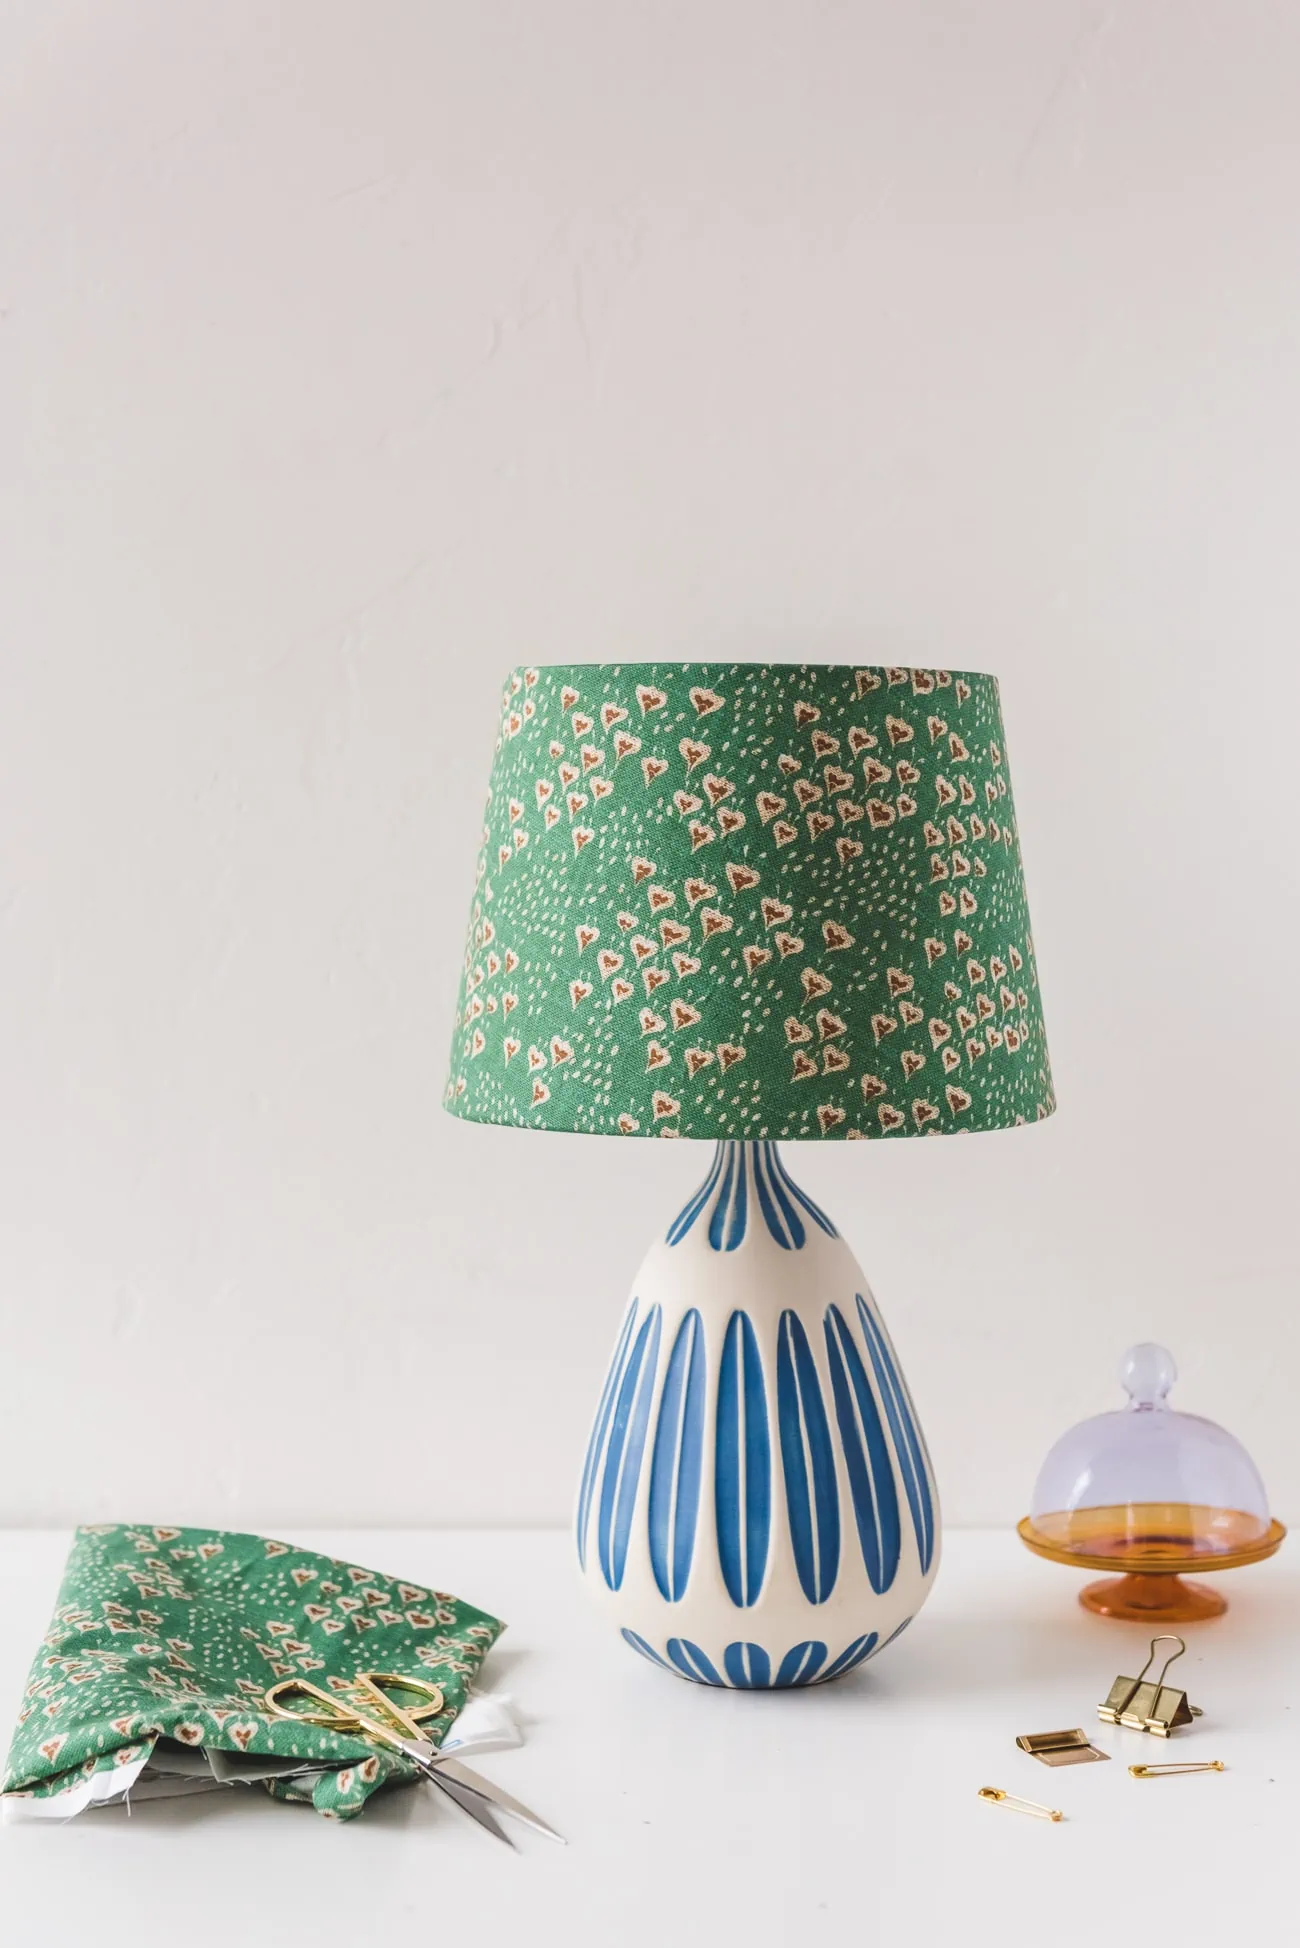
While playing with some funky fabrics, I fell in love with the Playa raindrops pattern from Holli. It tied in beautifully with my wallpaper–like peas and carrots! I’m stoked with how it turned out. Spoonflower has a tutorial on how to make a DIY lampshade from scratch here using a kit, but I ended up using the plain white lampshade that I already had on my lamp. This DIY is one that I especially love because it’s so customizable; choose any fabric you want and use any lampshade. One you already have will work great!
Materials:
- Fabric in your choice (about 1 yard depending on the size of the shade). I ordered it in the cotton poplin so it would be easier to work with.
- Spray adhesive
- ½” Cotton twilling
- Pencil
- Scissors or rotary cutter
- Cutting mat
- Cardboard
- Glue gun
Instructions:
- First, with the fabric wrong side up, start by bring the lampshade on the side and finding where you want the design to be on the fabric. Then, trace it’s path on the fabric with a pencil (I did a Sharpie so it would be visible in photos for you, but don’t do it as it will seep through!)
- Leave ¾ of an inch on each side of the traced path and cut it out.
- Follow the instructions on your spray adhesive and spray the area in a well ventilated space.
- Then attach the fabric on one end of the shade around to the end. At the end, fold the fabric over about a ½”, spray the end, and then attach securely.
- Carefully, fold the fabric around both ends of the lampshade, smoothing out any bubbles.
- To complete the look, use cotton twilling and glue it on the inside of the lampshade. This will help secure the fabric to the shade, while also allowing it to have a clean line once the light bulb is on and you can see everything!
You can find the original tutorial with more photos of this DIY fabric lampshade here.
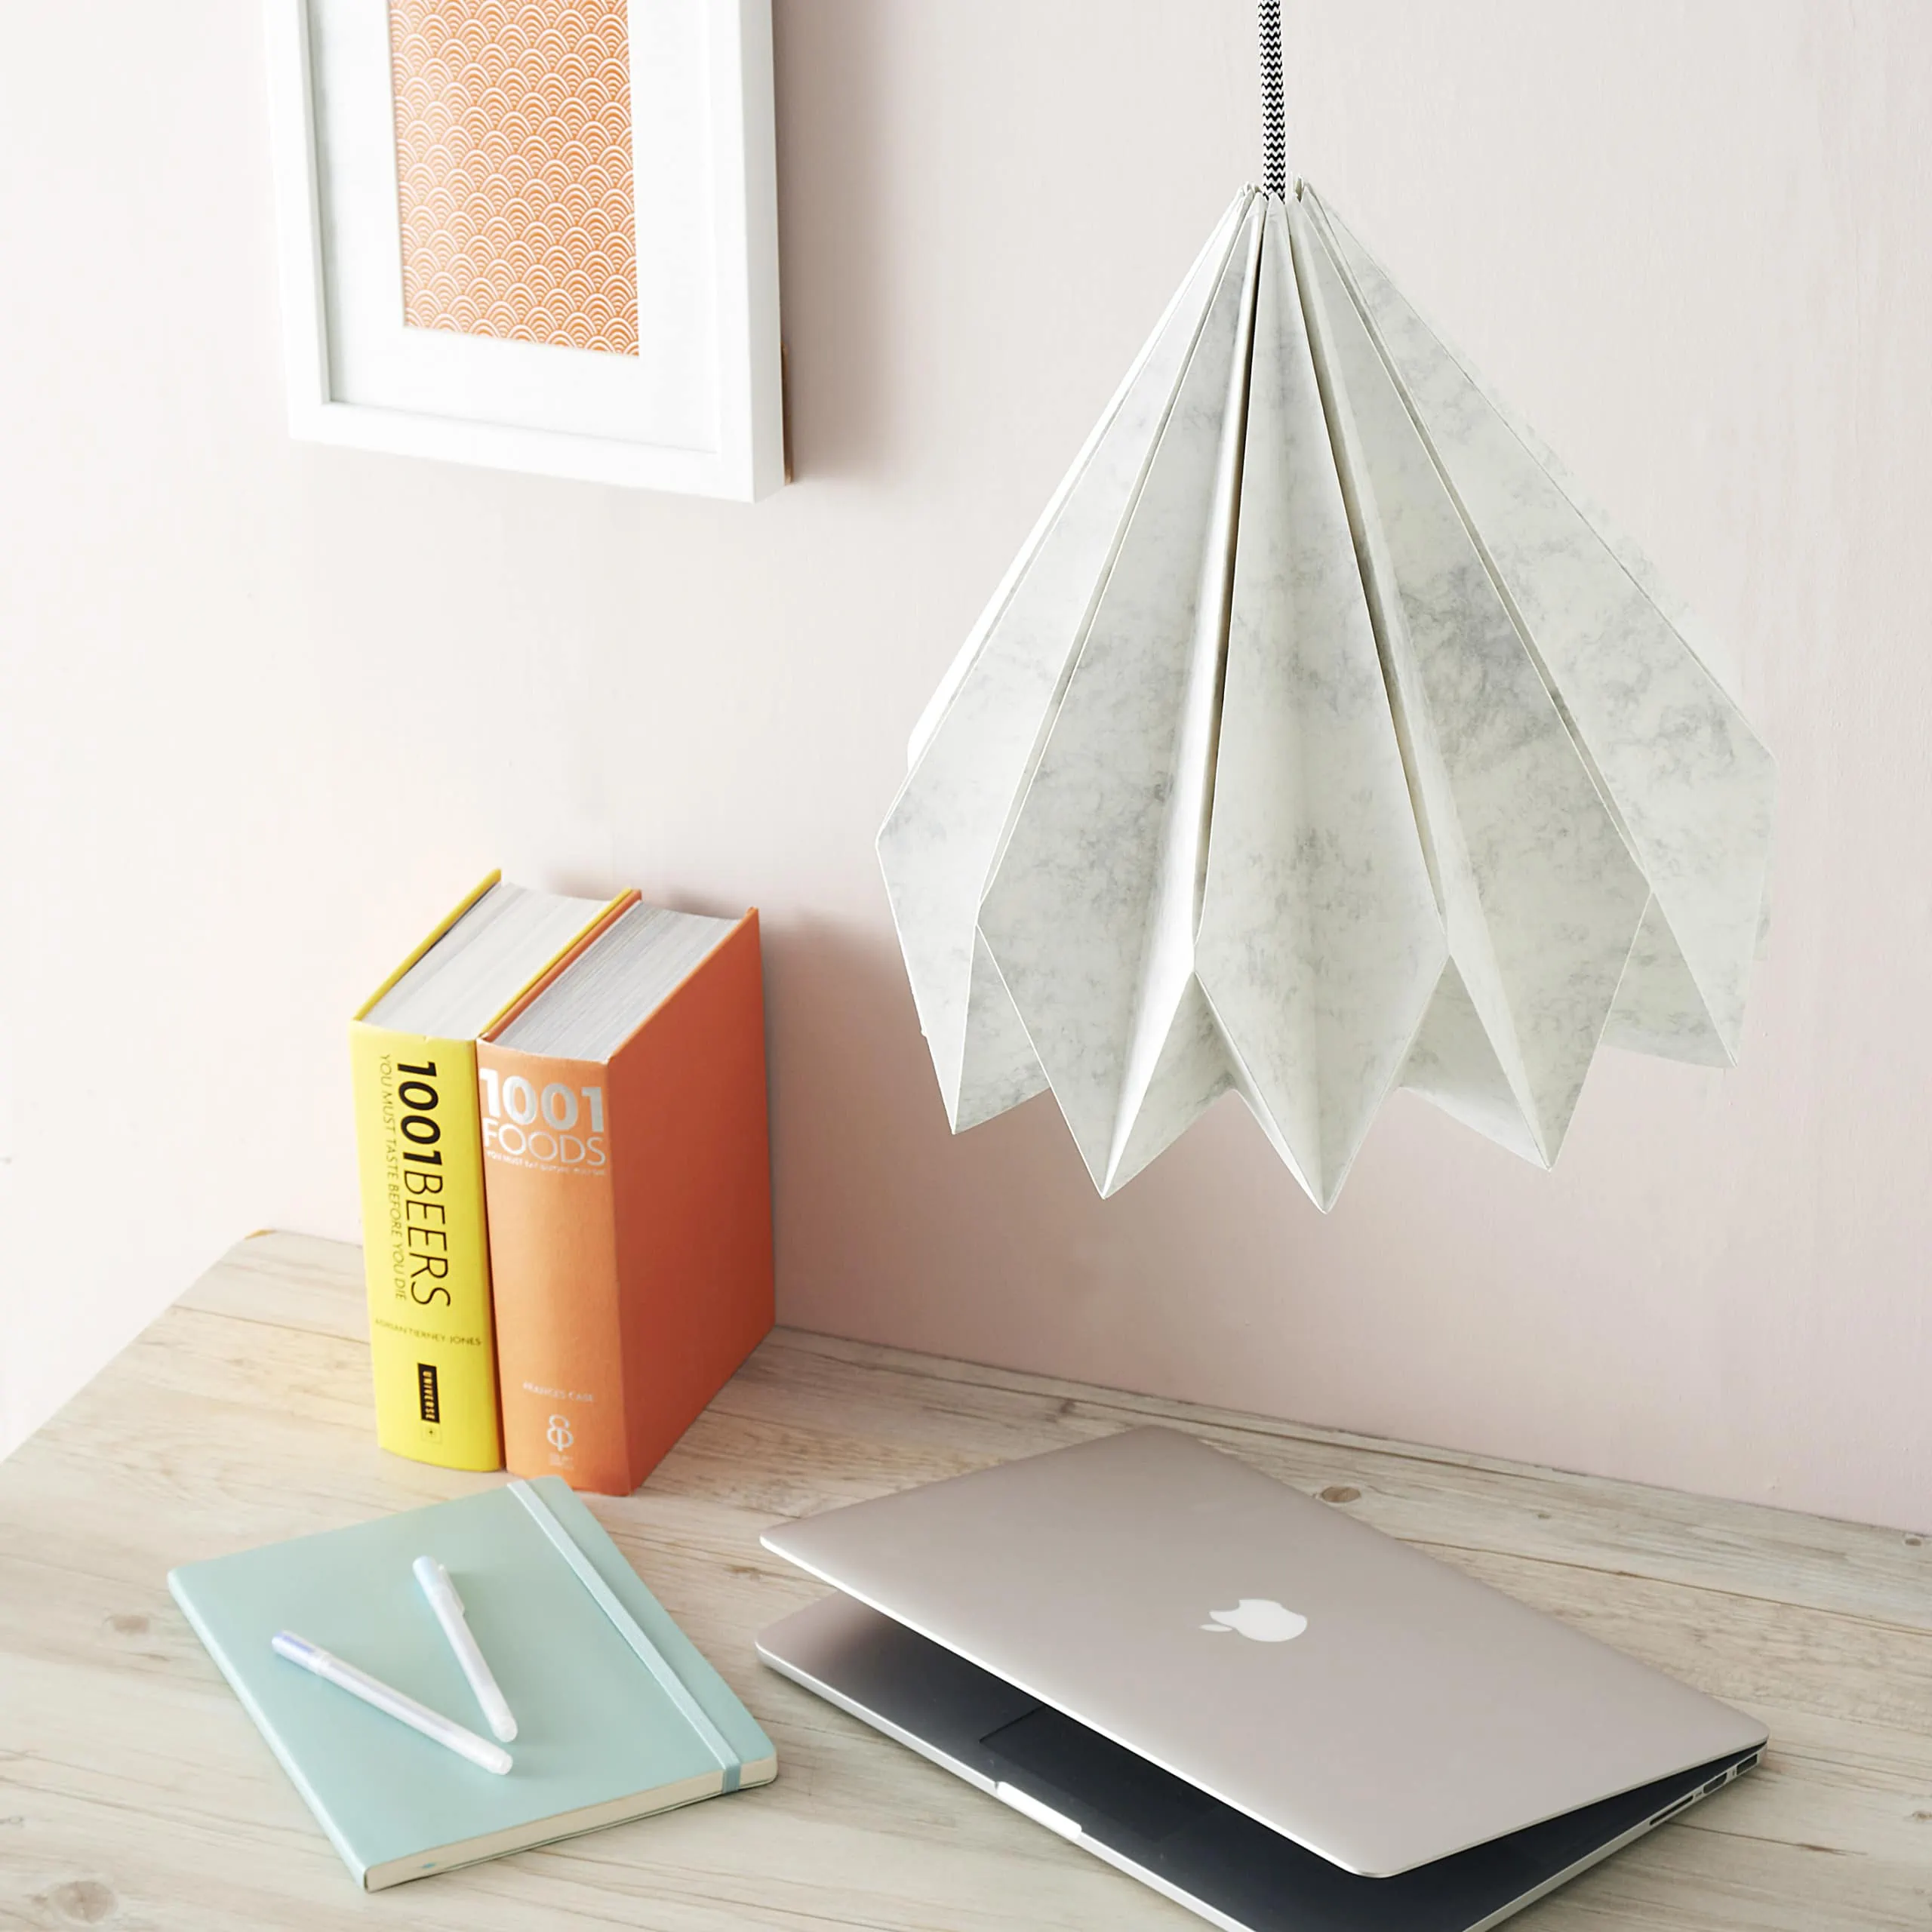
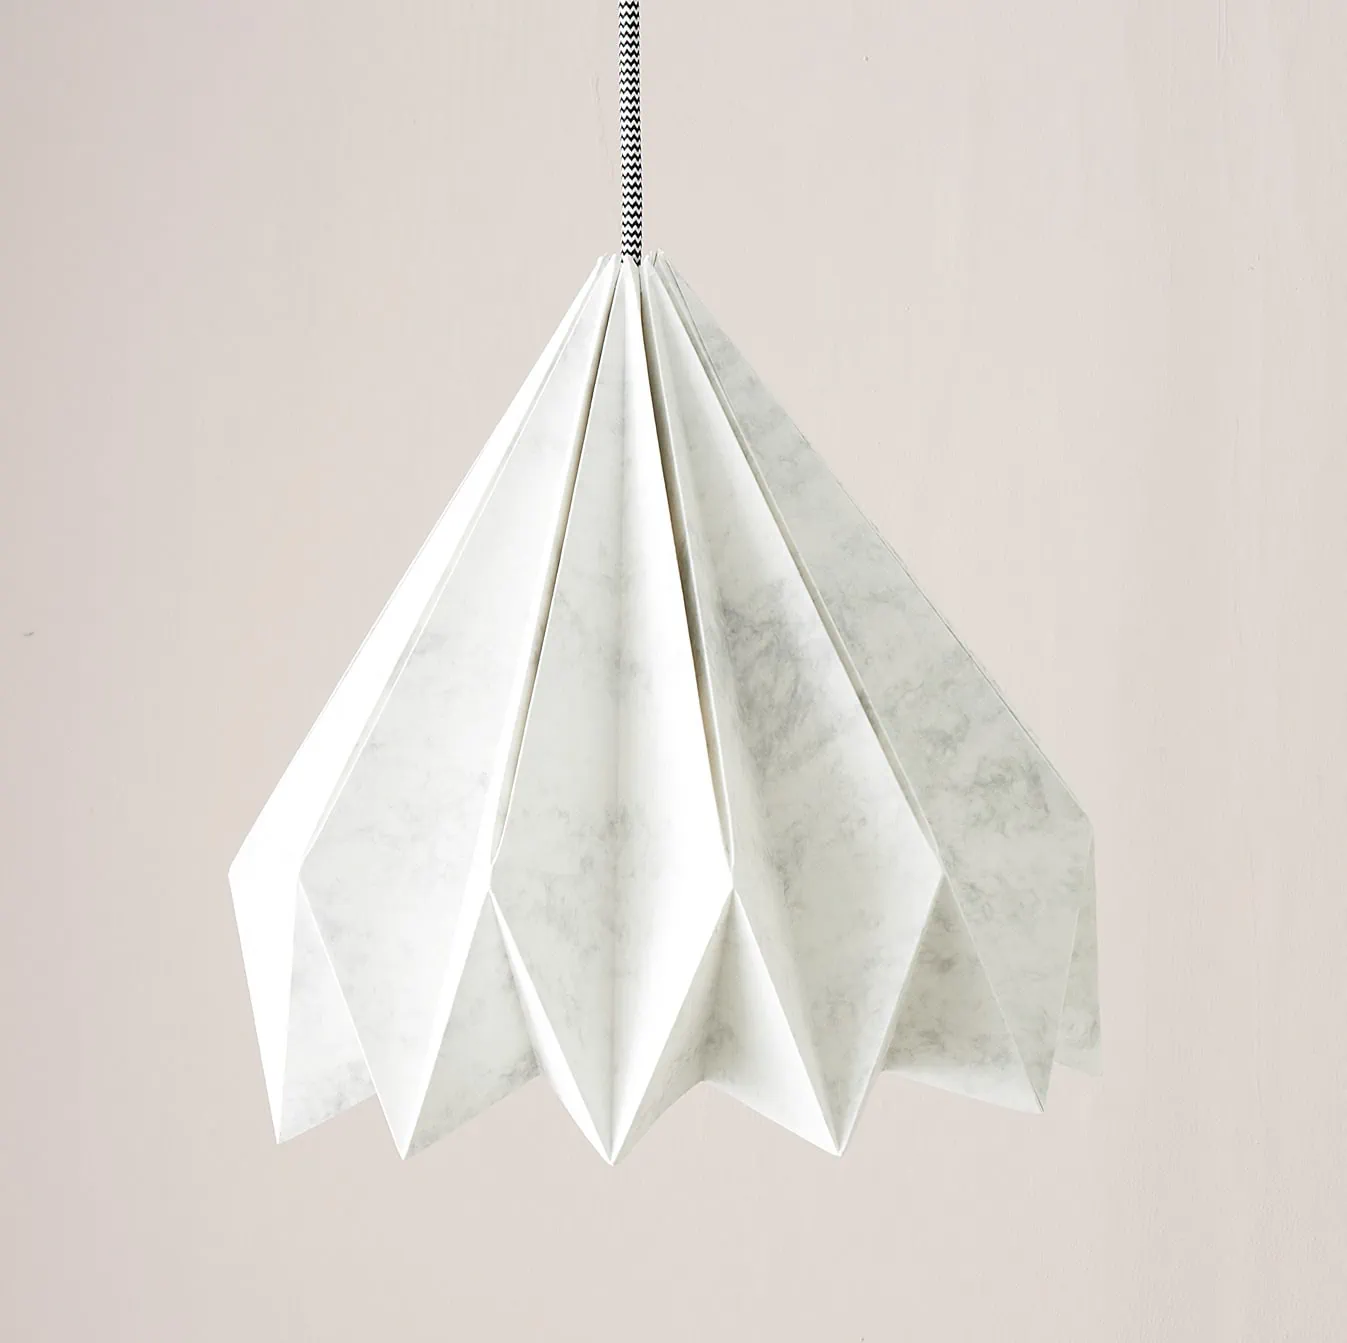
DIY Origami Lampshade
I was inspired by the clever work of UK based paper artist, Sarah Louise Matthews. Luck enough for me, she released a paper craft book called Paper Craft Home which is available now! It features 25 projects to cut, fold, and shape. I already dog-eared the heck out of mine! It’s great for both beginners and advanced crafters so you can find a little something for everyone. Today she’s sharing a tutorial from the book, the origami DIY lampshade, which is actually similar in concept to a project from our book, Craft the Rainbow, with a different spin.
Strictly speaking, this lampshade isn’t origami, but it’s a great project to put your paper-folding skills to the test. Once you break the folding down into a step of valley folds followed by a step of mountain folds, it is fairly straightforward, and when mastered, you will be making bespoke DIY lampshades for every room in the house!
Materials:
- 3 11¾ × 16½ in. (A3) sheets of light card in marble
- Cutting mat
- Metal ruler
- Embossing tool
- Bone folder
- Pencil
- Eraser
- Scissors
- Tacky glue
- Stapler
- Self-adhesive Velcro pads
- Ceiling light fitting * LED light bulb (not pictured)
*Warning For safety, make sure you only use an LED light bulb.
Instructions:
- Place the first sheet of marble card in a landscape position on a cutting mat. Use a ruler and embossing tool to score a vertical line 2/5 in. (1 cm) from the right edge.
- Measure and score seven equally spaced vertical lines to divide the space between the left side of the paper and the line scored in Step 1 into eight equal sections. Next, use a bone folder to fold each scored line to make a valley fold, then unfold.
- Measure 8½ in. (22 cm) from the top of the first, third, fifth, and seventh fold, and make a small pencil mark. Use a ruler and embossing tool to score lines joining each pencil mark to the top and bottom of the fold lines on either side. Rub out the pencil marks.
- Then, fold each scored line from Step 3 into a mountain fold. The paper should now form the shape shown (it may need a little encouragement).
Repeat Steps 1–4 for the remaining two sheets of card.
5. Use scissors to cut off the top and bottom corners of the 2/5 in. (1 cm) strip on the right of each piece to make a tab. The corners should be cut at a reflection of the angle of the adjacent folded line as shown.
6. Flatten each piece and turn to the side. Use scissors to make a cut through all layers in the position shown, beginning around 11/5 in. (3 cm) down from the end of the fold and finishing at the top point.
7. Glue the three pieces together: apply a thin layer of tacky glue to the front of the tab, down the right side of the first piece, and attach it behind the left edge of the next piece, aligning along the top and bottom edges.
8. Cut along the second mountain fold from the right end as shown. Discard the small piece.
9. Turn the folded piece upside down. There are triangular folds that stand up from the piece. Work along the top edge of the piece, using a stapler to secure the two layers of each triangular fold together as close to the base as you can.
10. Next, urn the piece back over, then stand it up to make the lampshade shape. Fix five pairs of self-adhesive Velcro pads to the opening, half on the back of the cut edge and half on the front of the uncut edge, in corresponding positions.
11. Last, wrap the lampshade around the cord of your light fixture, then close using the Velcro tabs, and fit in an LED light bulb.
From Paper Craft Home by Sarah Louise Matthews © 2018 Sarah Louise Matthews. Reprinted in arrangement with Roost Books, an imprint of Shambhala Publications, Inc.
You can find the original tutorial and more info here.
If you’re a shopper not a crafter
Here are some of the best lampshades available now! Don’t worry about making your own if that’s not your thing!
More DIY lighting tutorials




Comments